Product Guides
Upload process emissions and measure them
Process emissions are the Scope 1 greenhouse gases released by a chemical or physical transformation — not by burning fuel. Dcycle has no default factor library for them, so the custom emission factor must exist and be loaded BEFORE you can record a single data point: the upload form only lets you pick a factor, never type one. This guide covers both halves in order — build the factor first, then record the activity data in the facility where the process happens.
Before you start
You need an Editor role in your Dcycle organization.
Steps
Step 1
Before you start, check you are in the right category. “Process” covers emissions inherent to your production process — limestone calcination, ammonia synthesis, landfill biogas, anode consumption. It is NOT the fuel you burn to power that process (that goes to Stationary combustion), and it is NOT wastewater treatment emissions (those have their own “Treatment plant” facility type with IPCC organic-matter calculations). Mixing them up double-counts your Scope 1.
Step 2
Click “Data” in the left navigation.
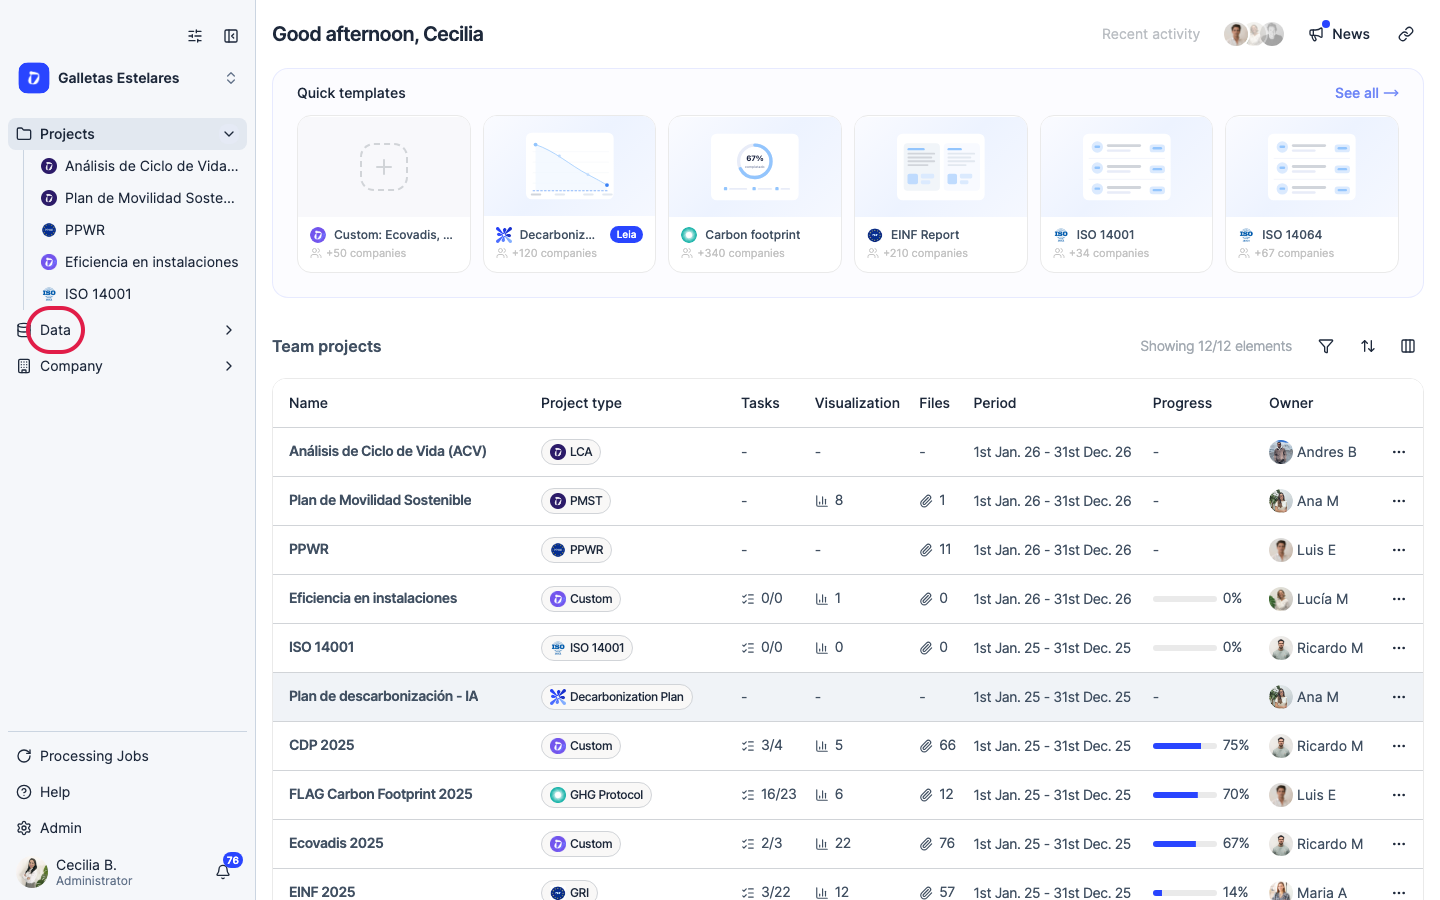
Step 3
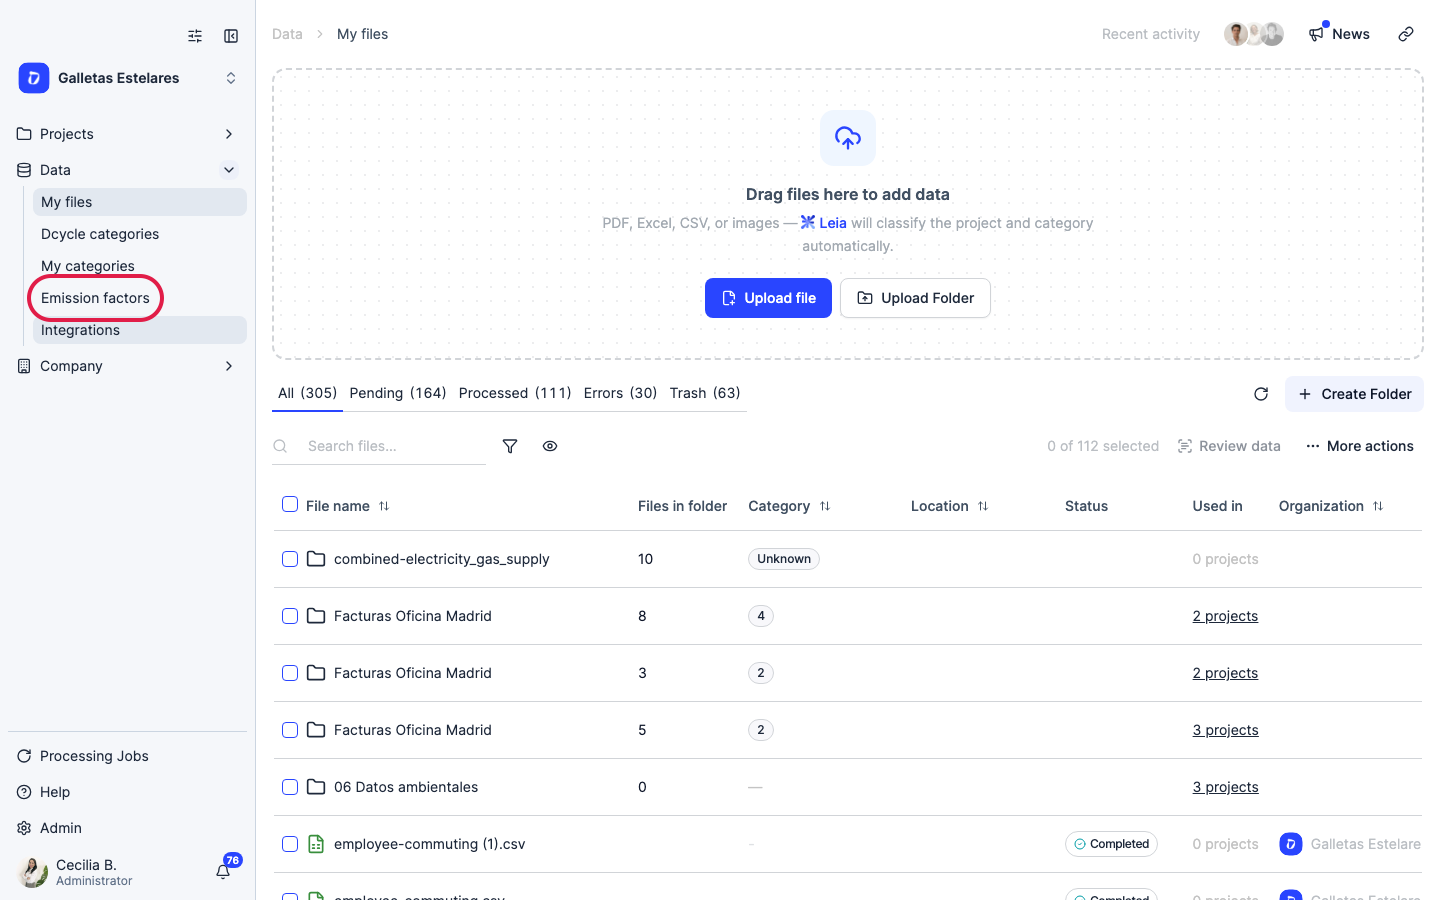
Click “Emission factors”. Dcycle ships no default library for industrial processes — every process line needs a factor you provide, so this is always the first stop.
Step 4
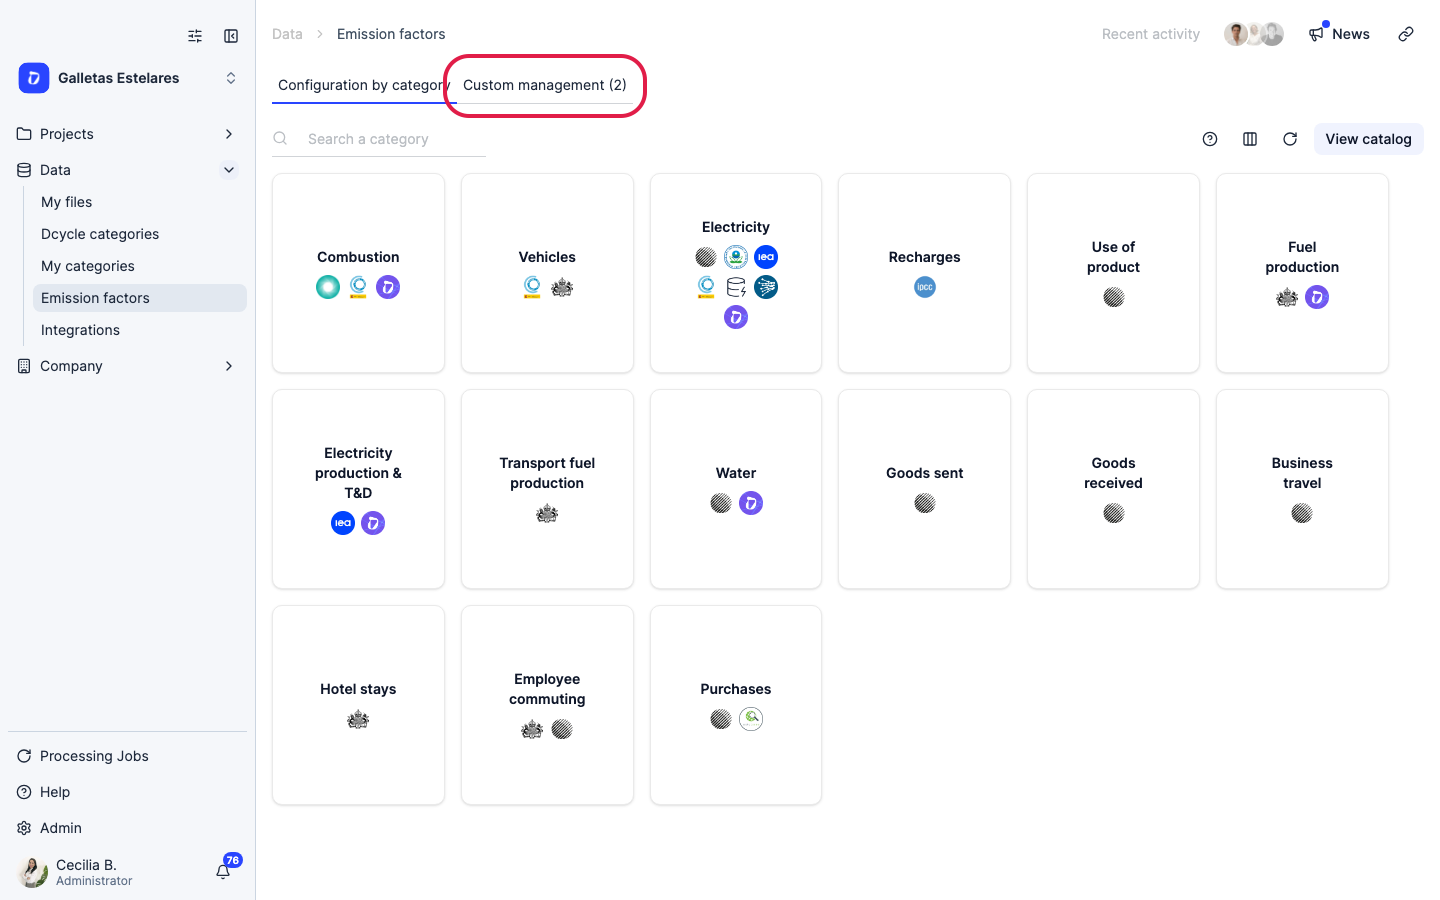
Open the “Custom management” tab.
Step 5
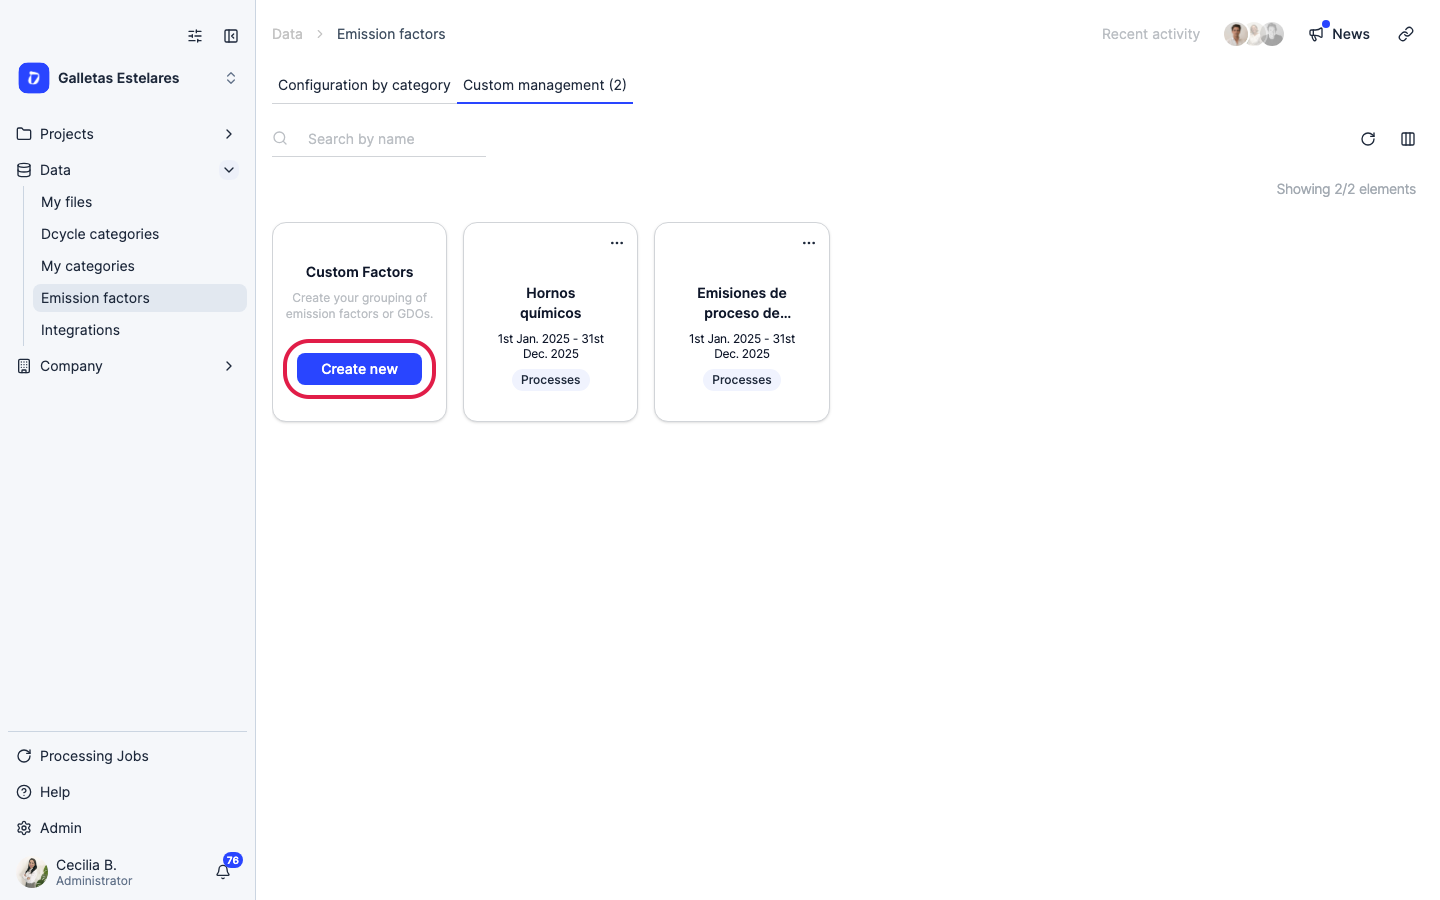
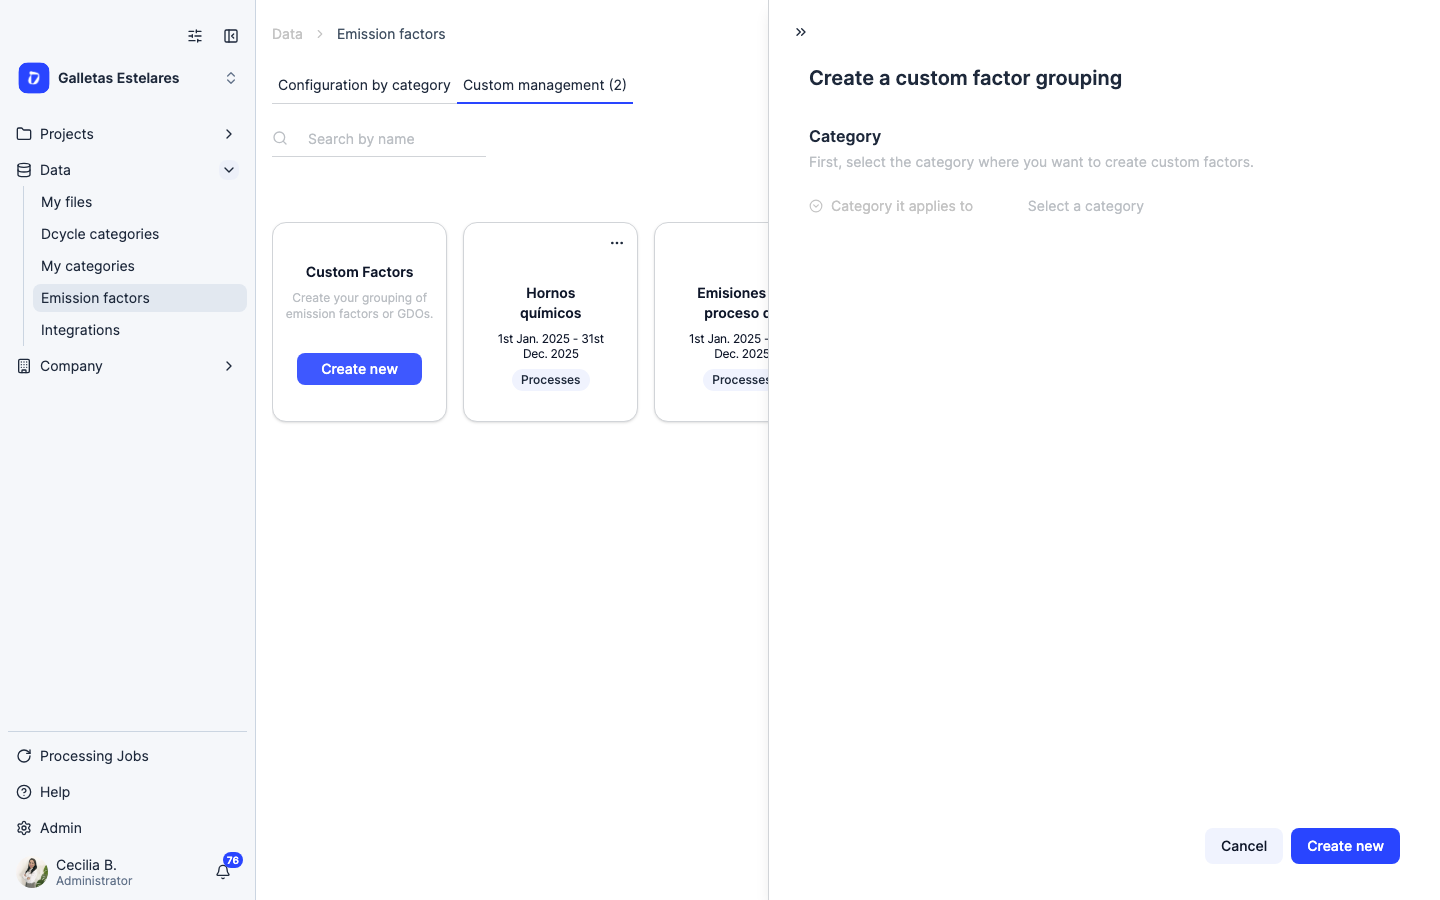
Click “Create new” to define the group your process factors will live in.
Step 6
The panel starts with just one field. In “Category it applies to” pick Processes — this is what makes the factor selectable later on the Process tab. A “Details” section then appears with three more fields: a Name (say which process and which year, e.g. “Clinker calcination 2025”), a Biogenic Yes/No selector, and a Description — use it for the methodology and source. Then press Create new.
Step 7
The Biogenic selector deserves a decision, not a default. Marking a process grouping as biogenic changes the accounting: the CO₂ is taken out of your fossil total and reported as biogenic instead, while CH₄ and N₂O keep counting normally. That is the GHG Protocol treatment, and it’s the right answer for a process whose carbon comes from living matter — landfill or digester biogas, biomass calcination. For a mineral or fossil-carbon process (limestone, coke, anodes) leave it on No, or you will silently drop the bulk of your Scope 1. Biogenic pairs naturally with Advanced mode: you declare the three gases, and only the CO₂ moves.
Step 8
An empty grouping is just a container — the platform can’t calculate anything until it holds at least one factor covering the dates of your data. So the next stop is the grouping’s detail page, to load the factor itself.
Step 9
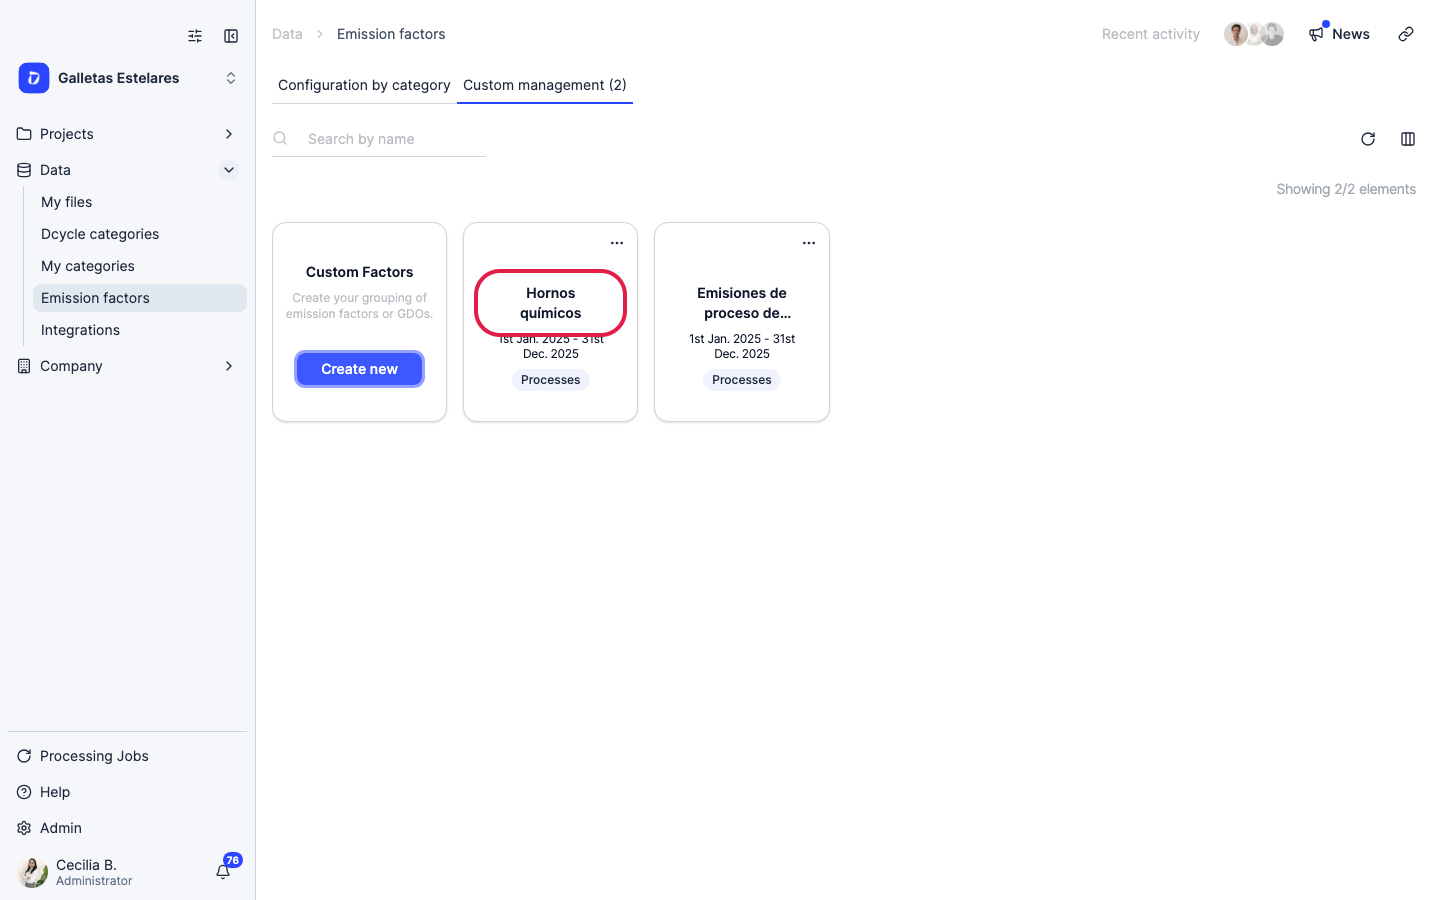
Click the grouping you just created (here, an existing one is used as the example). Its card shows the “Processes” badge and the period its factors cover.
Step 10
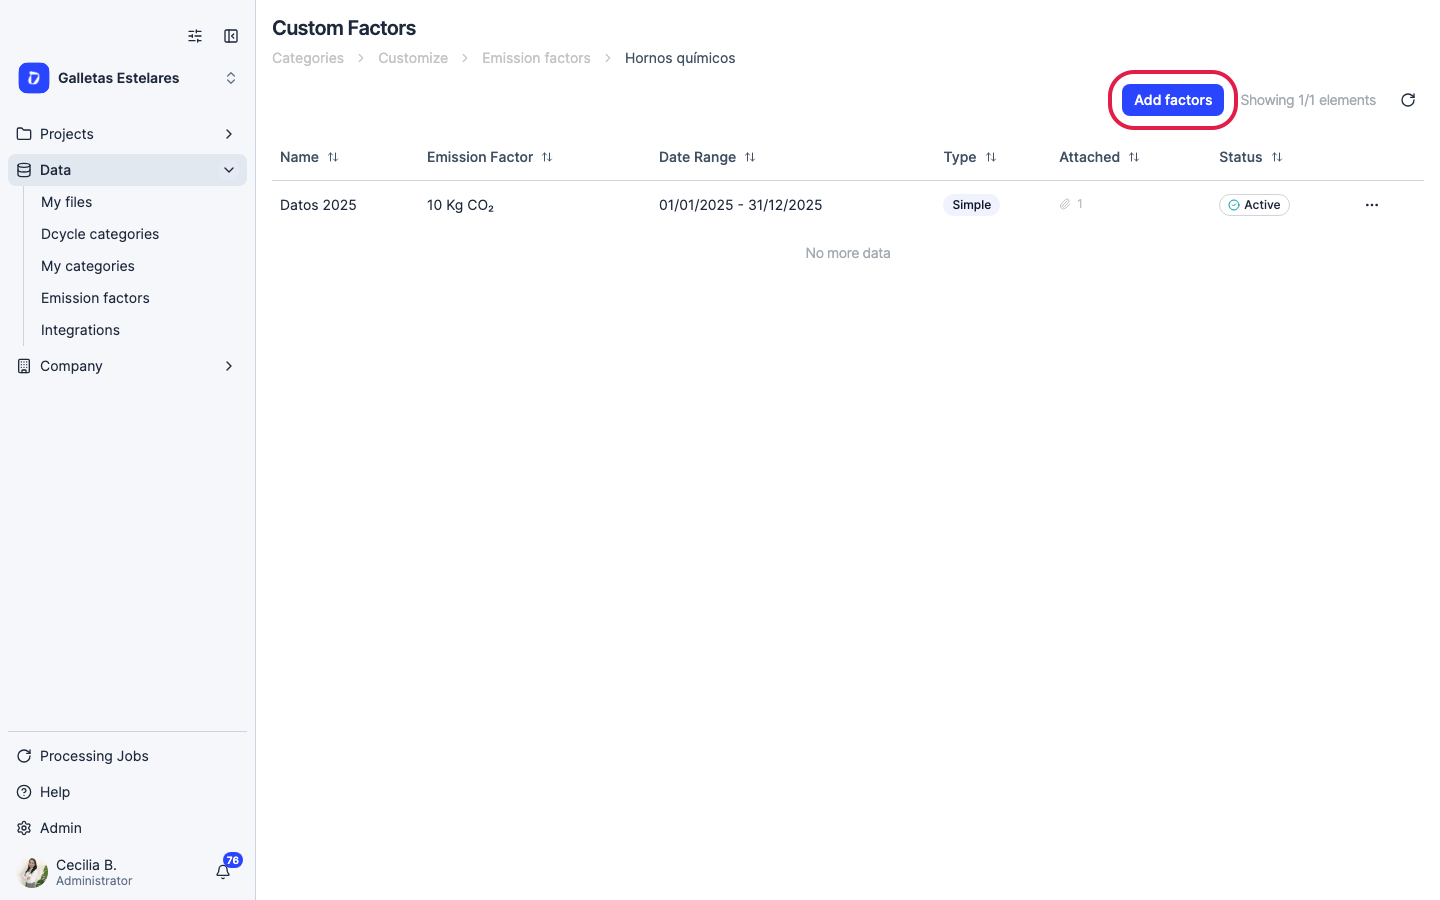
This is the grouping’s detail page: one row per factor, each with its own validity period. Click Add factors to load one.
Step 11
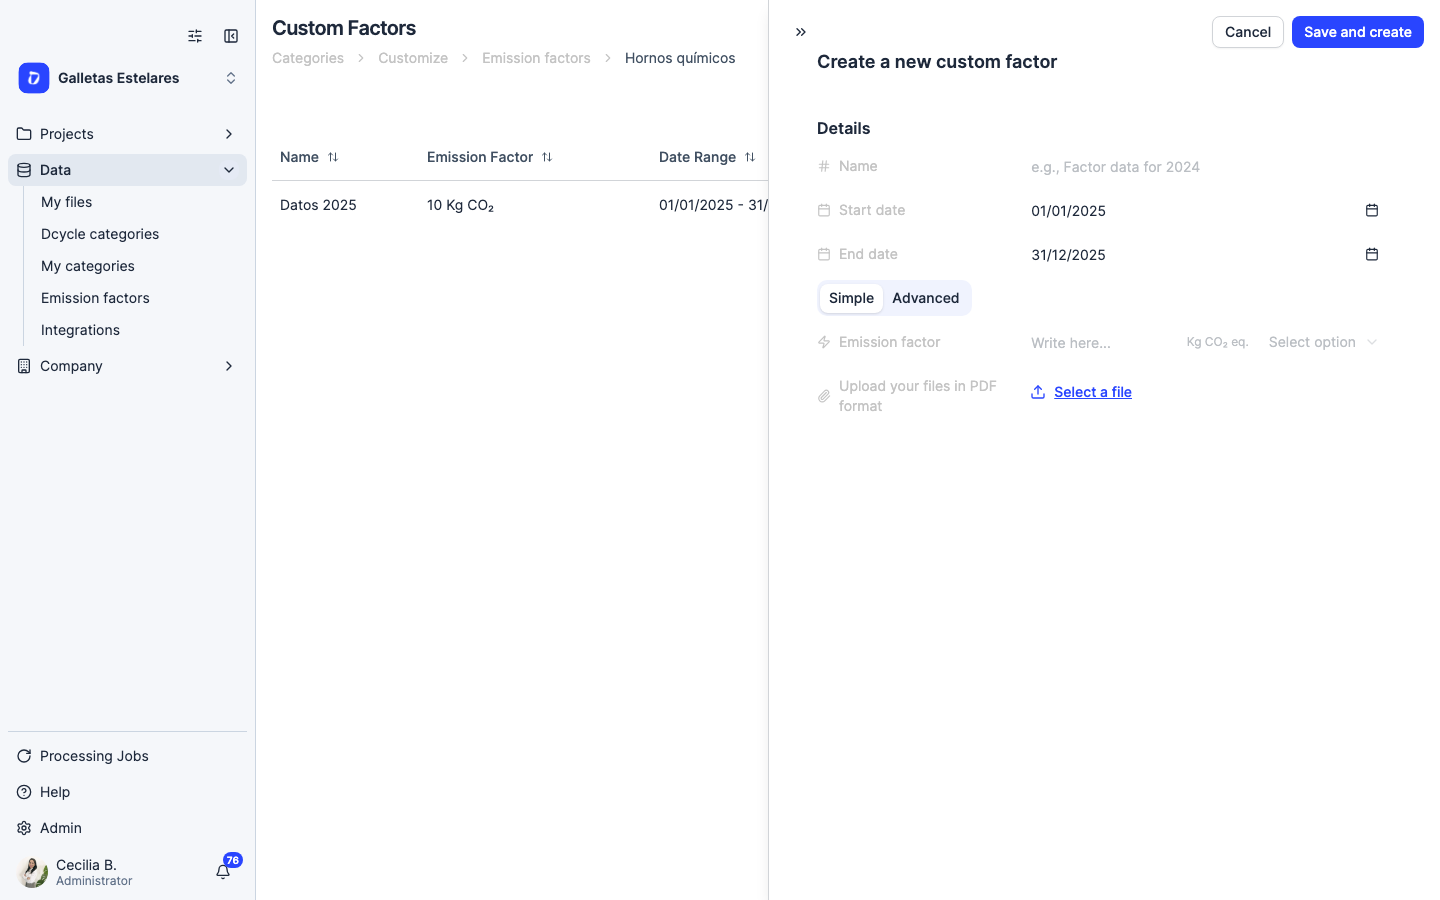
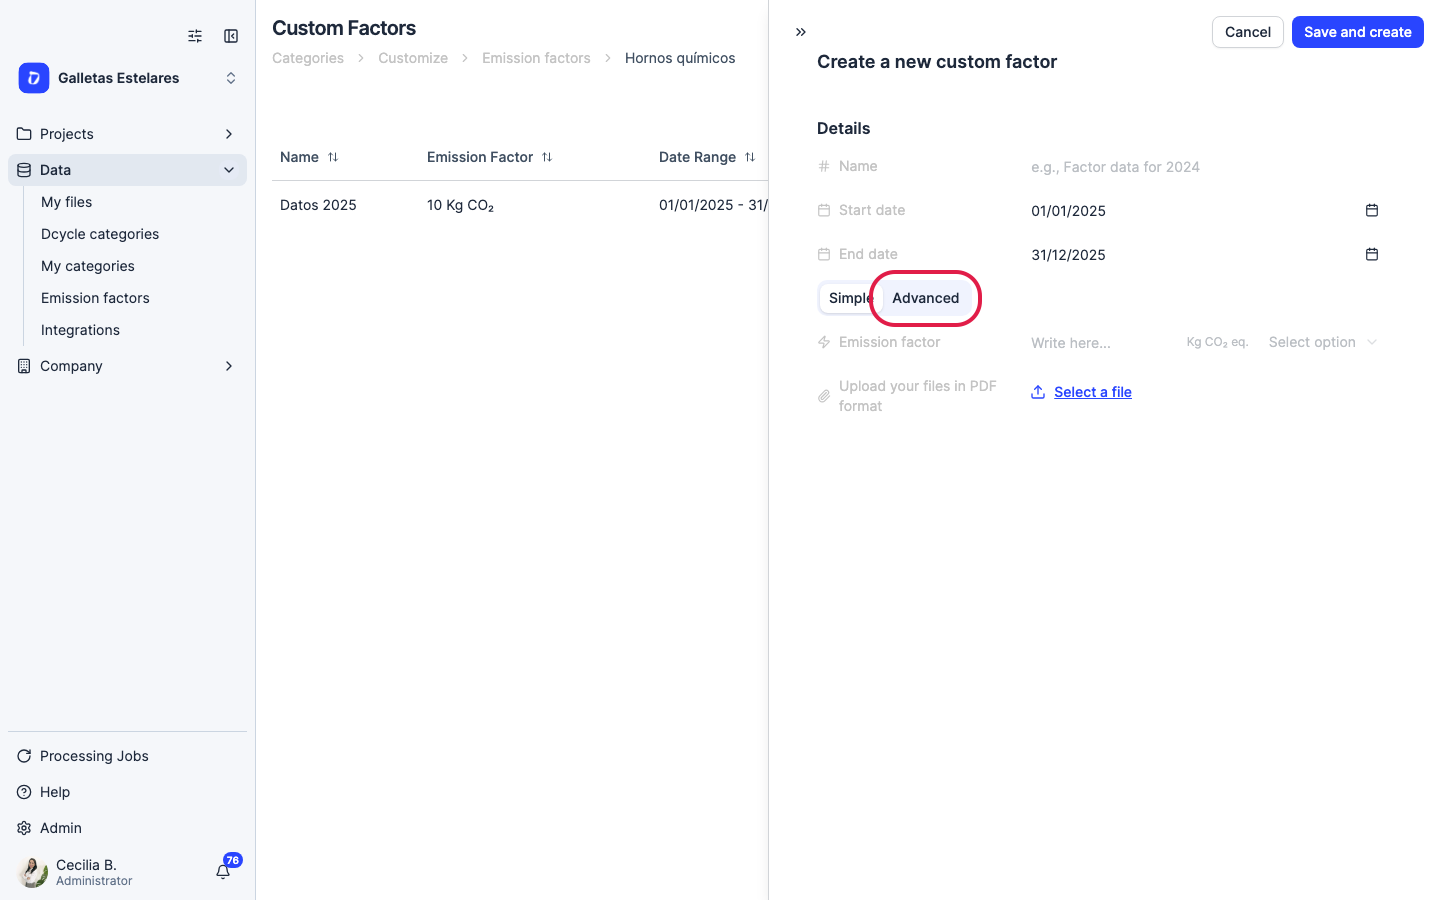
The “Create a new custom factor” panel opens in Simple mode: a Name, a Start date and End date (the validity window — windows within the same grouping can’t overlap), and one Emission factor value expressed in Kg CO₂ eq. per the reference unit you pick in the dropdown beside it (kg, t, m³, kWh…). Use Simple when your source gives you a single combined CO₂e figure.
Step 12
Click Advanced to declare the gases separately instead.
Step 13
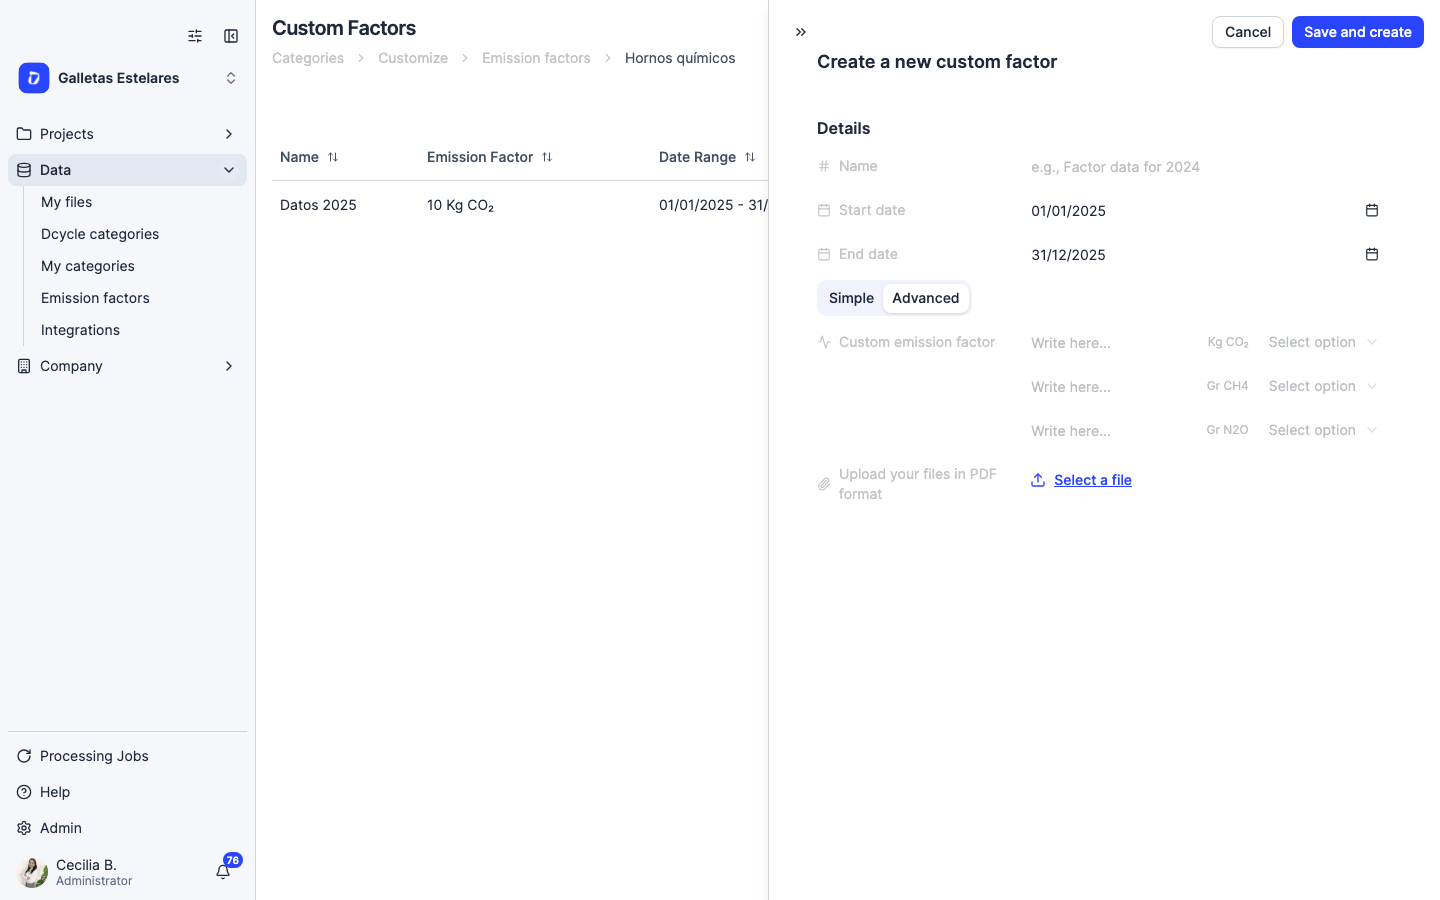
Advanced mode splits the factor into three fields, and each one has a different unit: Kg CO₂, Gr CH4 and Gr N2O. Carbon dioxide goes in kilograms, methane and nitrous oxide in grams — enter grams as kilograms and you overstate that gas by 1,000×, which is the single most common mistake here. Dcycle applies each gas’s GWP and sums them into CO₂e, so you don’t convert anything yourself. Each row has its own reference-unit dropdown on the right, and they stay in sync — the three gases share one denominator. Leave a gas blank if your methodology doesn’t report it. Use Advanced whenever the gases do come separately — verifiers ask for that breakdown, and it’s what feeds the per-gas panel on each record.
Step 14
Before pressing Save and create, use “Upload your files in PDF format → Select a file” to attach the source document (PRTR declaration, ETS monitoring plan, lab analysis). The evidence then travels with the factor an auditor will question, which is the whole point. Name the factor after that source and its year. Repeat for each period you need — a factor only applies to records whose dates fall inside its validity window, so a missing year means a record that silently calculates nothing.
Step 15
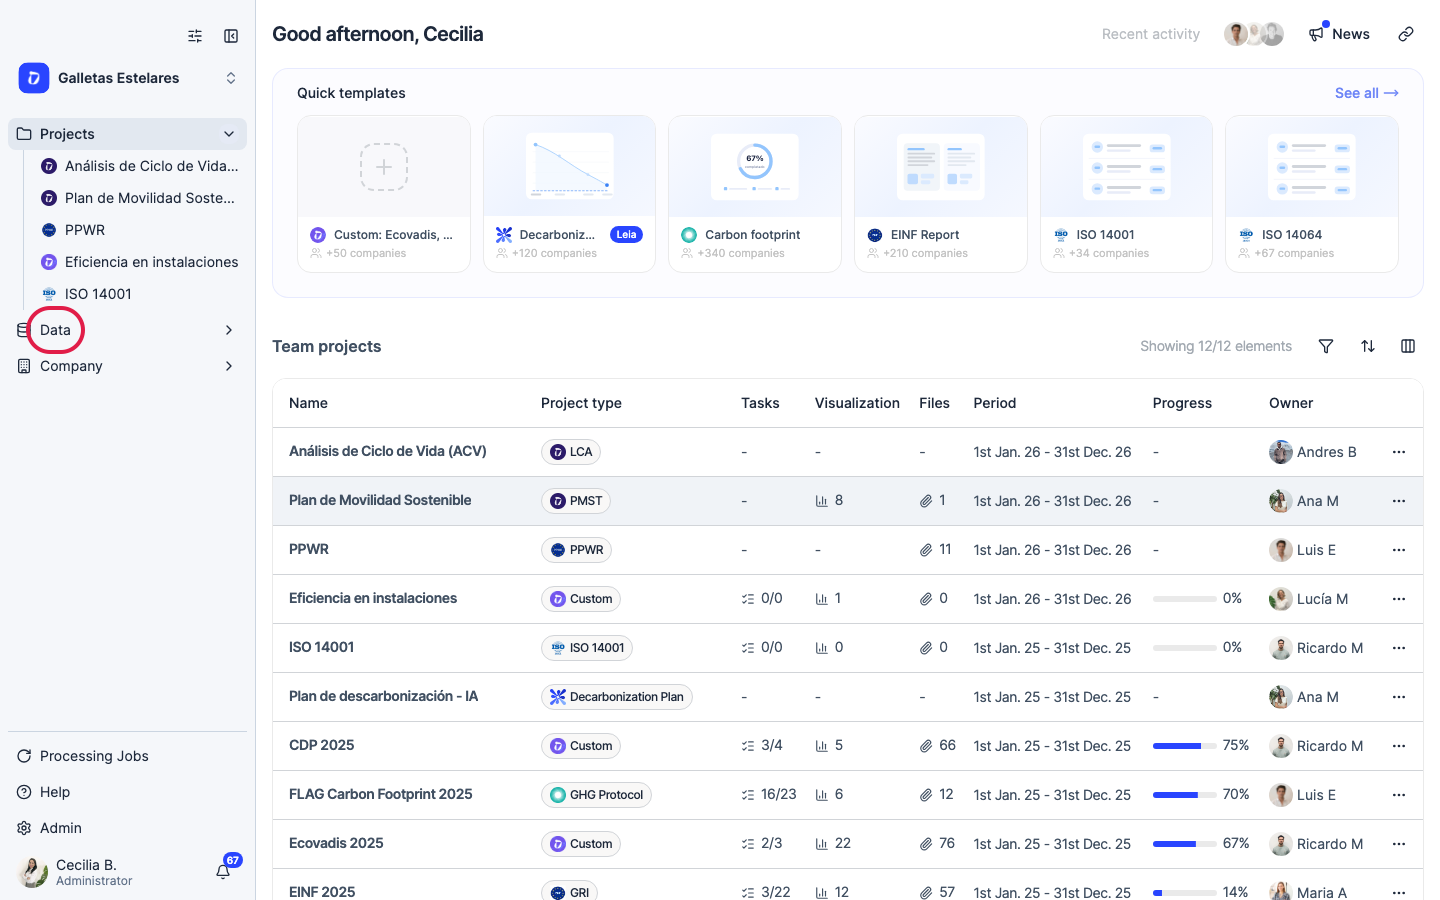
With the factor created, go back to “Data” to record the activity data.
Step 16
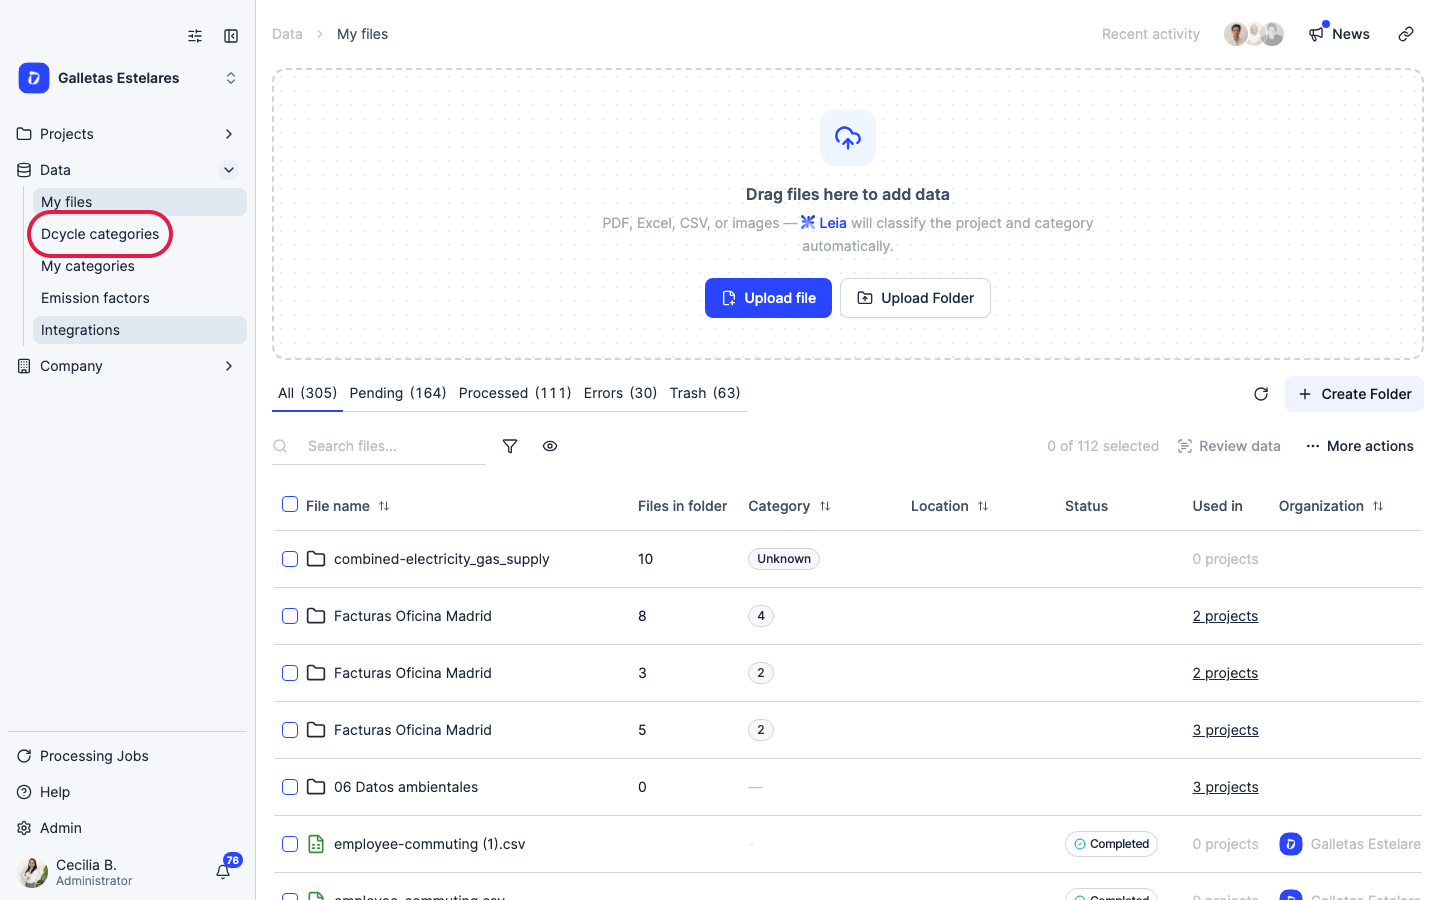
Click “Categories”.
Step 17
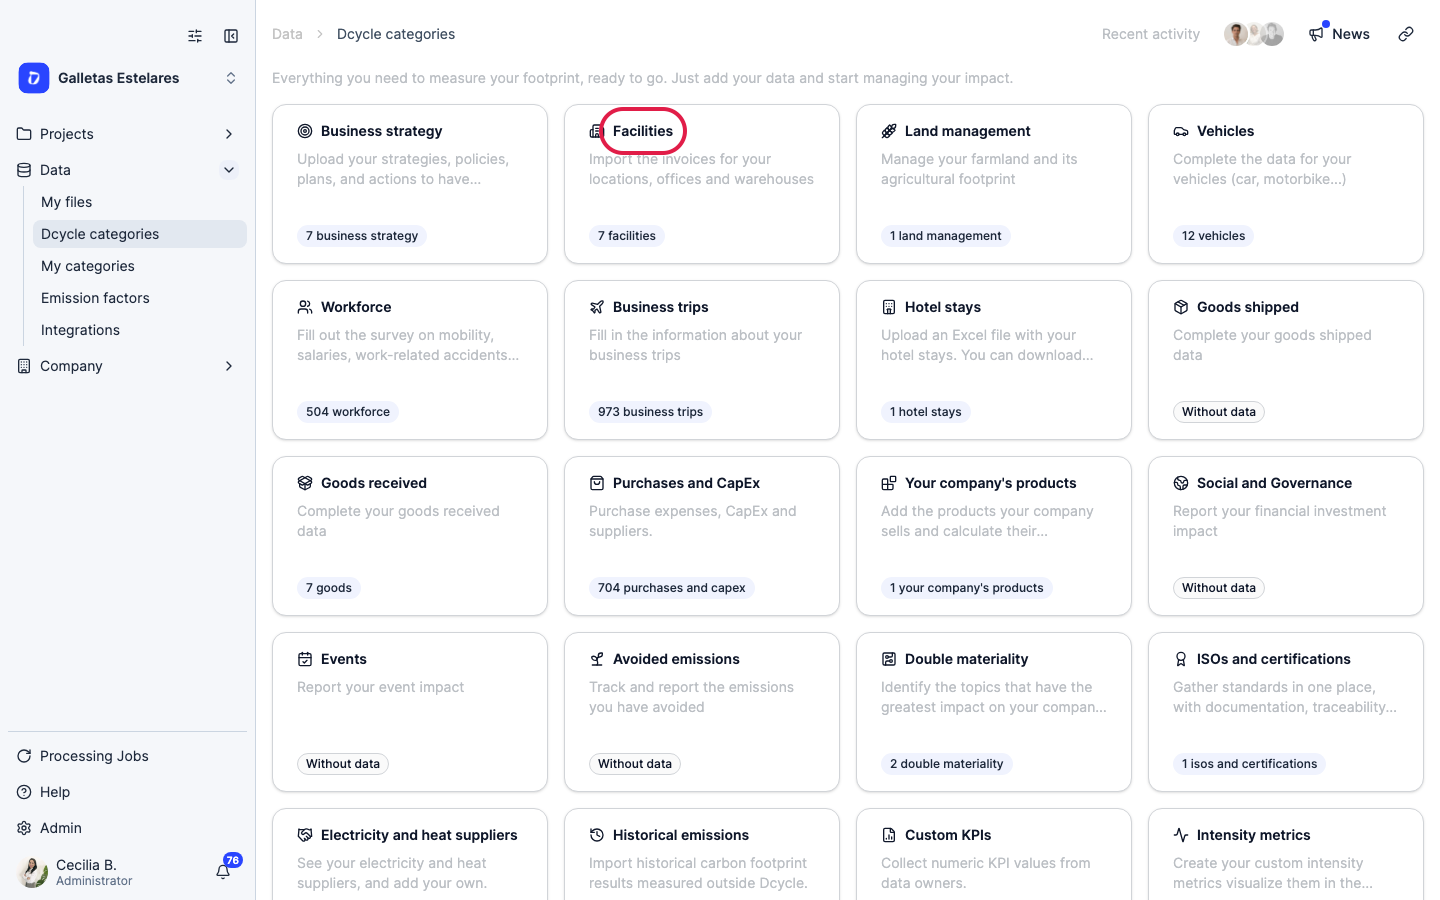
Open the “Facilities” category.
Step 18
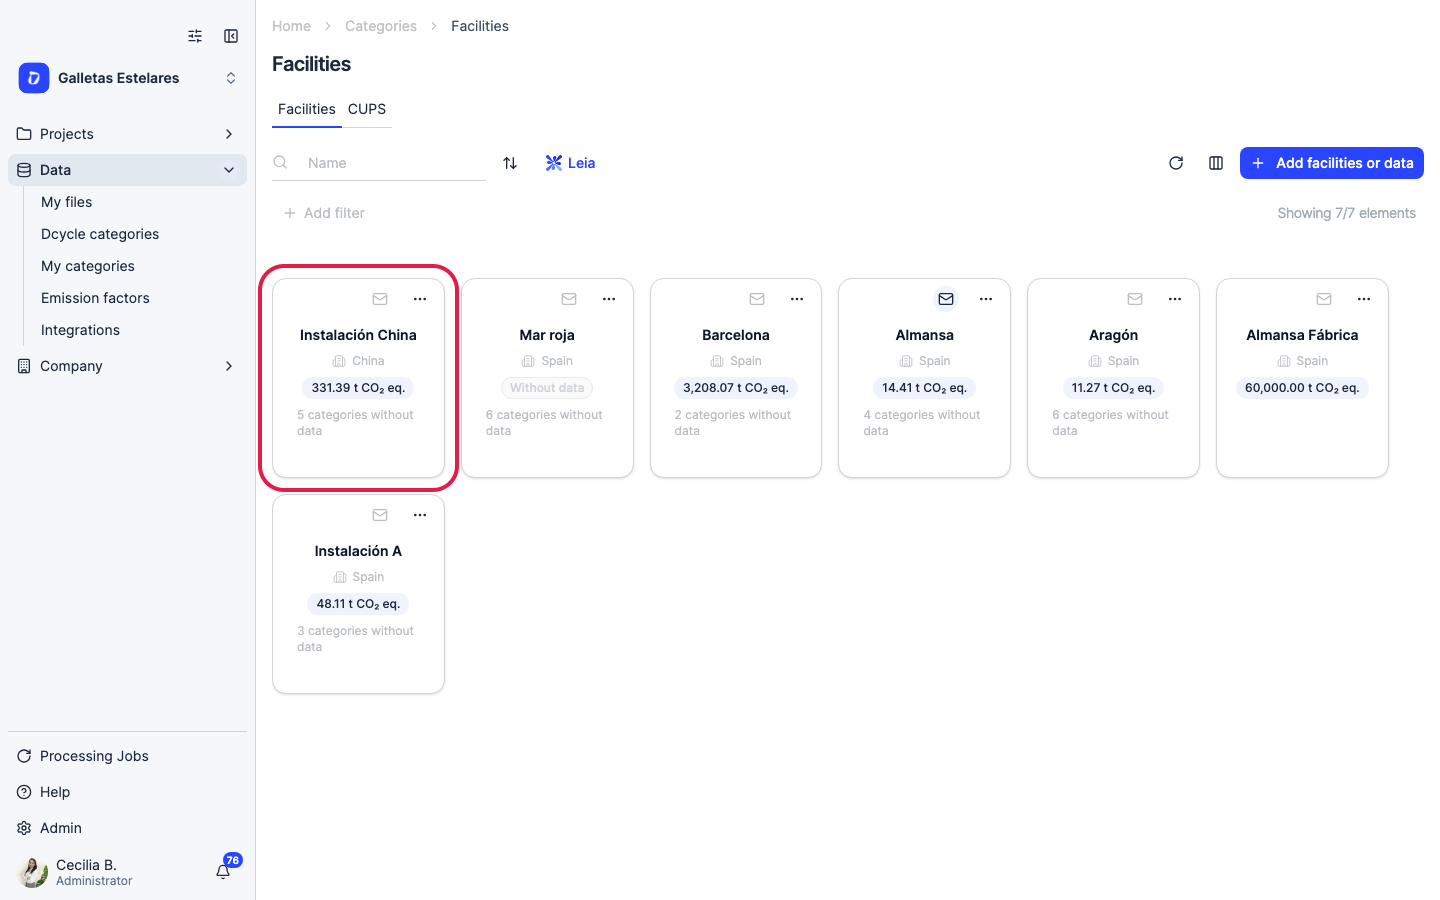
Open the facility where the process runs.
Step 19
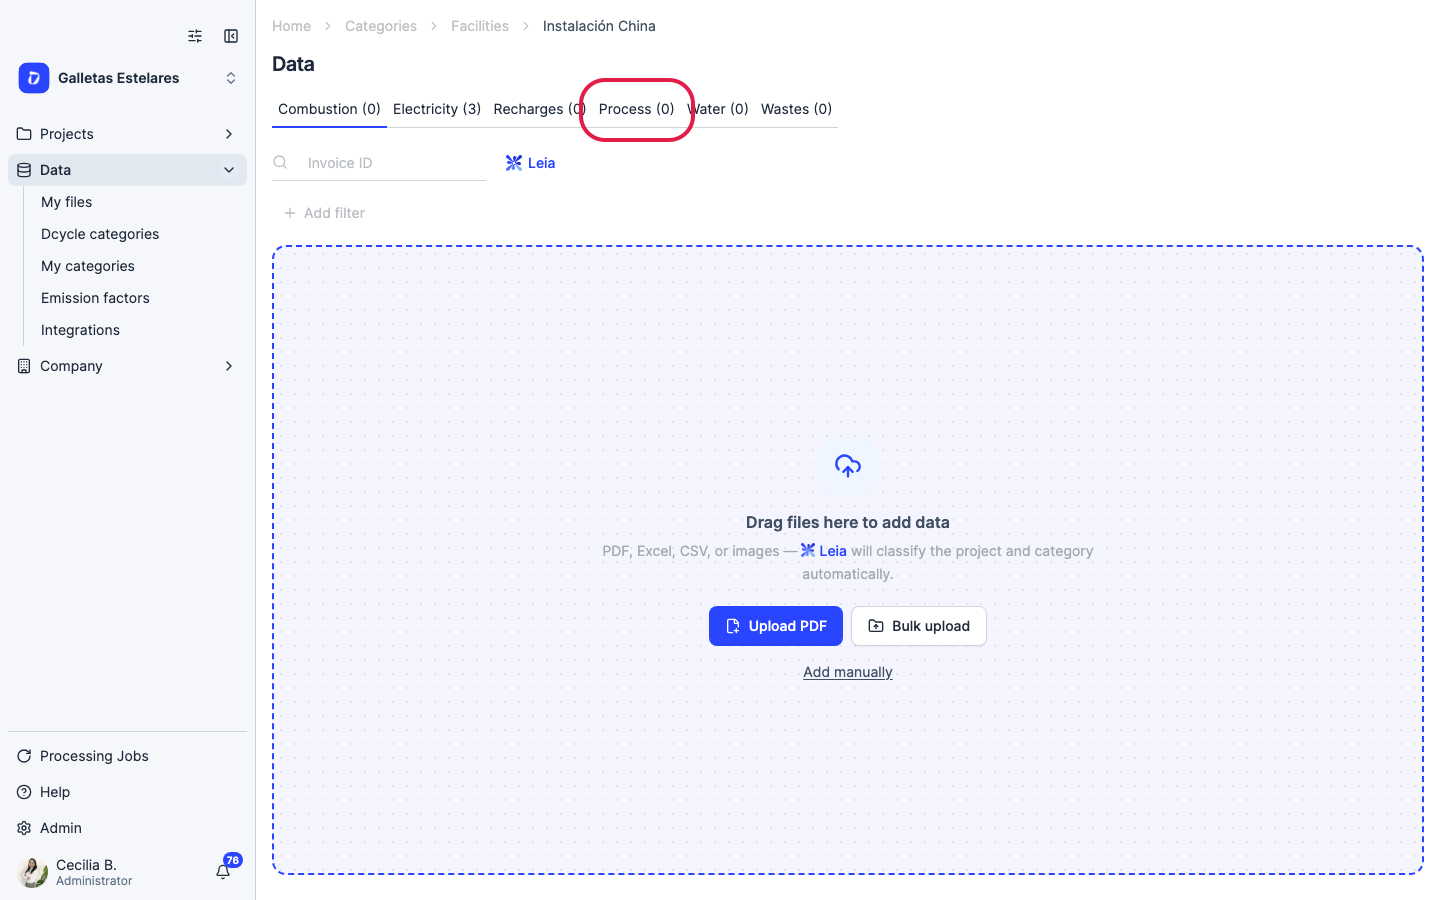
Click the “Process” tab. If you don’t see it, the facility isn’t configured for it: open Edit facility and tick Process among its categories. A facility only shows the tabs for the categories it has enabled.
Step 20
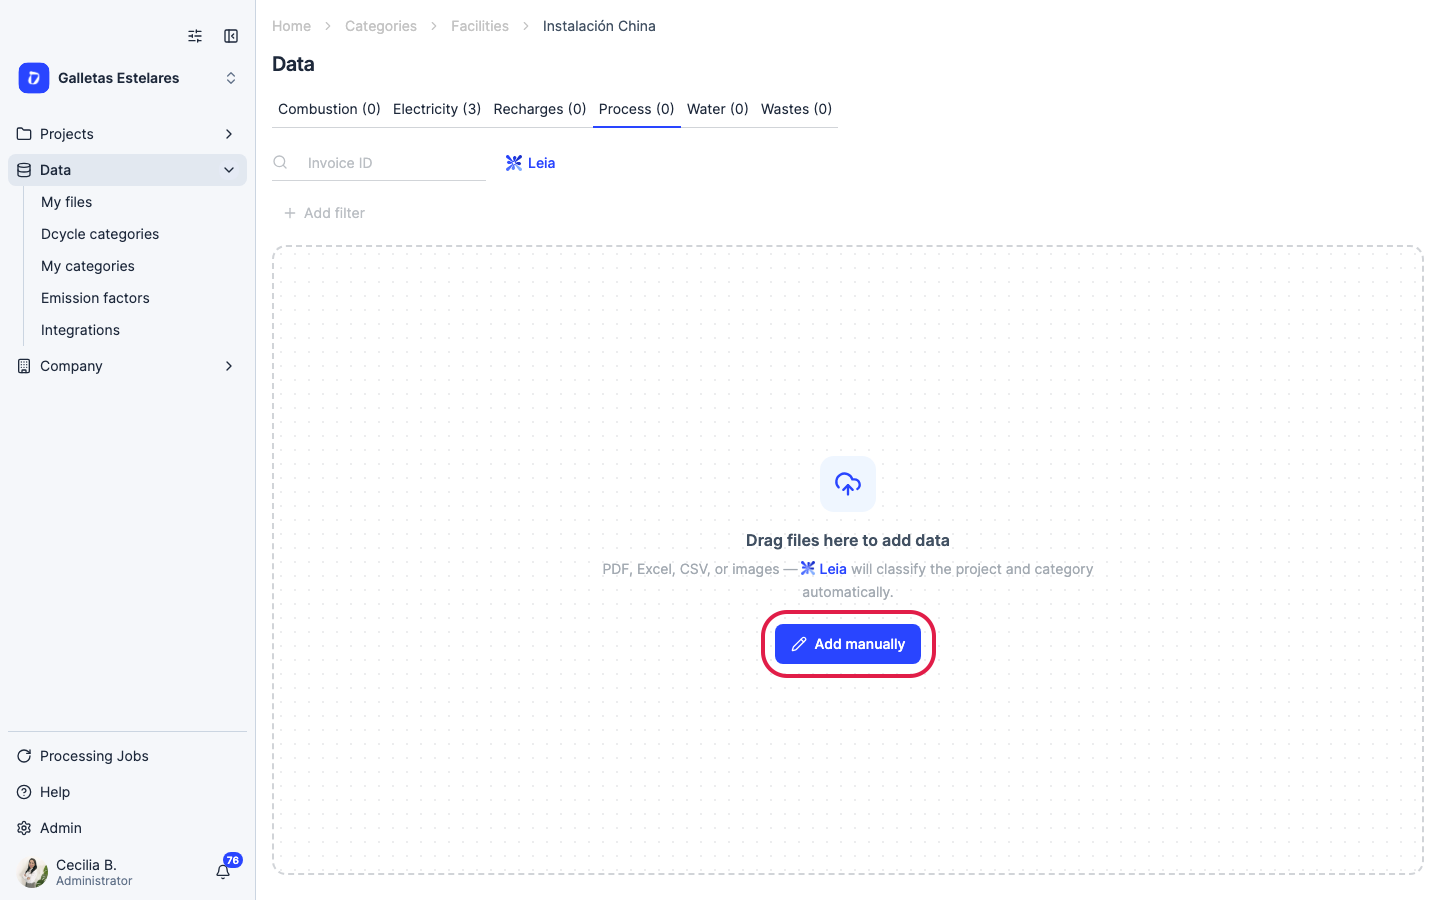
Click “Add manually”. Ignore the “drag files here” area above it — it is shared UI that this category does not support, so a file dropped there is silently discarded. Process emissions are entered by hand, one record per period: there is no PDF reading and no Excel bulk upload here. Once the tab has records, the same form opens from the “Add data” button in the top right.
Step 21
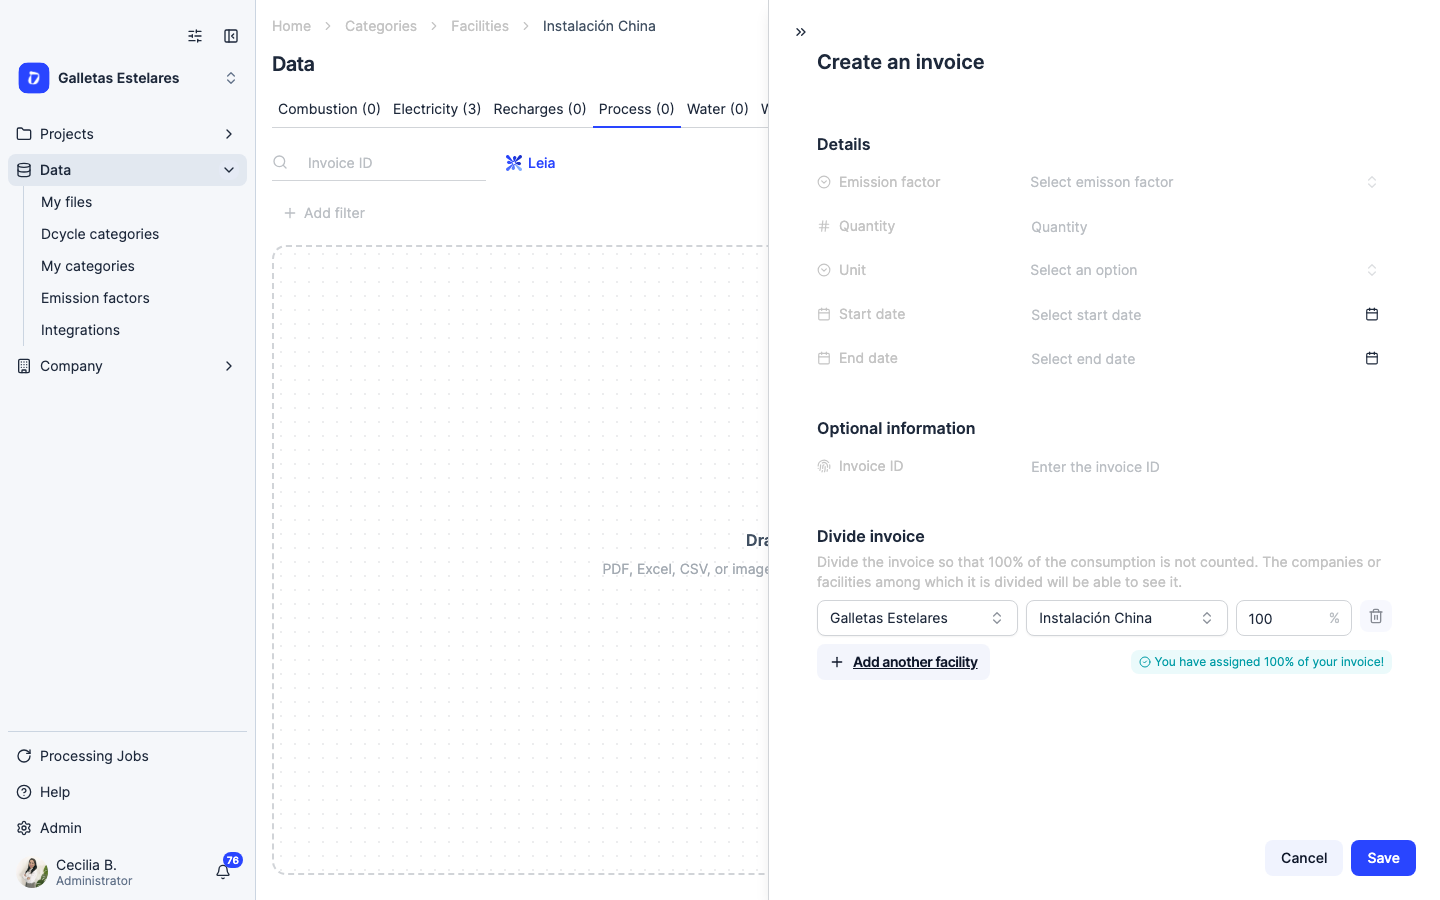
The panel is titled “Create an invoice” — it’s the shared record form, so don’t let the wording worry you. Fill in Emission factor (pick the group you just created, then the matching factor inside it), Quantity and Unit (kg, l, m³, t, kWh, MJ, product unit, m or m²), and Start date / End date for the period. The unit must be the same as the factor’s reference unit, or the calculation won’t resolve. “Optional information” holds the invoice ID, useful as your own reference to the source declaration. Save when done.
Step 22
If your emissions are already calculated. Many process emissions arrive pre-calculated from a regulatory declaration (a PRTR filing, an ETS report, a consultant’s model) — you have tonnes of CO₂e, not raw activity data. Enter them by creating a factor of 1 kg CO₂e per kg and loading the quantity in kg CO₂e (or 1,000 kg CO₂e per t and the quantity in t CO₂e). Name the factor after the source declaration and attach it, so the traceability chain stays intact for the verifier. One caveat: don’t combine this shortcut with the biogenic flag. A pre-calculated CO₂e figure already has the gases merged, so there is nothing left to separate — if part of your total is biogenic, declare the gases in Advanced mode instead.
Step 23
If the process is shared between companies or sites. Use the “Divide invoice” section at the bottom of the form to split the record by percentage across companies and facilities, so you aren’t charged 100 % of the consumption. It defaults to 100 % on the facility you’re in. The percentages must add up to 100 % or less, and “Weighted quantity” then shows the share assigned here. Use it for a shared plant or a joint venture instead of duplicating the record — the companies you split with can see it too.
Step 24
Checking the calculation. Once saved, the record lists its impact in the table. Open it and expand “Calculation results” to see the formula Dcycle applied and the breakdown by gas — CO₂, CH₄ and N₂O each converted to CO₂e. That panel is the fastest way to confirm a factor was applied as you intended, and the screenshot verifiers usually ask for.
Step 25
Where the emissions show up. Process emissions land in Scope 1. The label changes by surface, so know what to look for: in a visualization or pivot table the selectable metric is “Process emissions (A1)”, and in the GHG report they appear as the “Process” row of the Scope 1 table, next to Stationary and Fugitive. If a biogenic grouping is involved, remember the CO₂ sits in the biogenic figures rather than the fossil total. And if the total looks low, check the record’s dates against the factor’s validity window — a factor that doesn’t cover them won’t apply.
Step 26
Before you close the year. One factor per process and per year (the raw-material composition changes, so the factor does too). Keep the methodology written down — Tier 1 default, Tier 2 specific, or direct measurement. Never enter the kiln or boiler fuel here. And re-open one record per facility after any factor edit, to confirm the recalculation went through.
Was this helpful?
What was missing or unclear? (optional)
Sent. Thank you for helping us improve.
Up next
Process emissions: what to collect by industryUnderstand what process emissions are under the GHG Protocol, what data to gather, and how to calculate them — with worked examples for cement, steel, aluminium, glass and chemicals.
Read more → Create a custom emission factorCustom emission factors let you override Dcycle's default databases (MITECO, DEFRA, ecoinvent, etc.) when you have a more specific factor for your activity — for example, an electricity factor provided by your supplier or a verified on-site combustion factor.
Read more →