Product Guides
Manage purchase data and emission factor databases
This guide covers three tasks: entering purchase records one by one with a monetary or weight amount, switching the emission factor database for purchases to ecoinvent, and creating your own emission factor database so it appears as a selectable option in the purchases configuration.
Before you start
You need an Editor role in your Dcycle organization.
Steps
Step 1
Part 1: Enter a purchase record manually. This is the quickest way to add a single purchase — you enter a monetary amount (euros) or a weight amount, and Dcycle calculates the emissions automatically using the Exiobase database.
Step 2
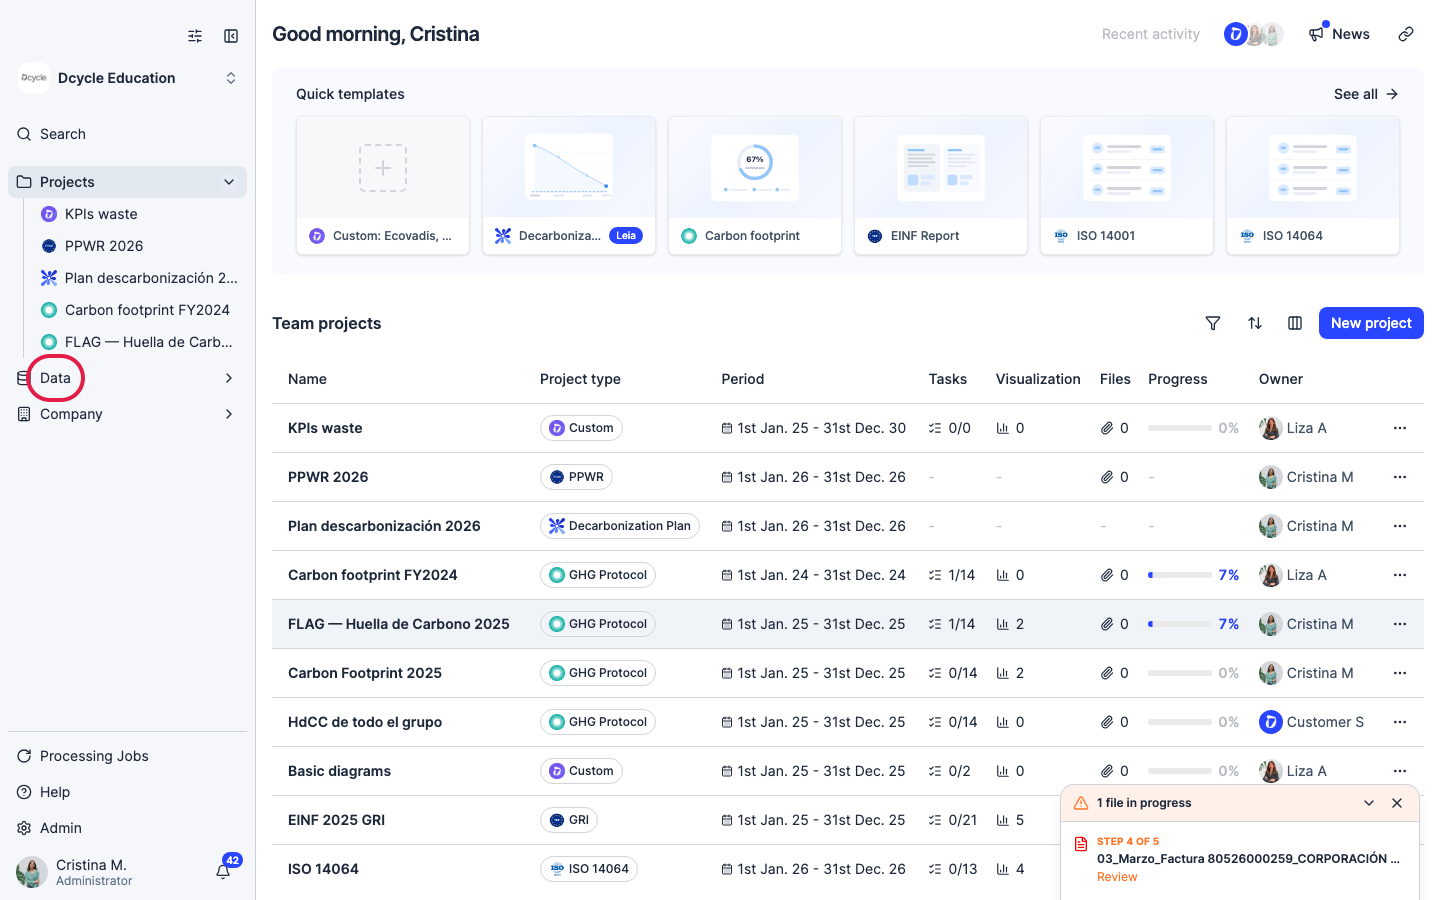
Click “Data” in the left navigation.
Step 3
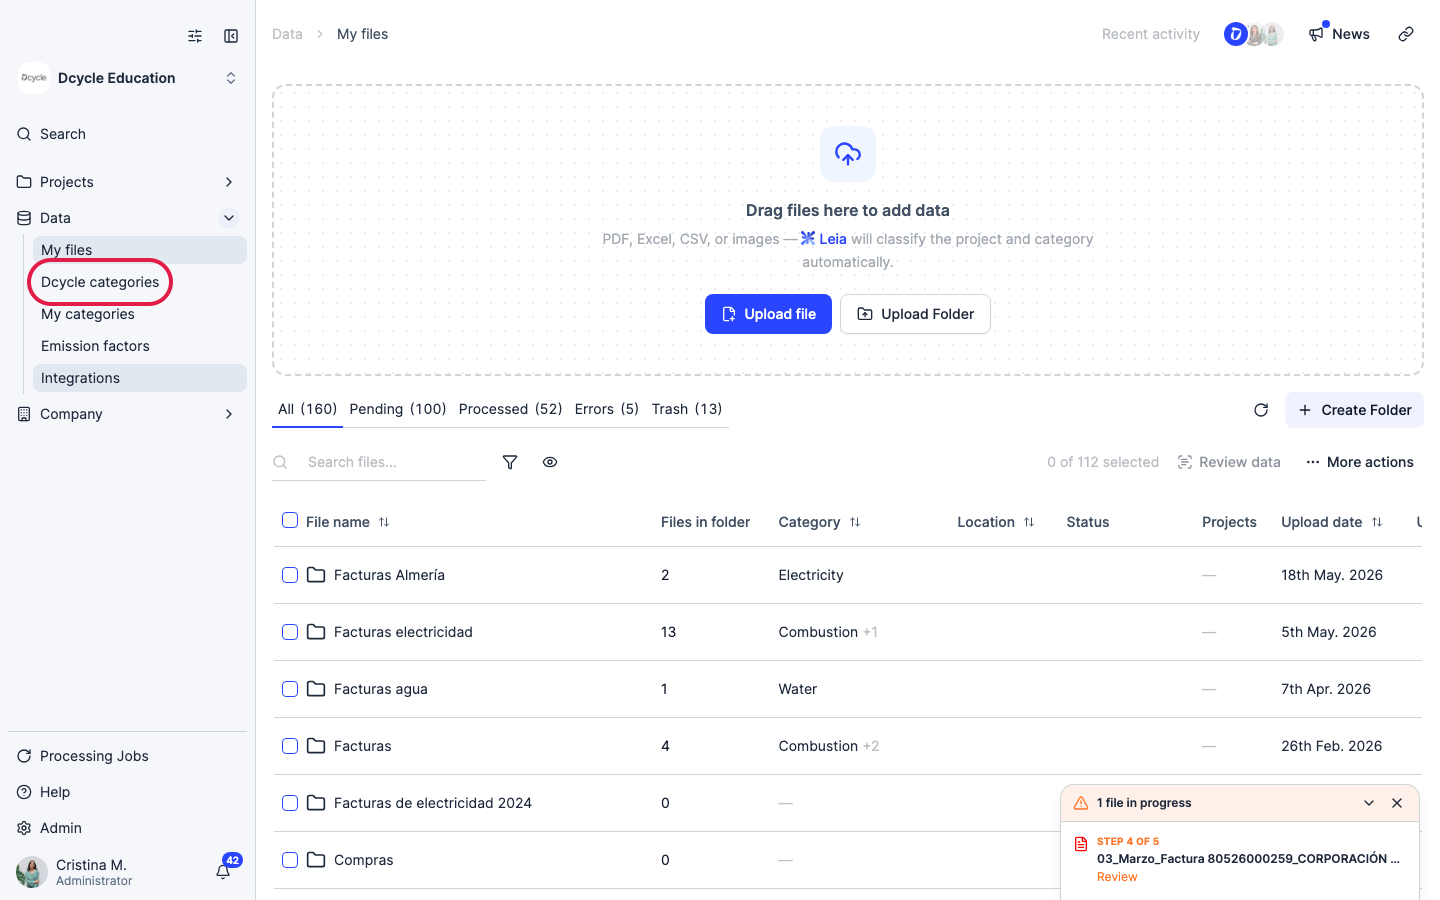
Click “Categories”.
Step 4
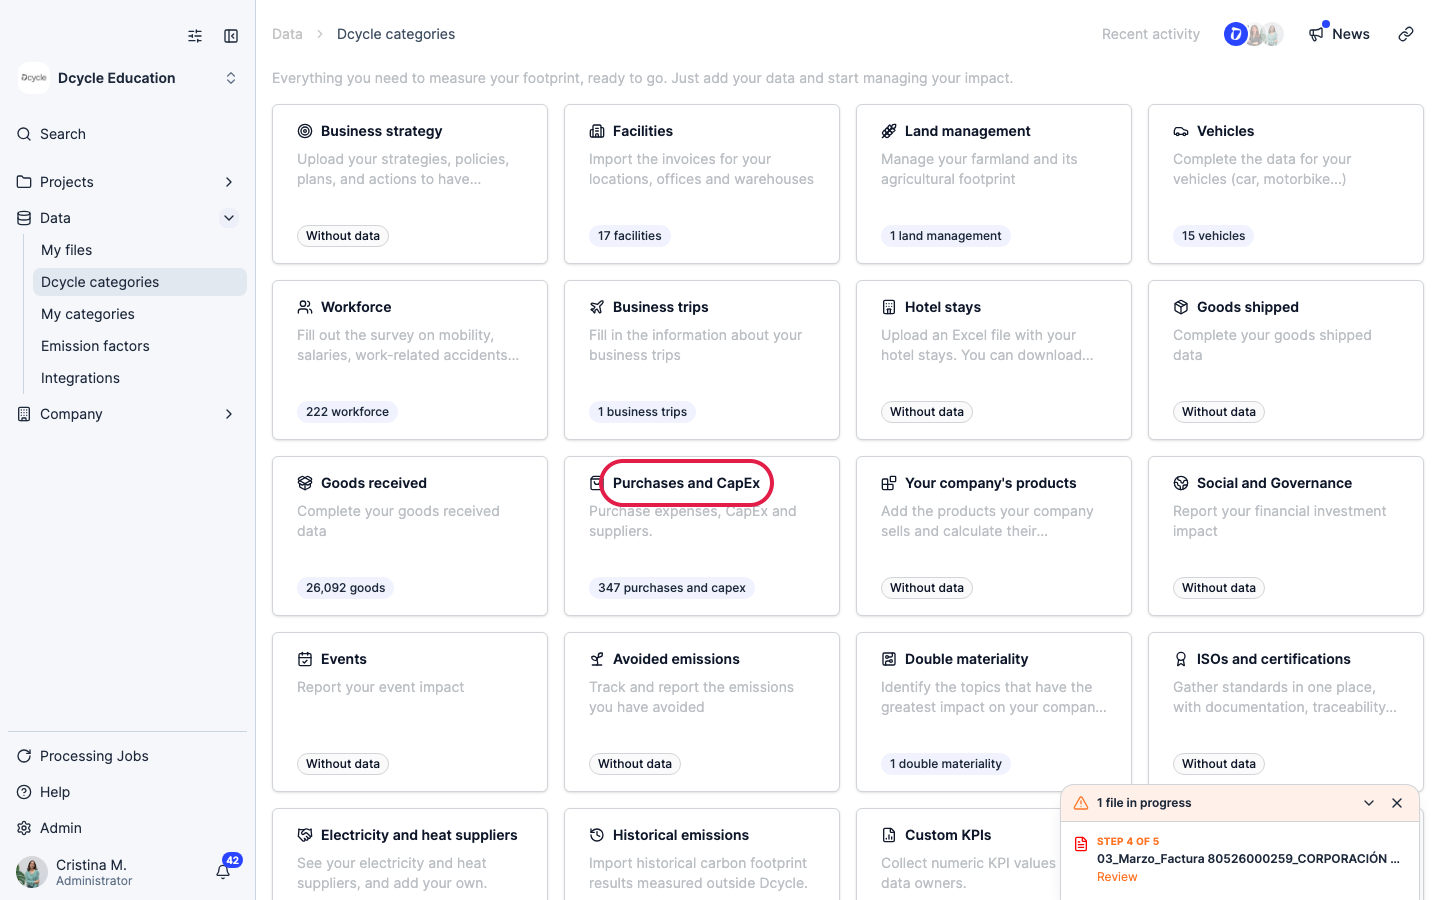
Open the “Purchases and CapEx” category.
Step 5
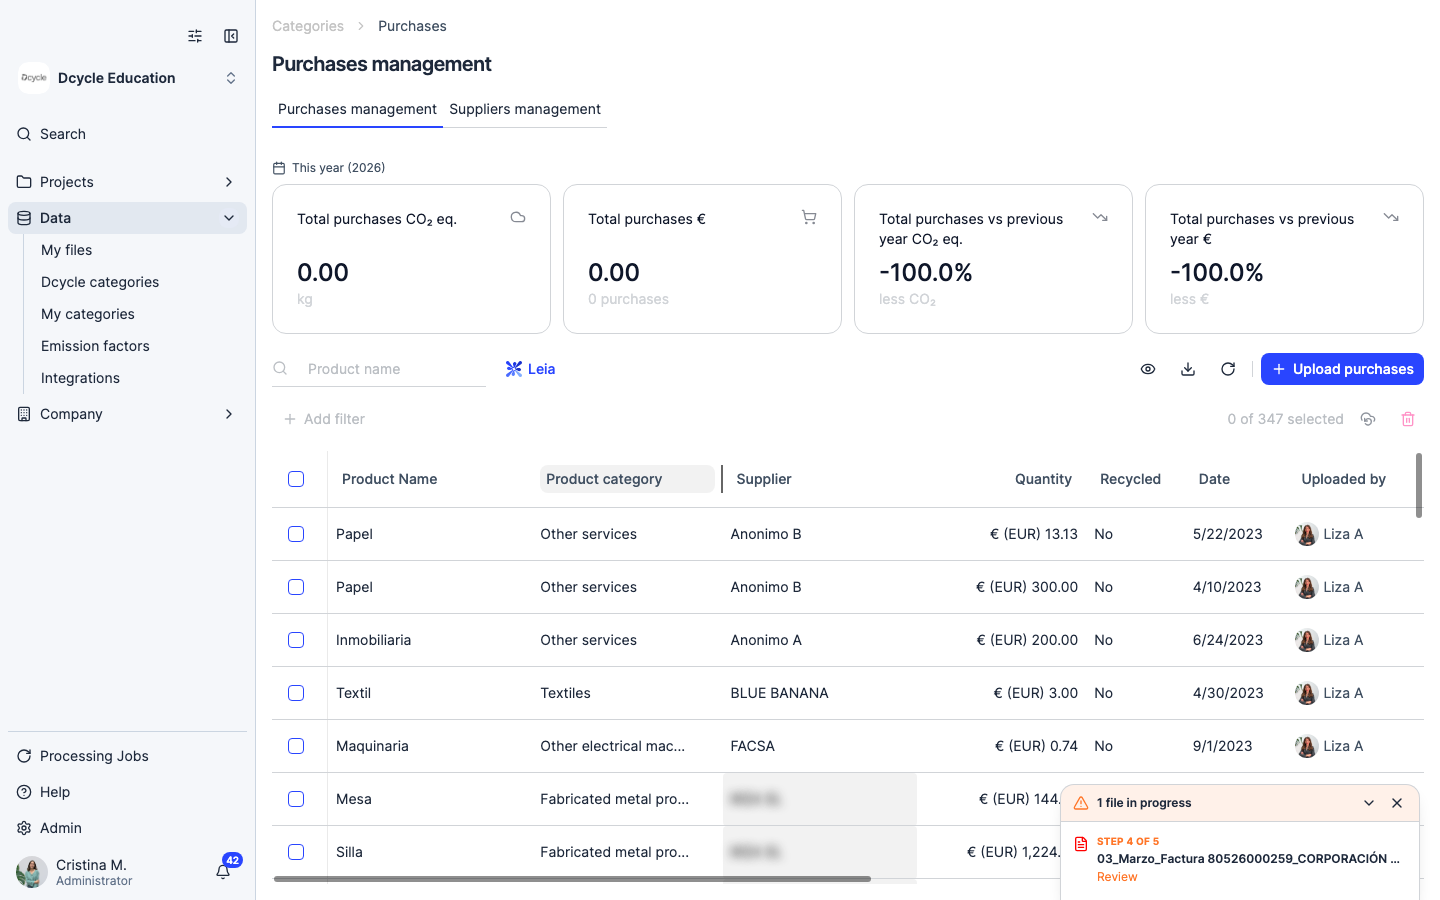
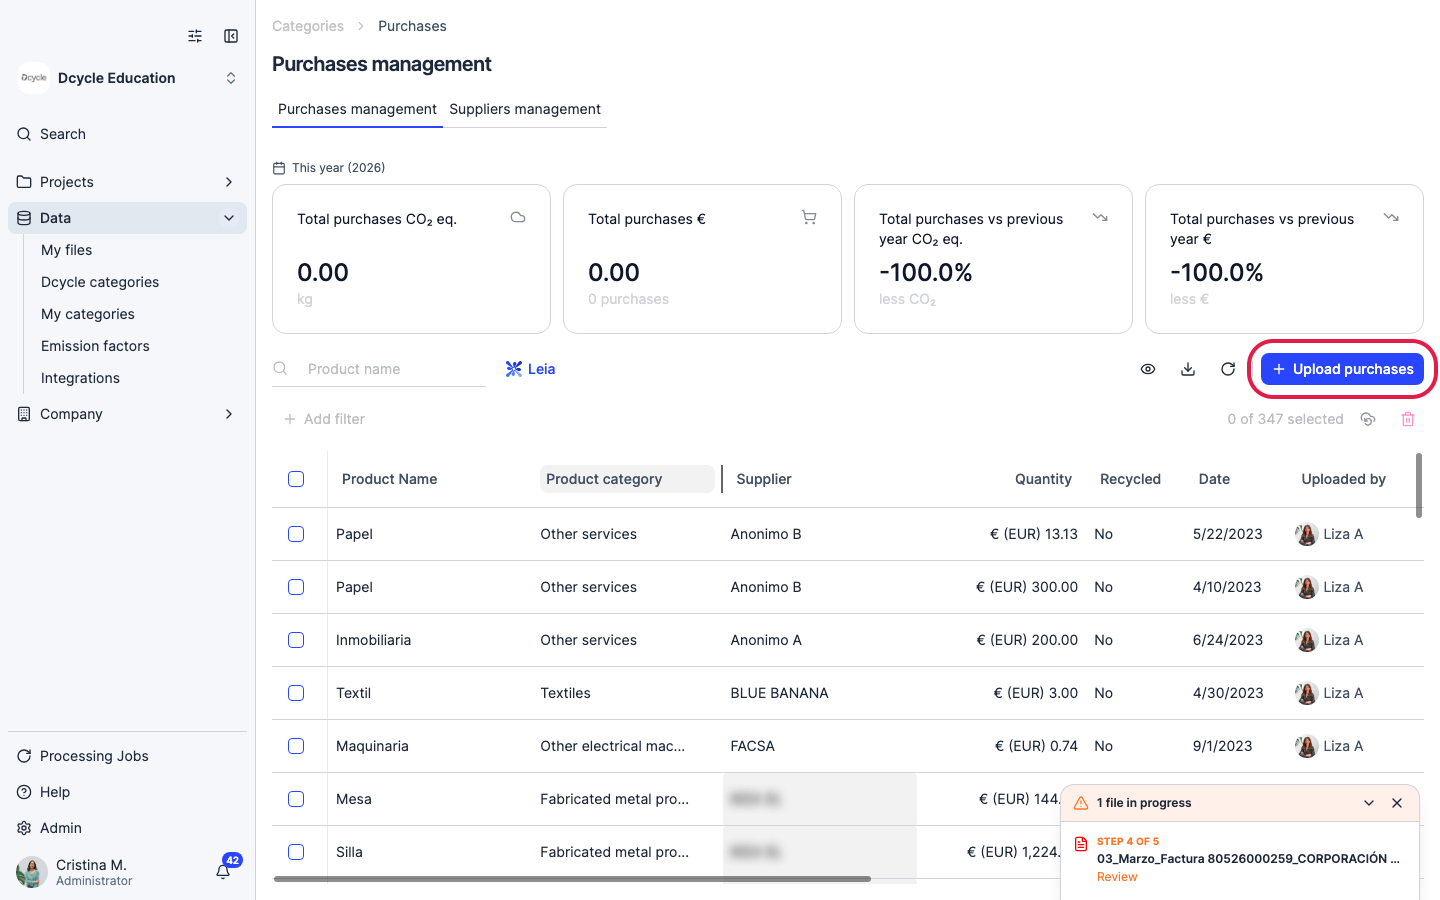
The “Purchase management” tab shows your purchase records and the total CO2e and spend at the top. Click “Upload purchases” in the top right to add new records.
Step 6
Click “Upload purchases”.
Step 7
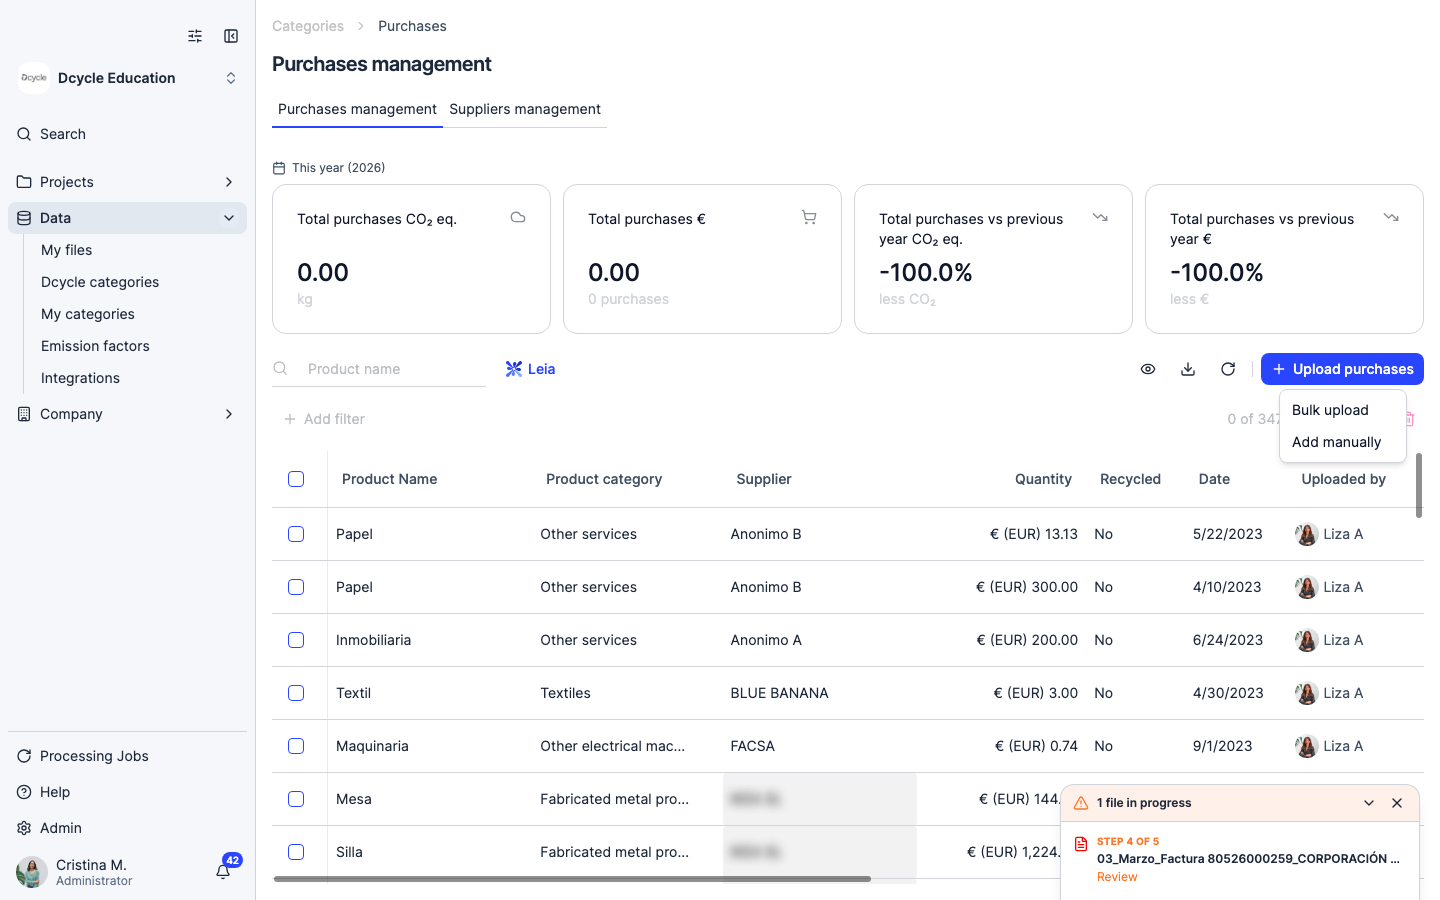
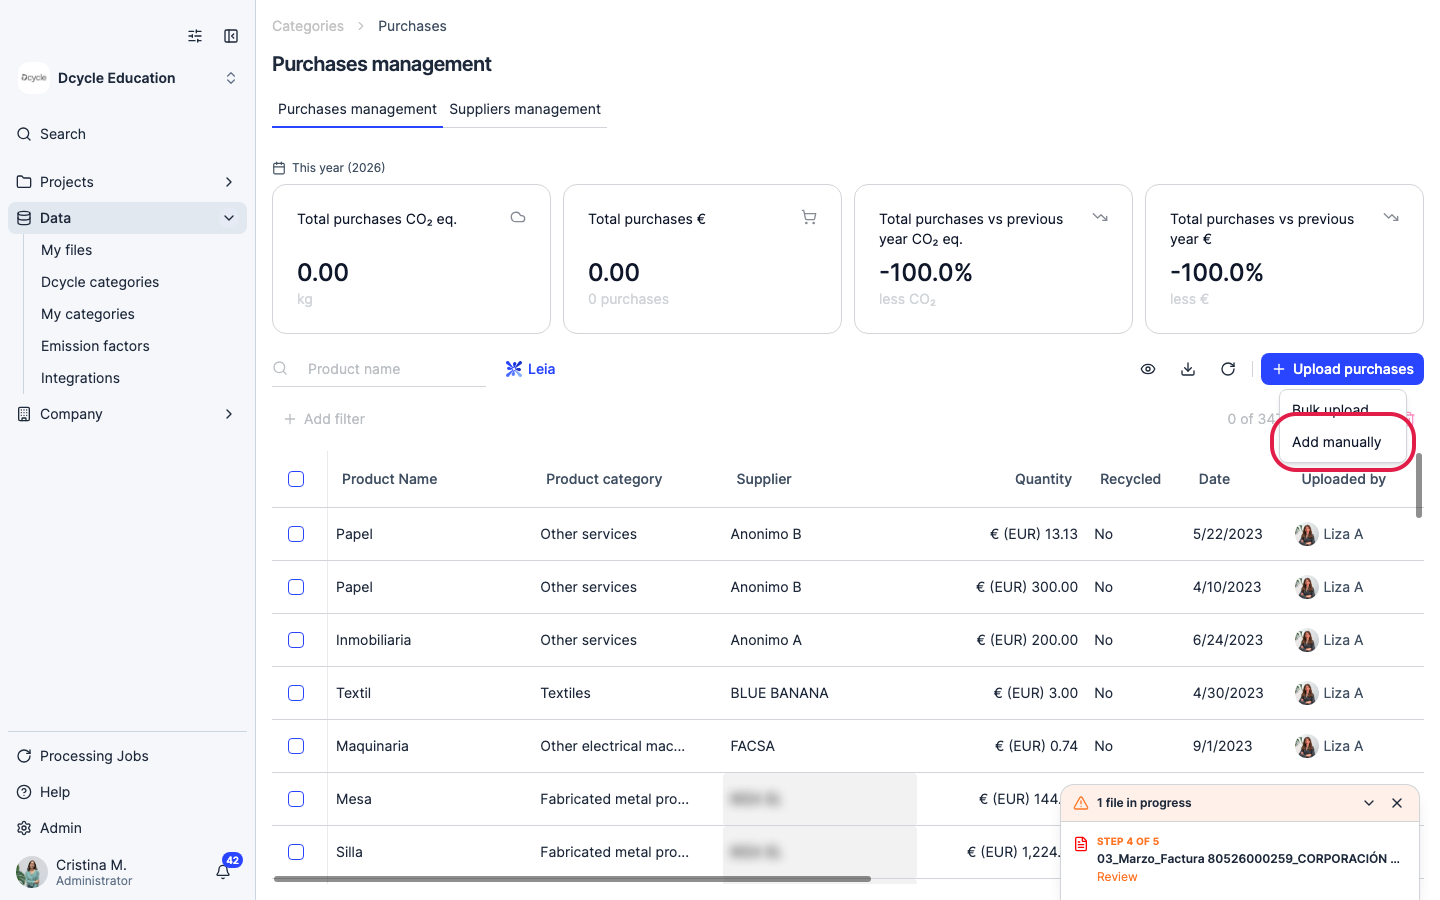
A menu appears with two options: “Bulk upload” (CSV/Excel import) and “Add manually” (one record at a time). Click “Add manually” to open the individual entry form.
Step 8
Click “Add manually”.
Step 9
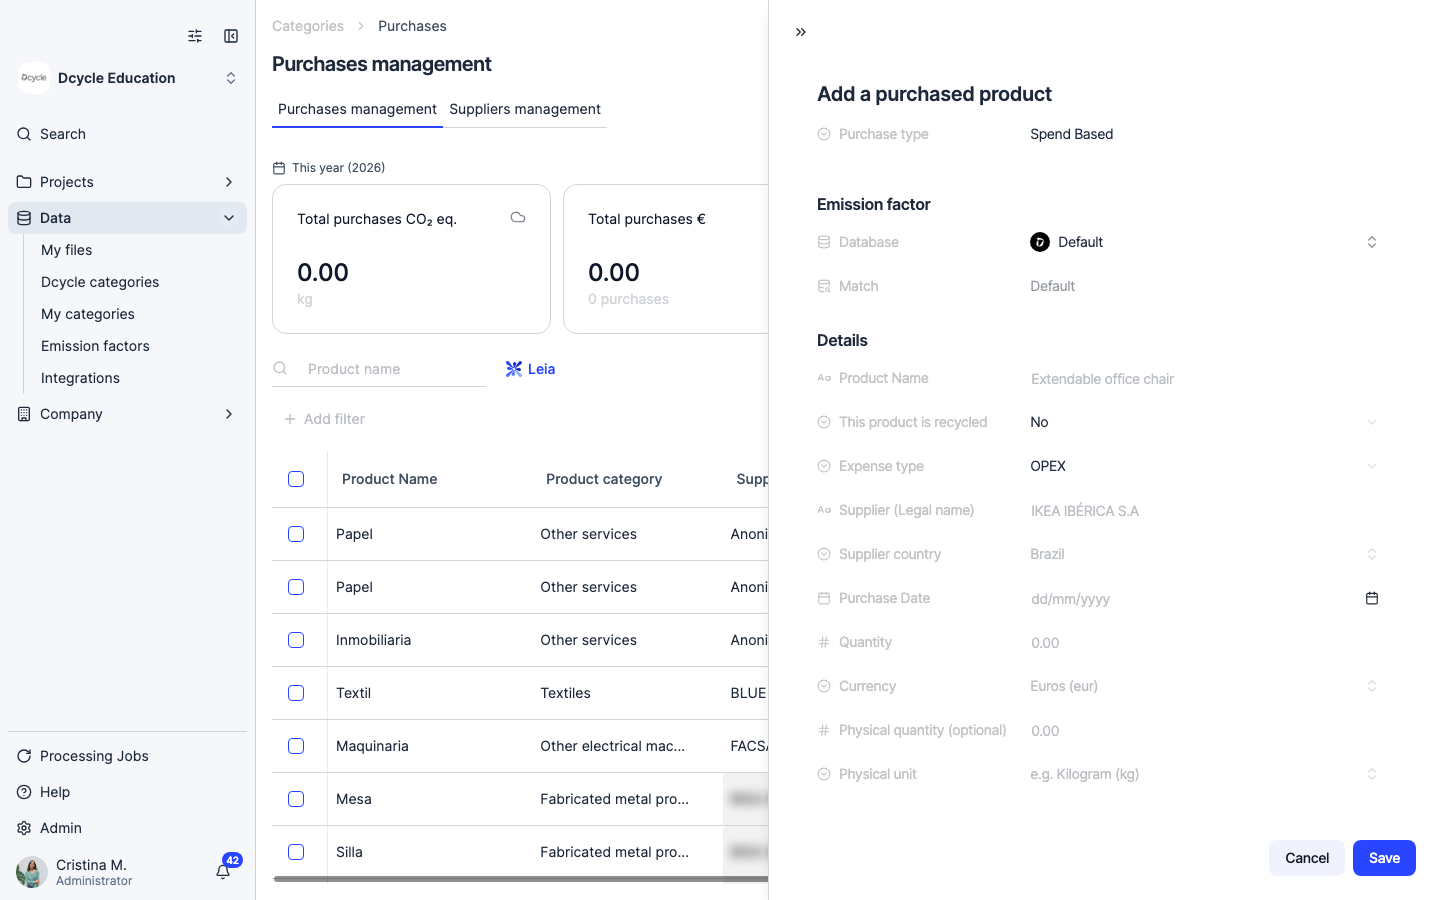
The manual entry form opens. Fill in the product, supplier, purchase date and expense type (OPEX/CAPEX). Then enter the amount either as a monetary value in euros or as a physical quantity in kilograms. Dcycle will automatically calculate the CO2e emissions using the Exiobase database.
Step 10
Exiobase is Dcycle’s default calculation database for purchases. It uses the euro amount (spend-based approach) or the weight (physical-unit approach) to look up the average emission factor for that category of goods or services. You do not need to set anything — the calculation happens automatically as soon as you save the record.
Step 11
Part 2: Switch the emission factor database for purchases to ecoinvent. This lets you match each raw material to a specific ecoinvent process and version instead of using the default Exiobase factors.
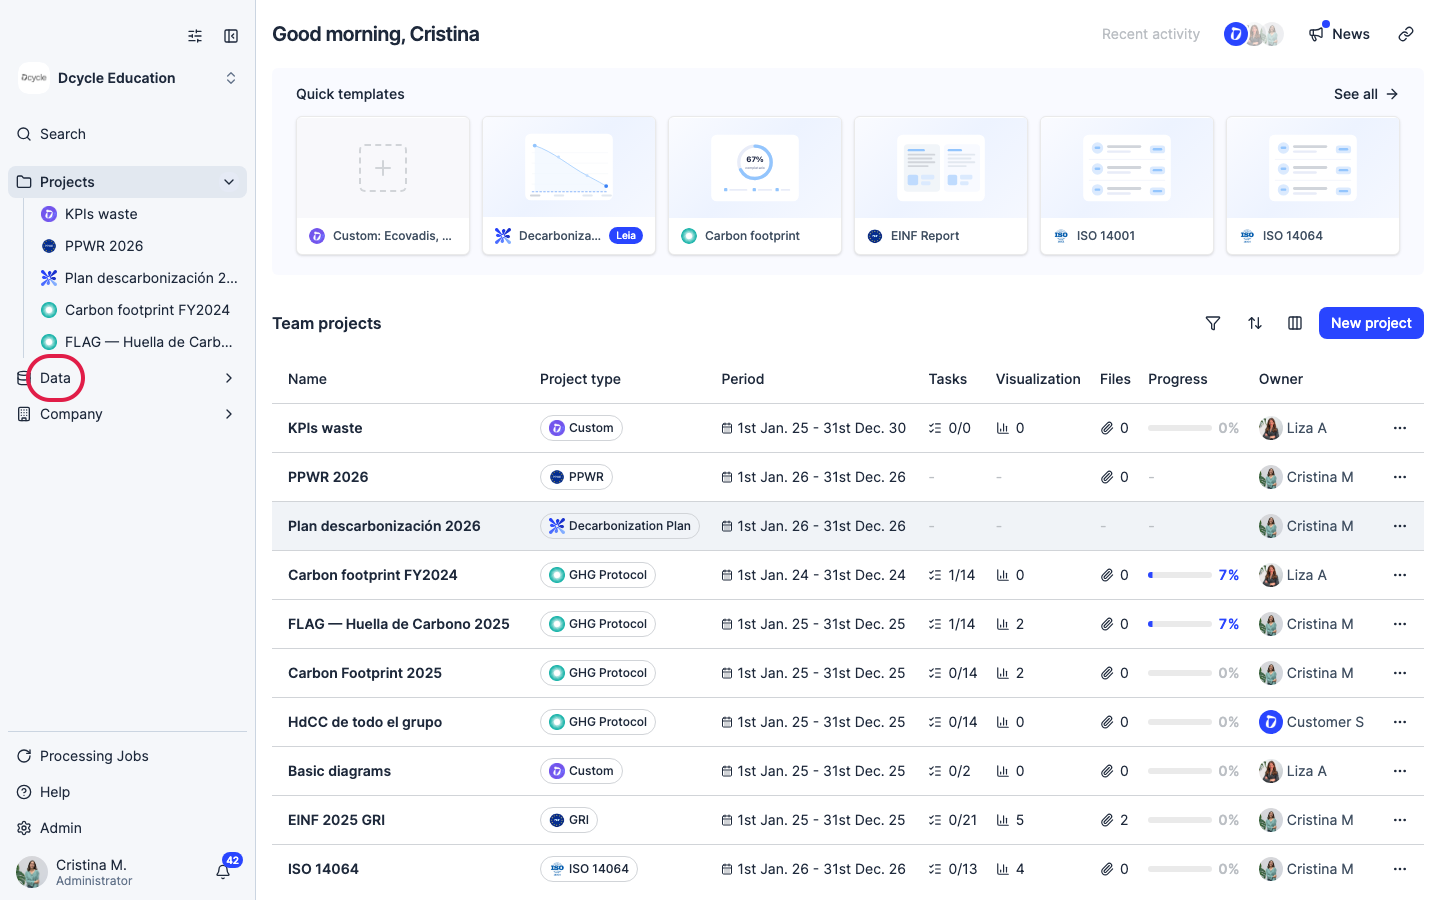
Step 12
Click “Data” in the left navigation.
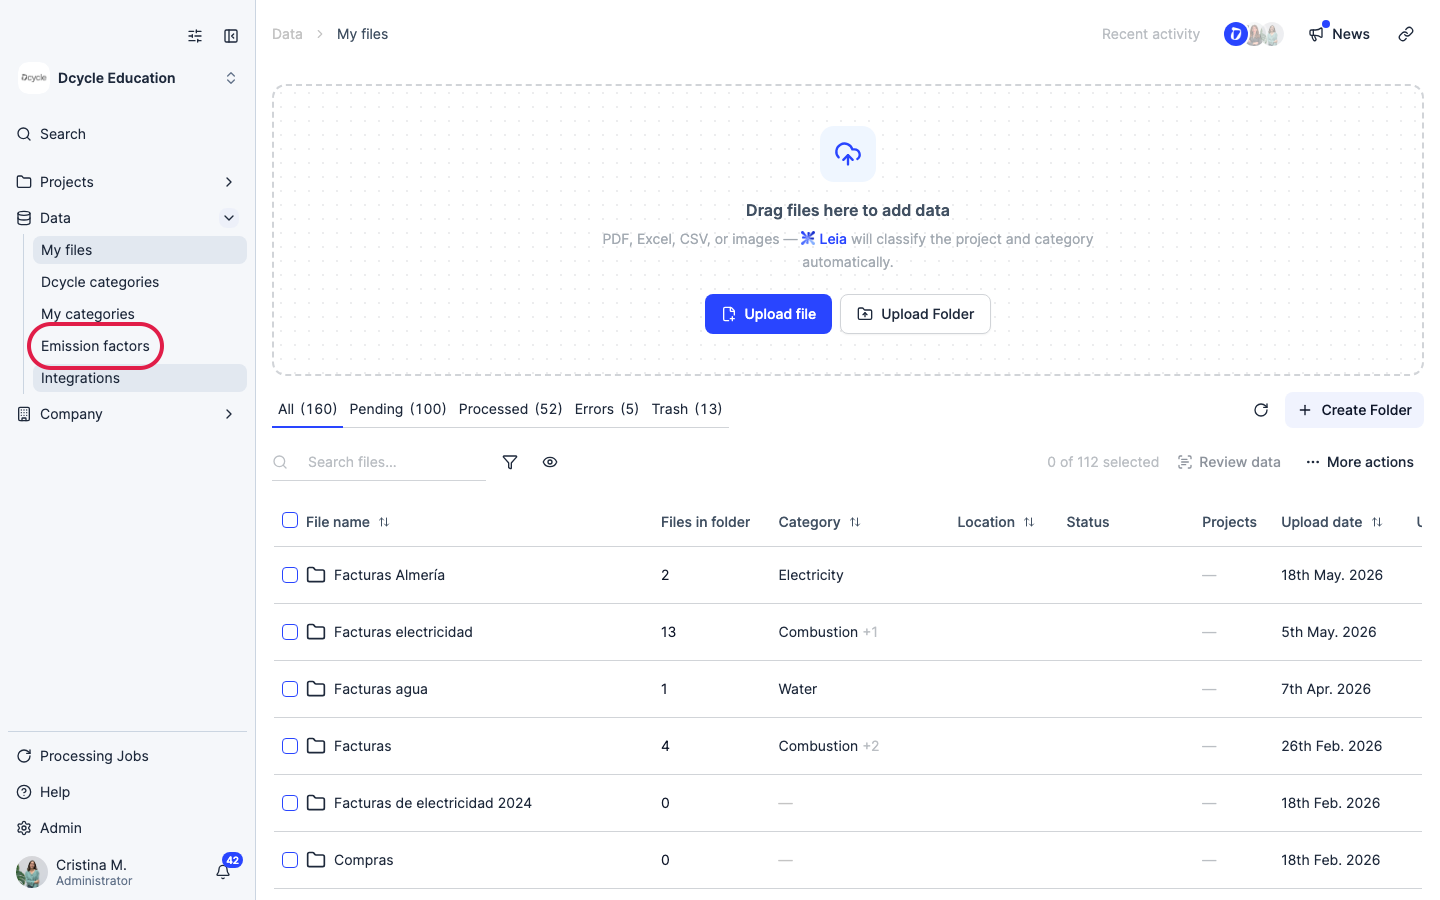
Step 13
Click “Emission factors” in the Data sub-navigation.
Step 14
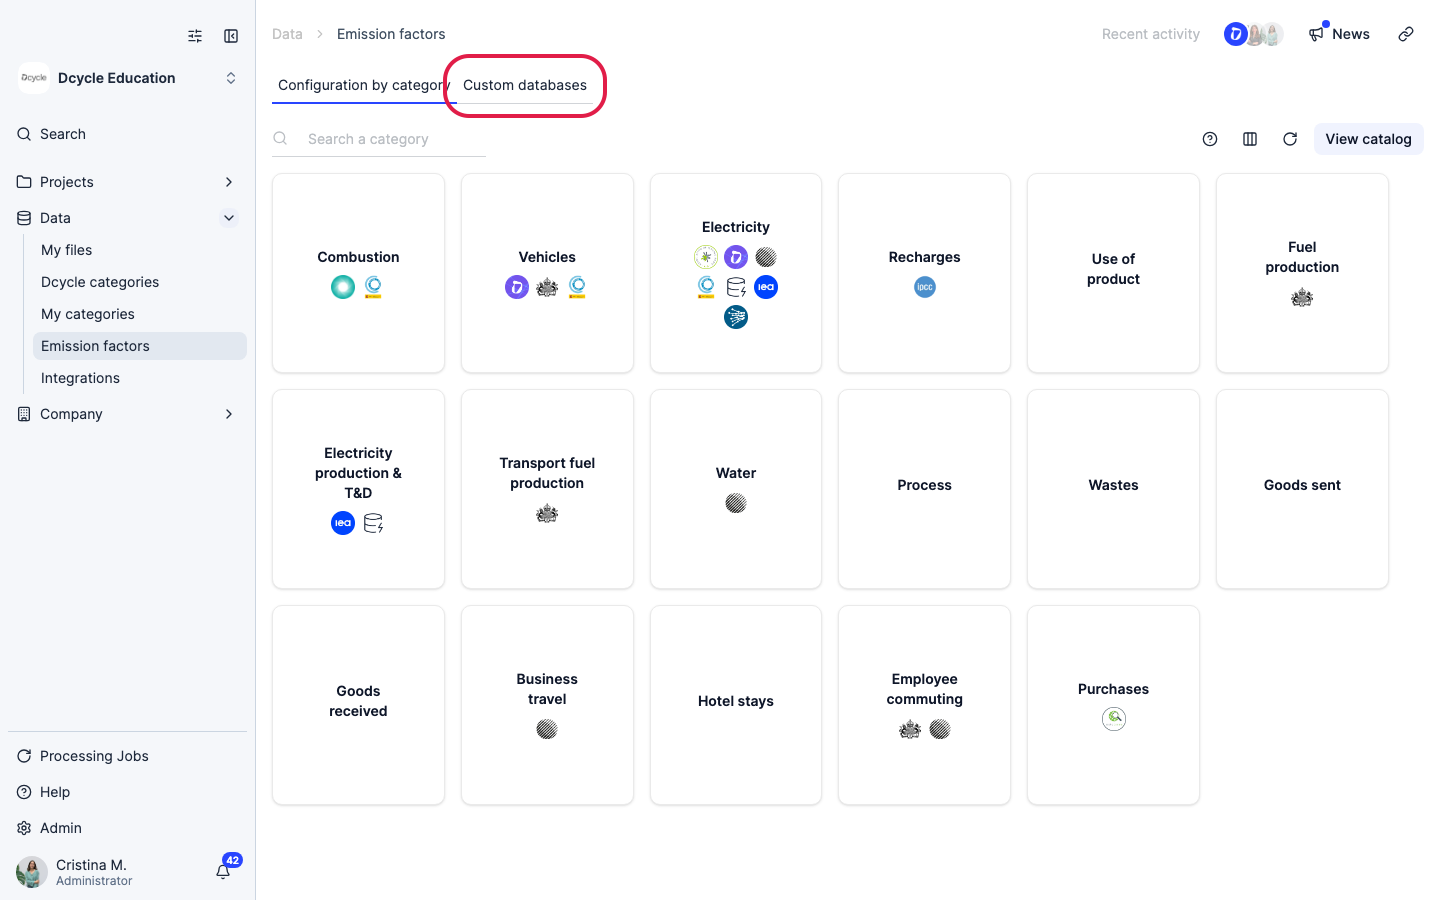
The Emission factors page has two tabs: “Configuration by category” (where you choose which database each category uses) and “Custom management” (where you create your own databases — covered in Part 3). Stay on the “Configuration by category” tab.
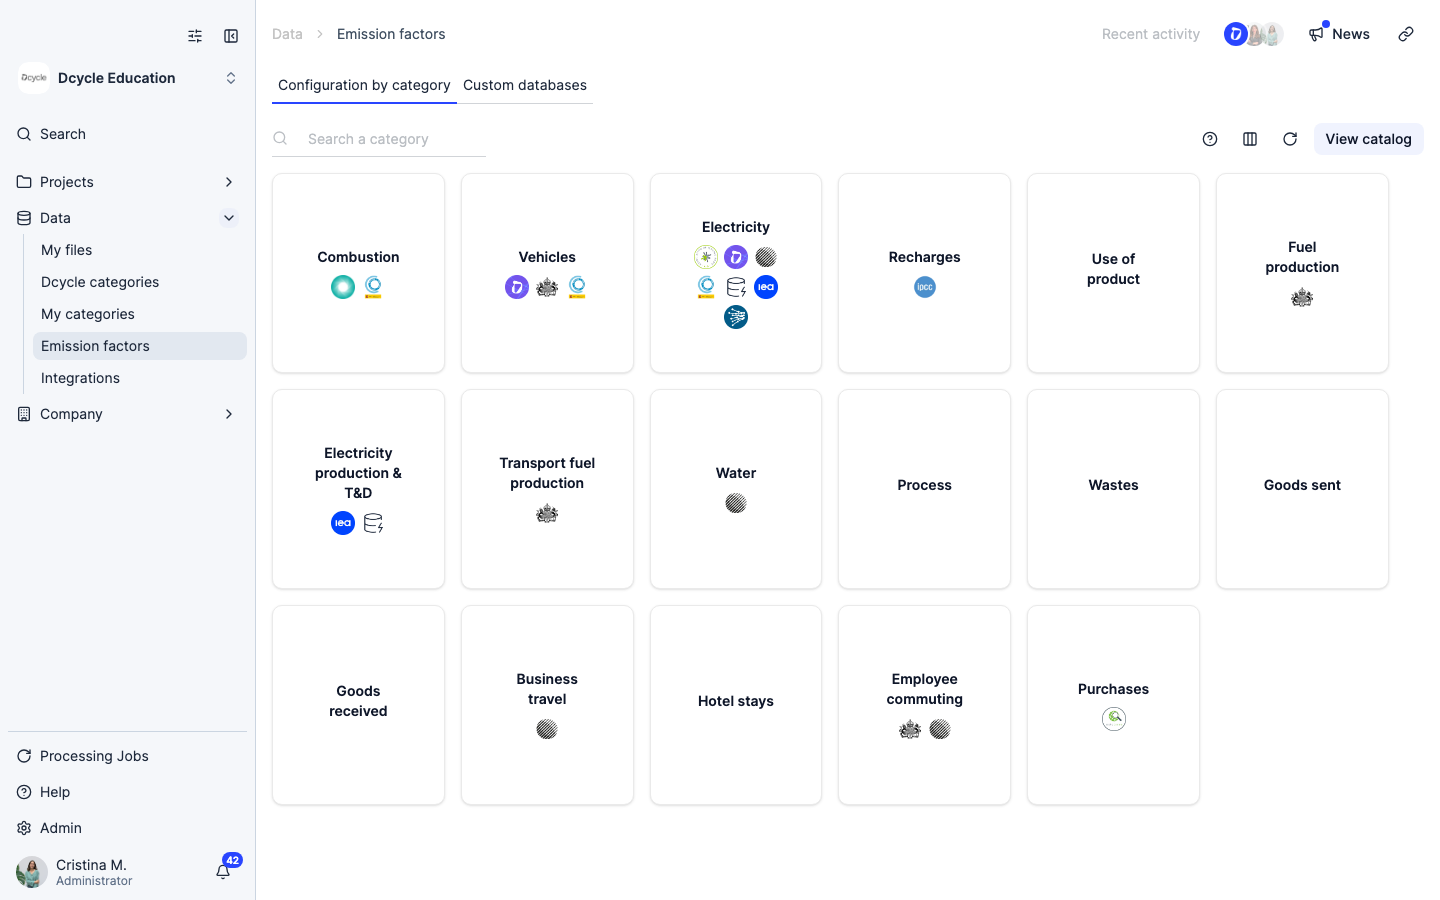
Step 15
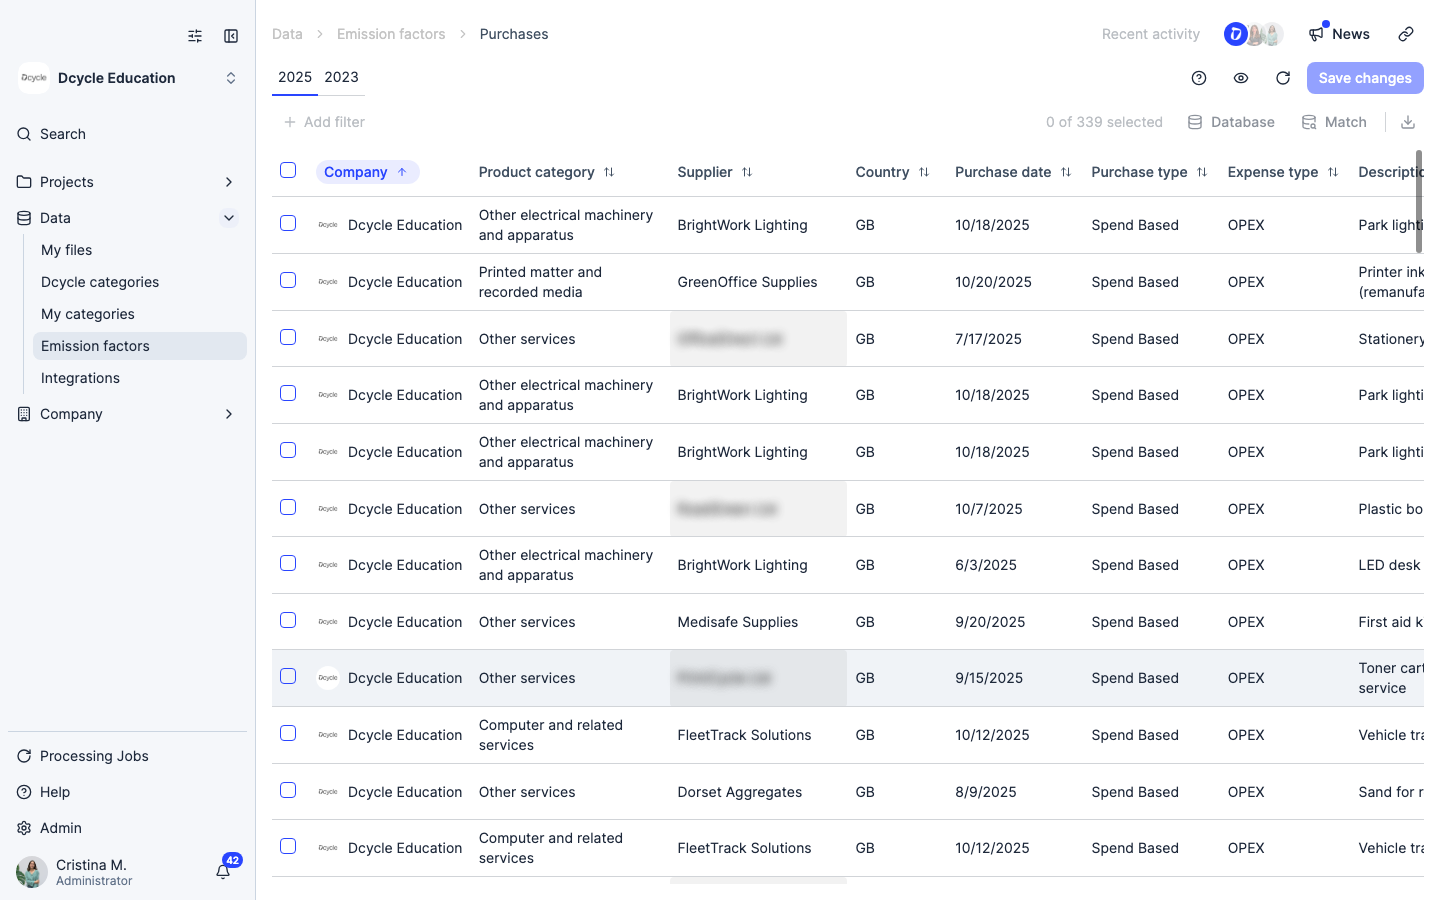
Click the “Purchases” category tile to open its emission factor configuration panel.
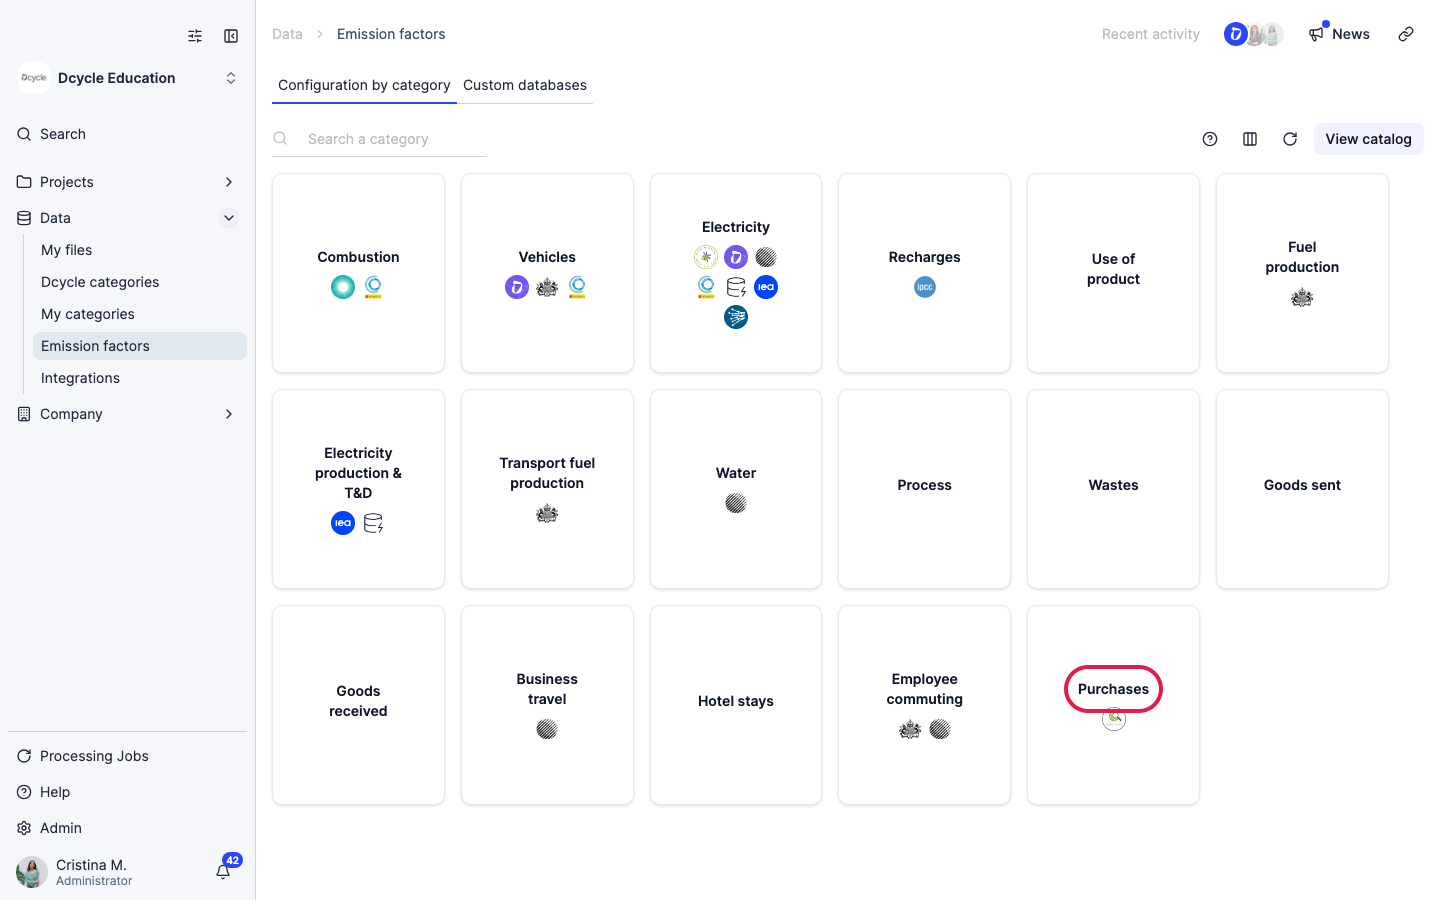
Step 16
The panel shows the available databases for purchases — Exiobase is selected by default. To switch to ecoinvent, select it from the database dropdown. Then choose the ecoinvent version and, for each raw material in your purchases, select the matching ecoinvent process.
Step 17
Matching correctly matters: pick the ecoinvent process whose system boundary and functional unit best represent what you actually buy. For example, “steel, low-alloyed {RER}” for European low-alloy steel purchases. The version you choose (3.8, 3.9, 3.10…) determines which emission intensity values Dcycle uses.
Step 18
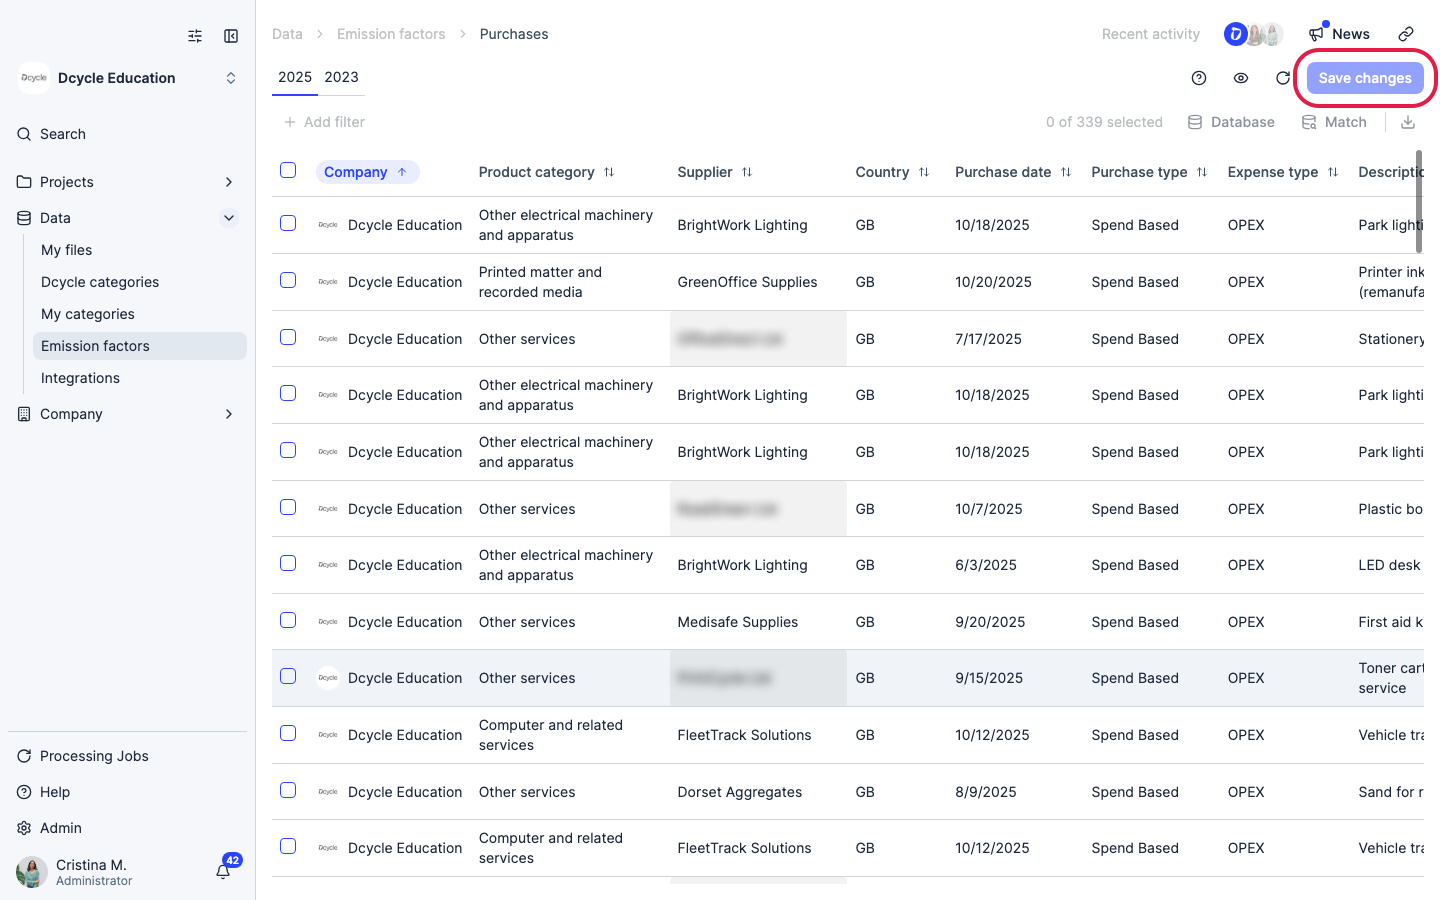
Click “Save changes” to apply the ecoinvent database to the Purchases category. Dcycle will recalculate the emissions for all existing purchase records using the new factors.
Step 19
Part 3: Create your own emission factor database. Once created, it appears as a selectable option in the database dropdown for purchases — alongside Exiobase and ecoinvent — so you can apply your own factors to any purchase category.
Step 20
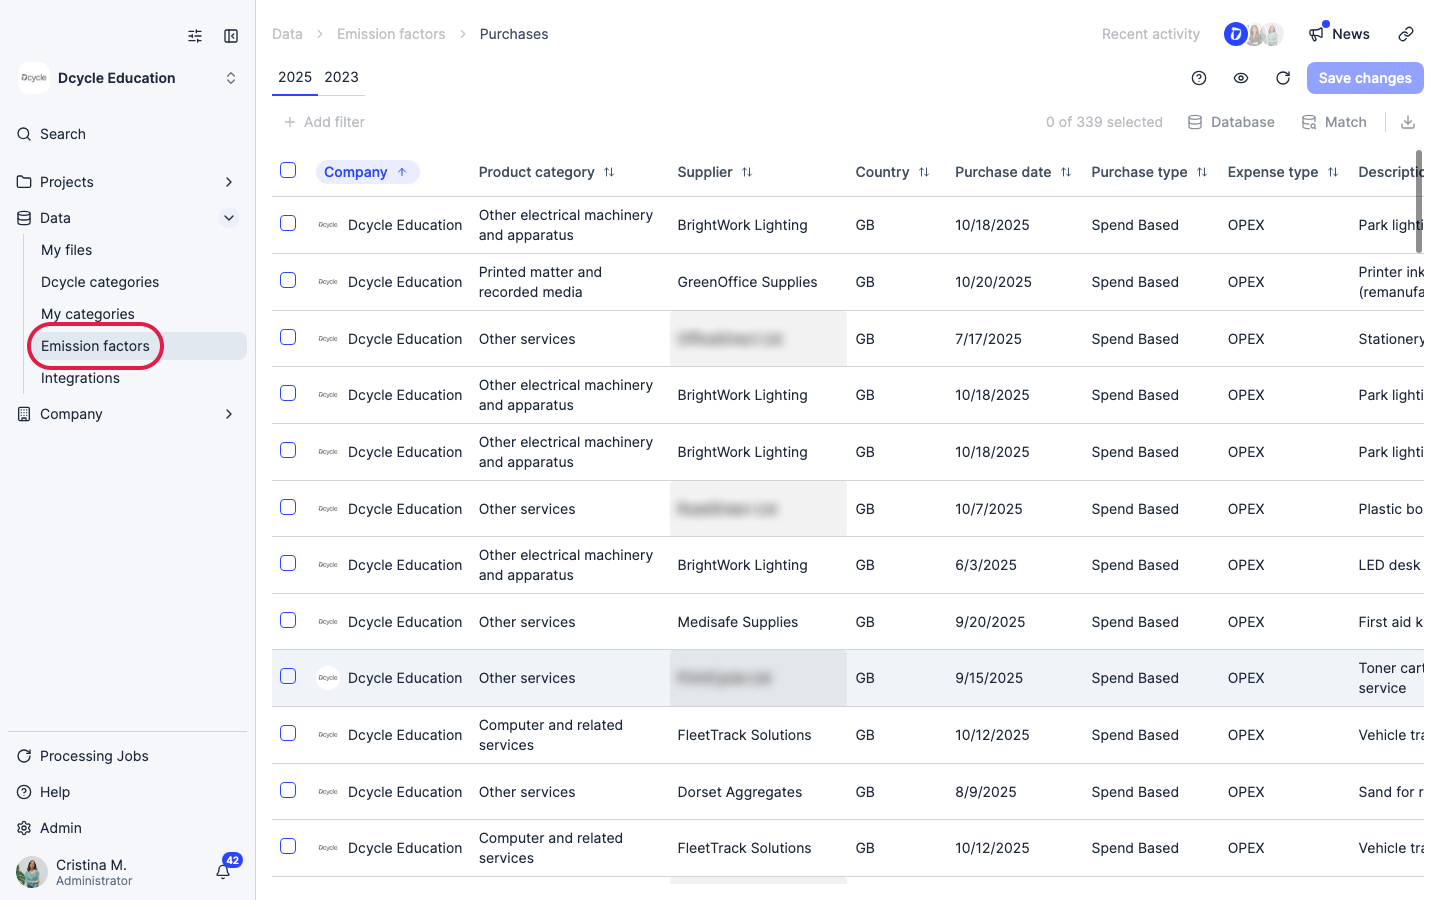
Click “Emission factors” in the left navigation to return to the main page.
Step 21
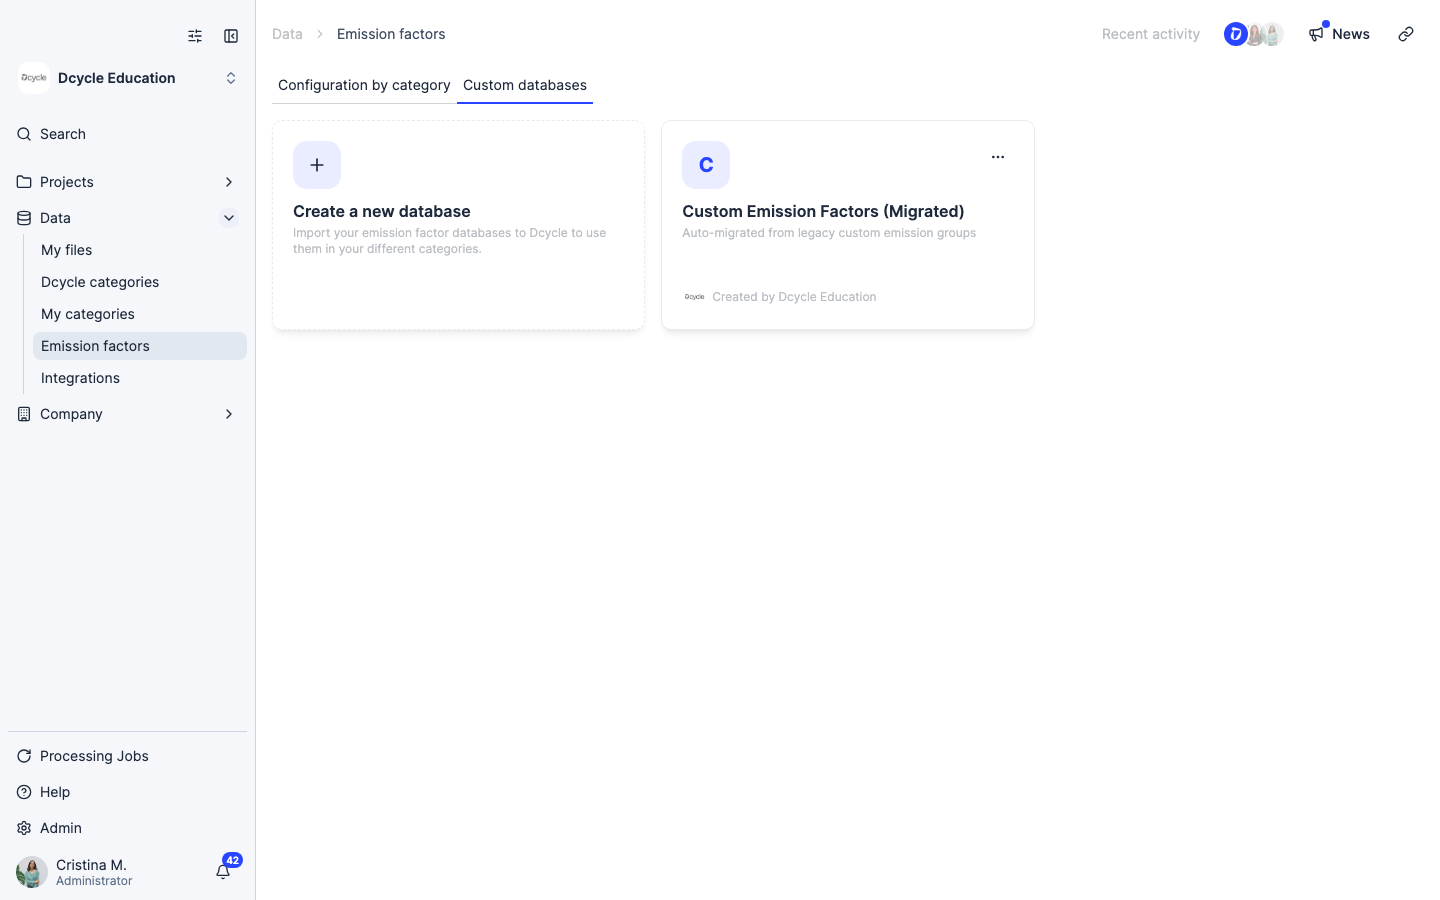
Click the “Custom databases” tab.
Step 22
The “Custom databases” tab shows the databases you have already created, plus a “Create a new database” card to add more. Any database you create here will later appear in the database dropdown on the “Configuration by category” screen, so you can apply it to specific categories such as Purchases.
Step 23
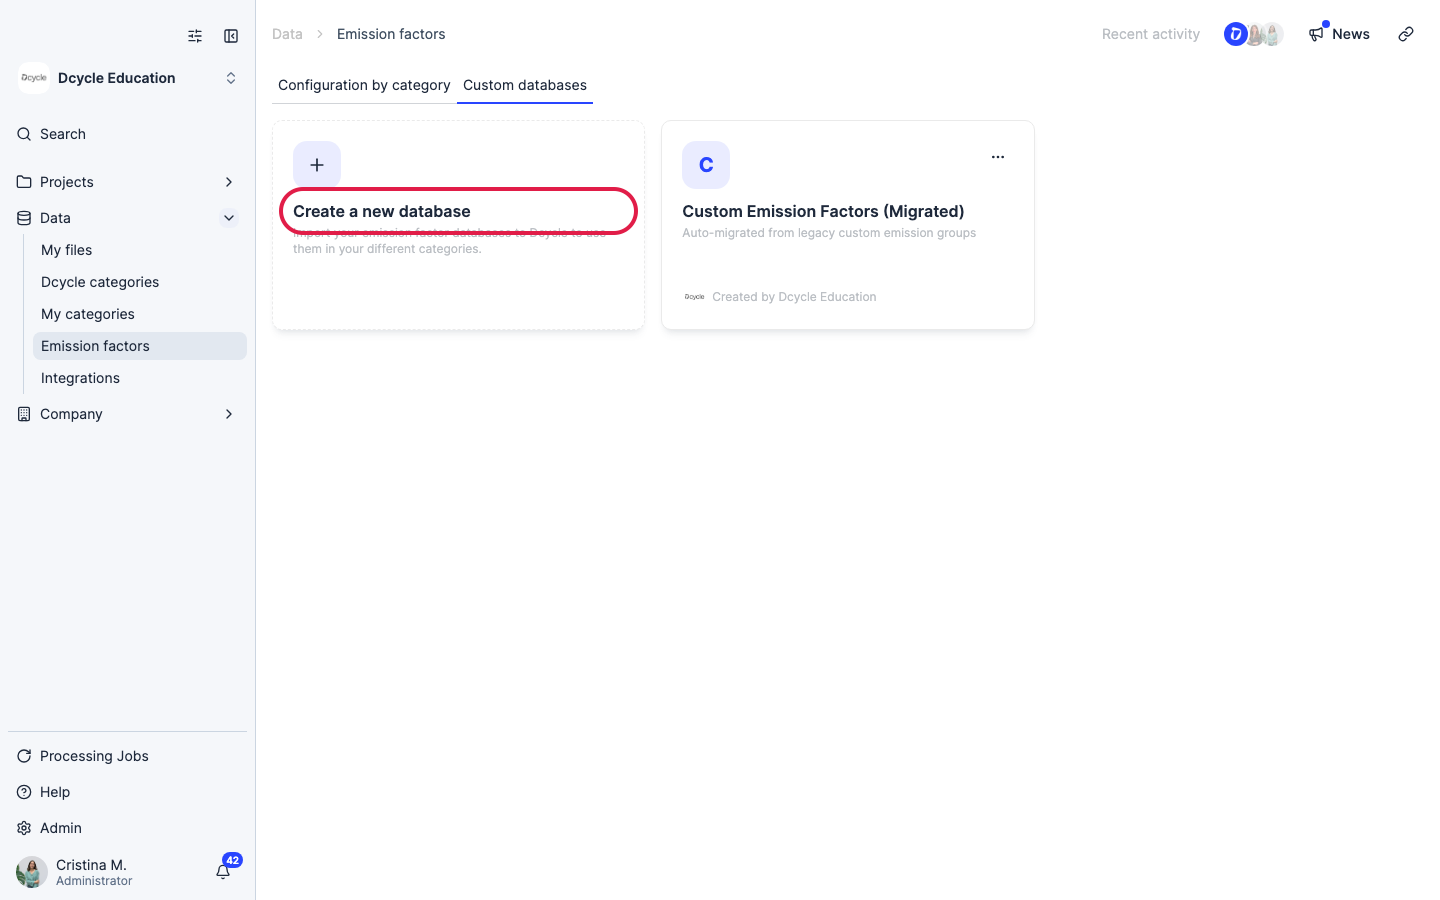
Click the “Create a new database” card to start a new custom emission factor database.
Step 24
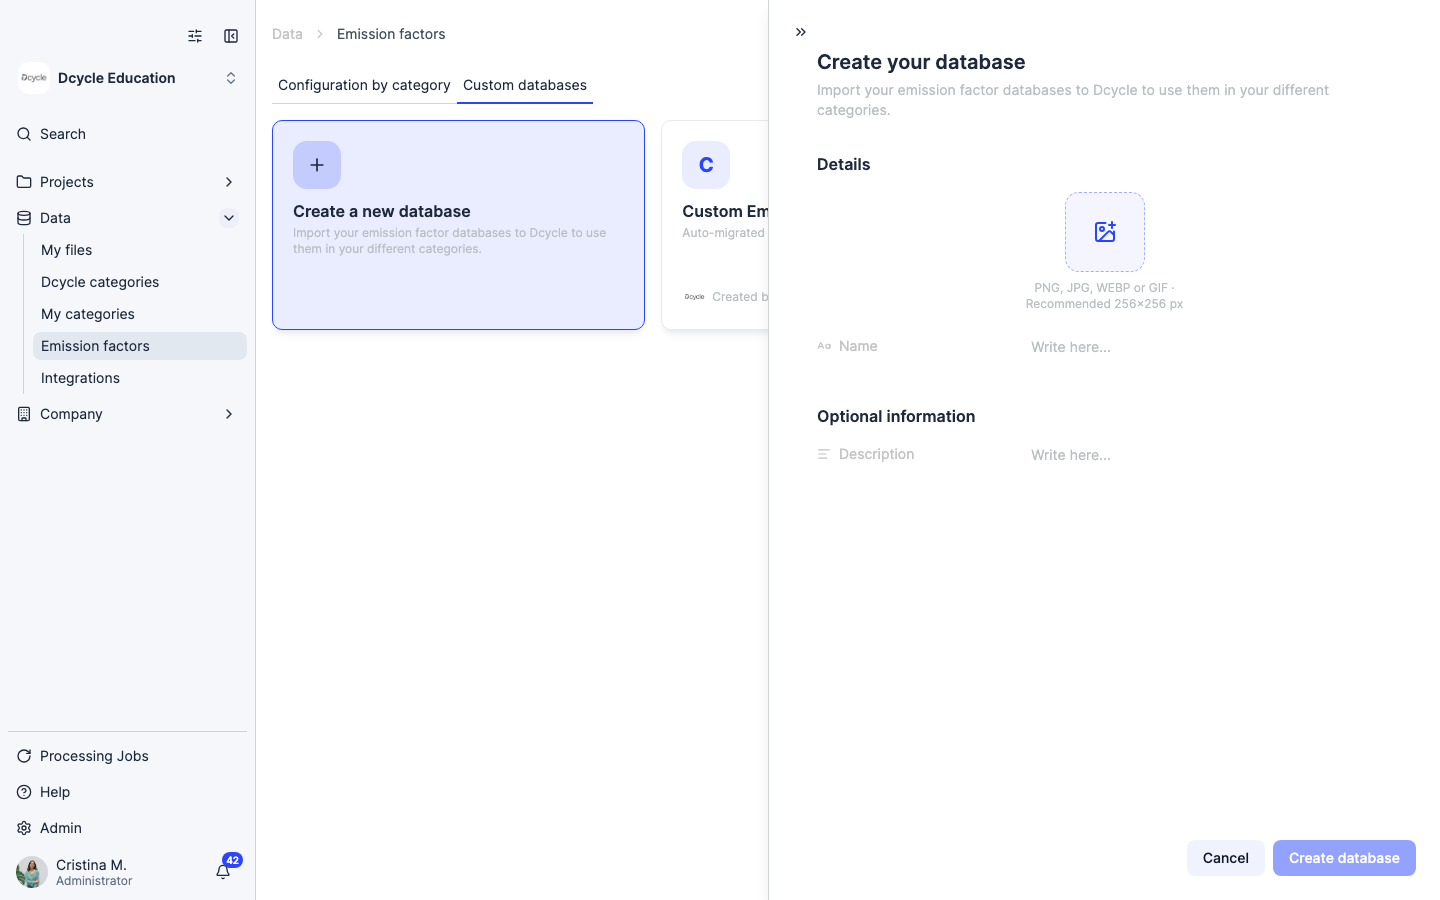
A creation panel opens. Give your database a name you will recognise later (for example “Supplier factors 2024” or “Ecoinvent custom subset”), choose “Purchases” as the category it applies to, and set the validity period. Then add the individual emission factors — material, value in kg CO2e, and reference unit — for each raw material you want to cover.
Step 25
Once you save the database, go back to “Configuration by category” and click the Purchases tile. Your new database will now appear in the database dropdown alongside Exiobase and ecoinvent. Select it, match each raw material to the corresponding factor in your database, and click “Save changes” to apply it.
Was this helpful?
What was missing or unclear? (optional)
Sent. Thank you for helping us improve.