Product Guides
Upload an electricity invoice
Electricity is Scope 2 — energy you buy and consume on-site. Each consumption record is linked to a facility, so make sure the facility exists first (see "Setting up your facilities in Dcycle").
Before you start
You need an Editor role in your Dcycle organization.
Steps
Step 1
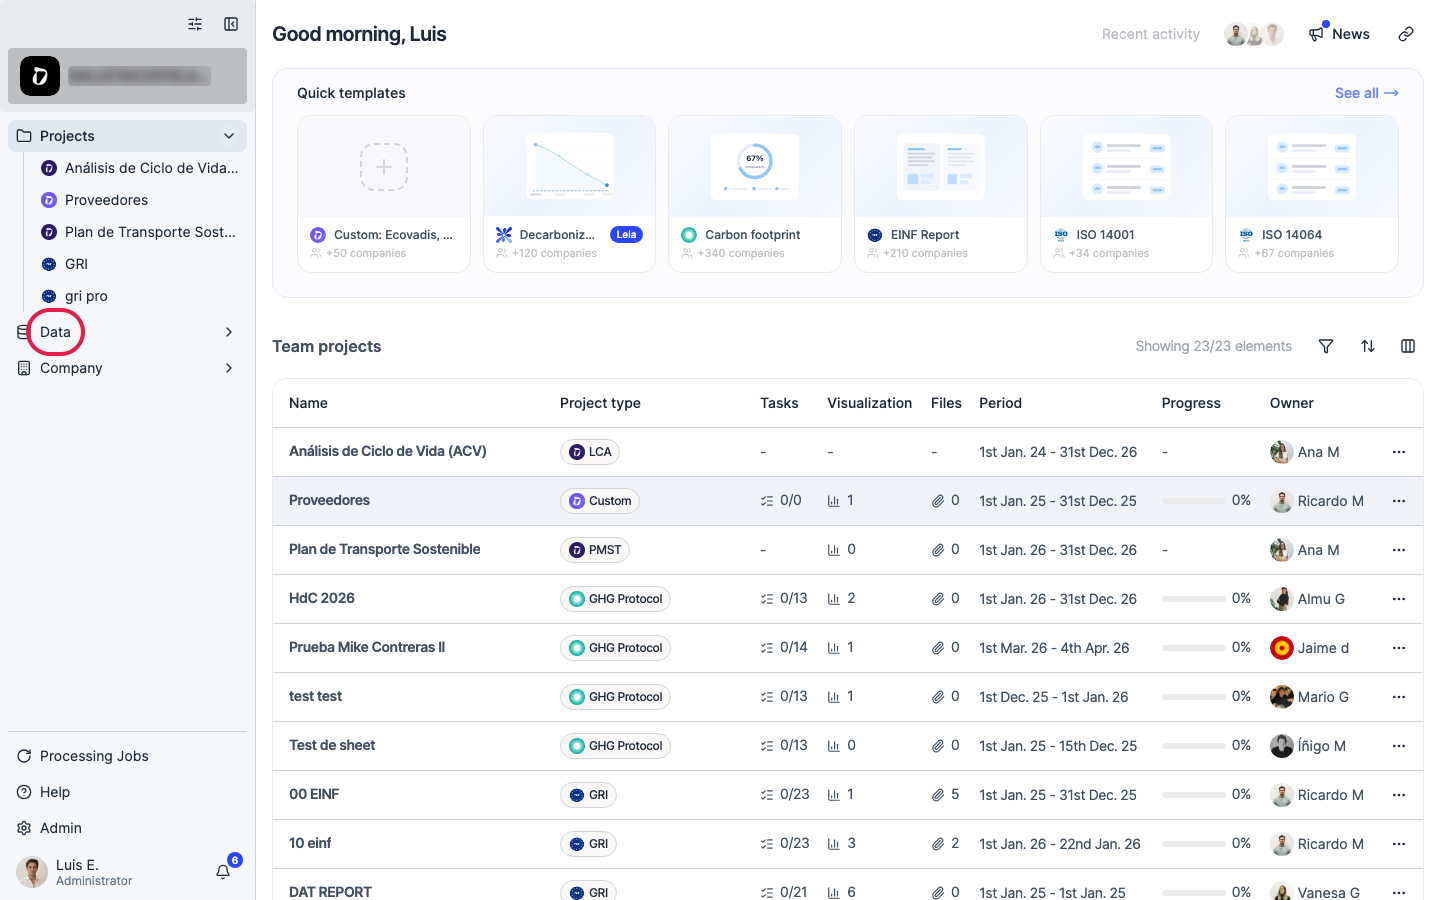
Click “Data” in the left navigation.
Step 2
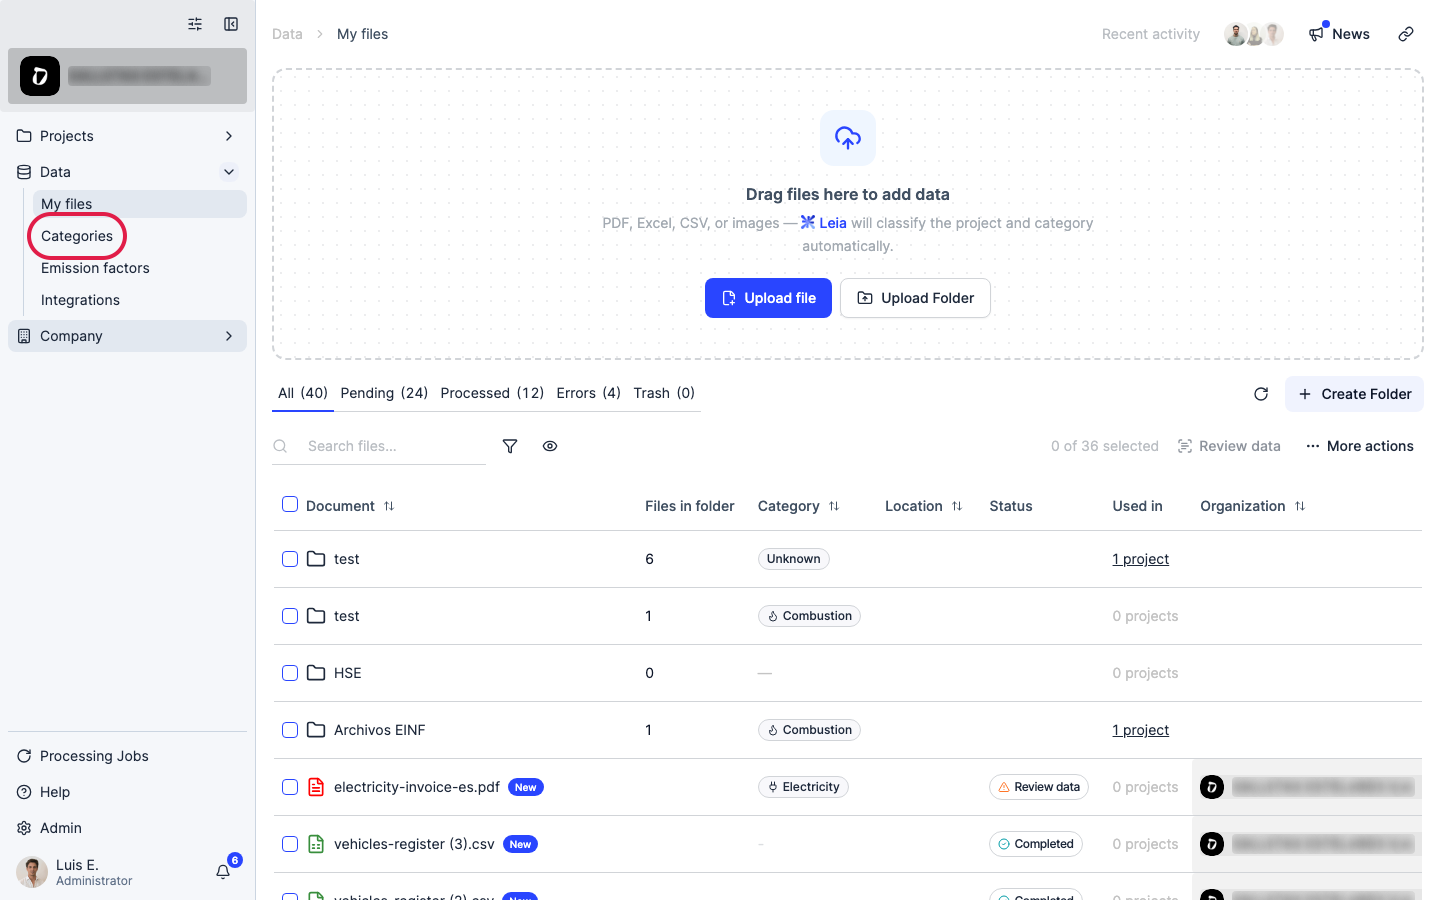
Click “Categories”.
Step 3
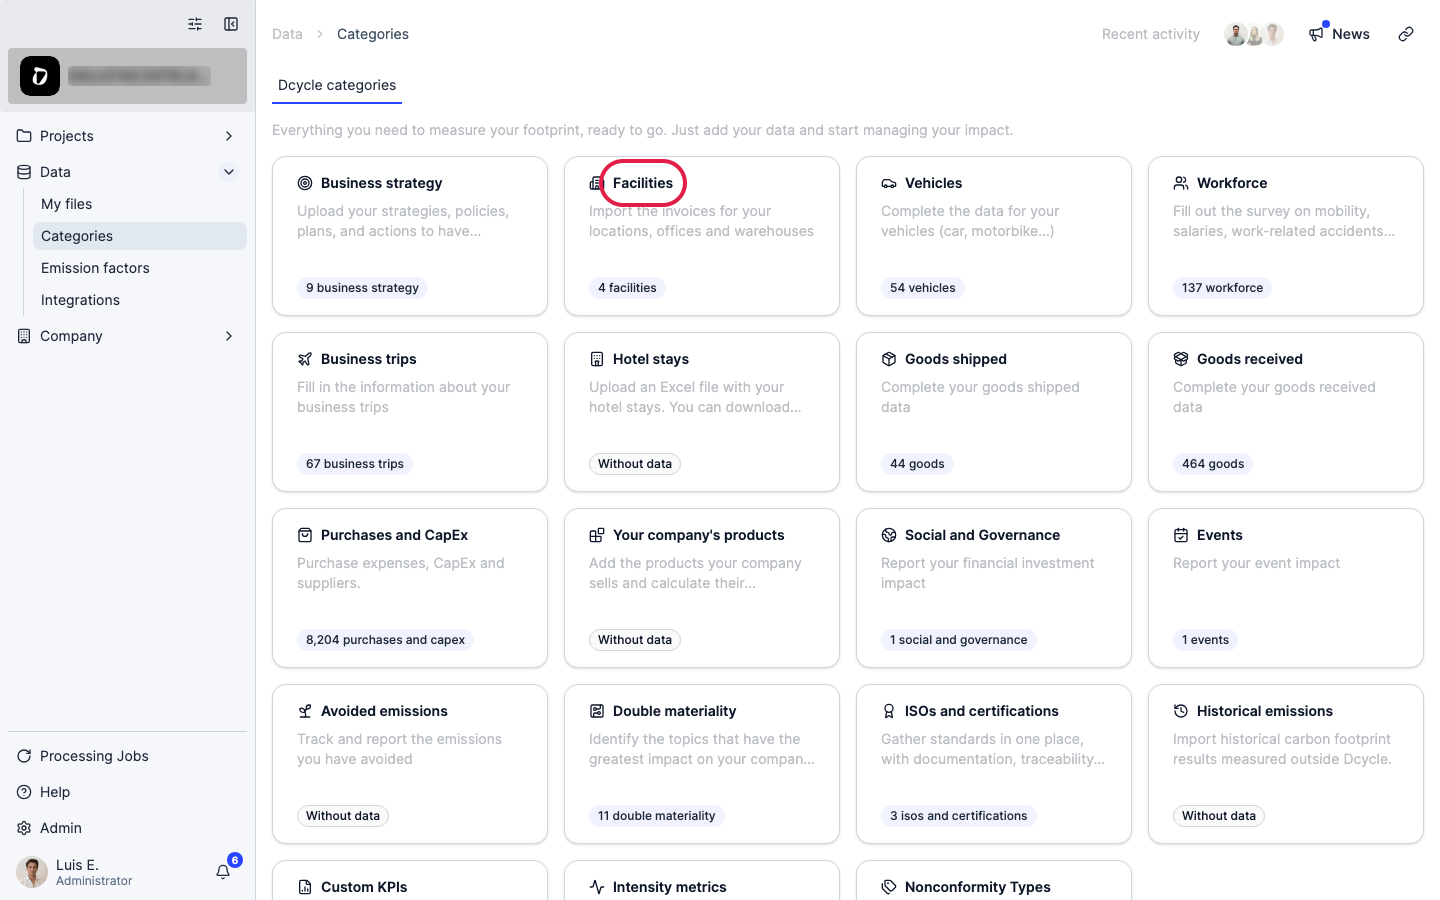
Open the “Facilities” category.
Step 4
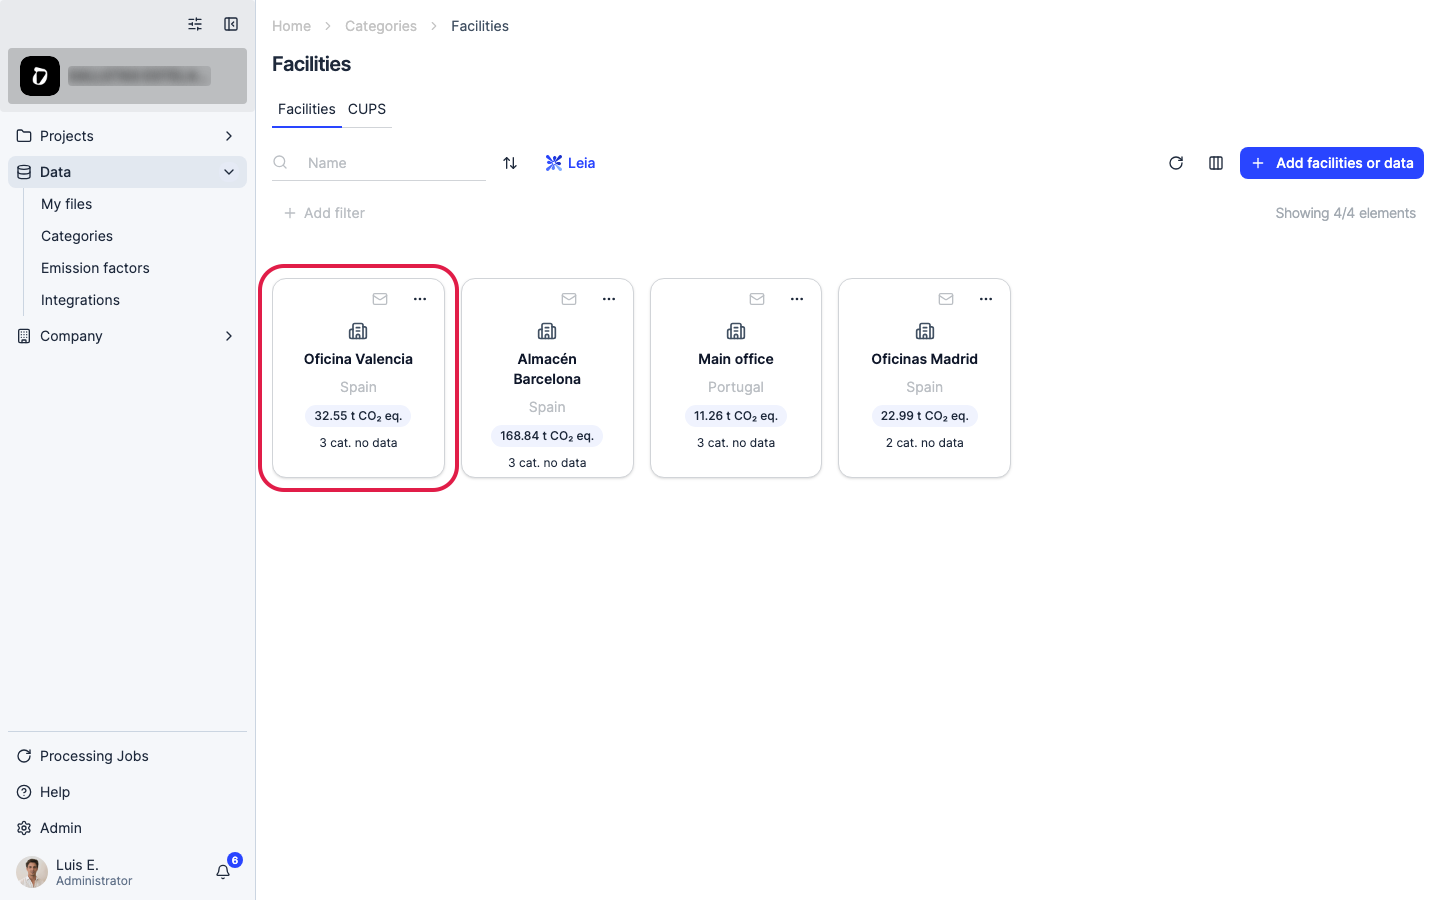
Open the facility this invoice belongs to.
Step 5
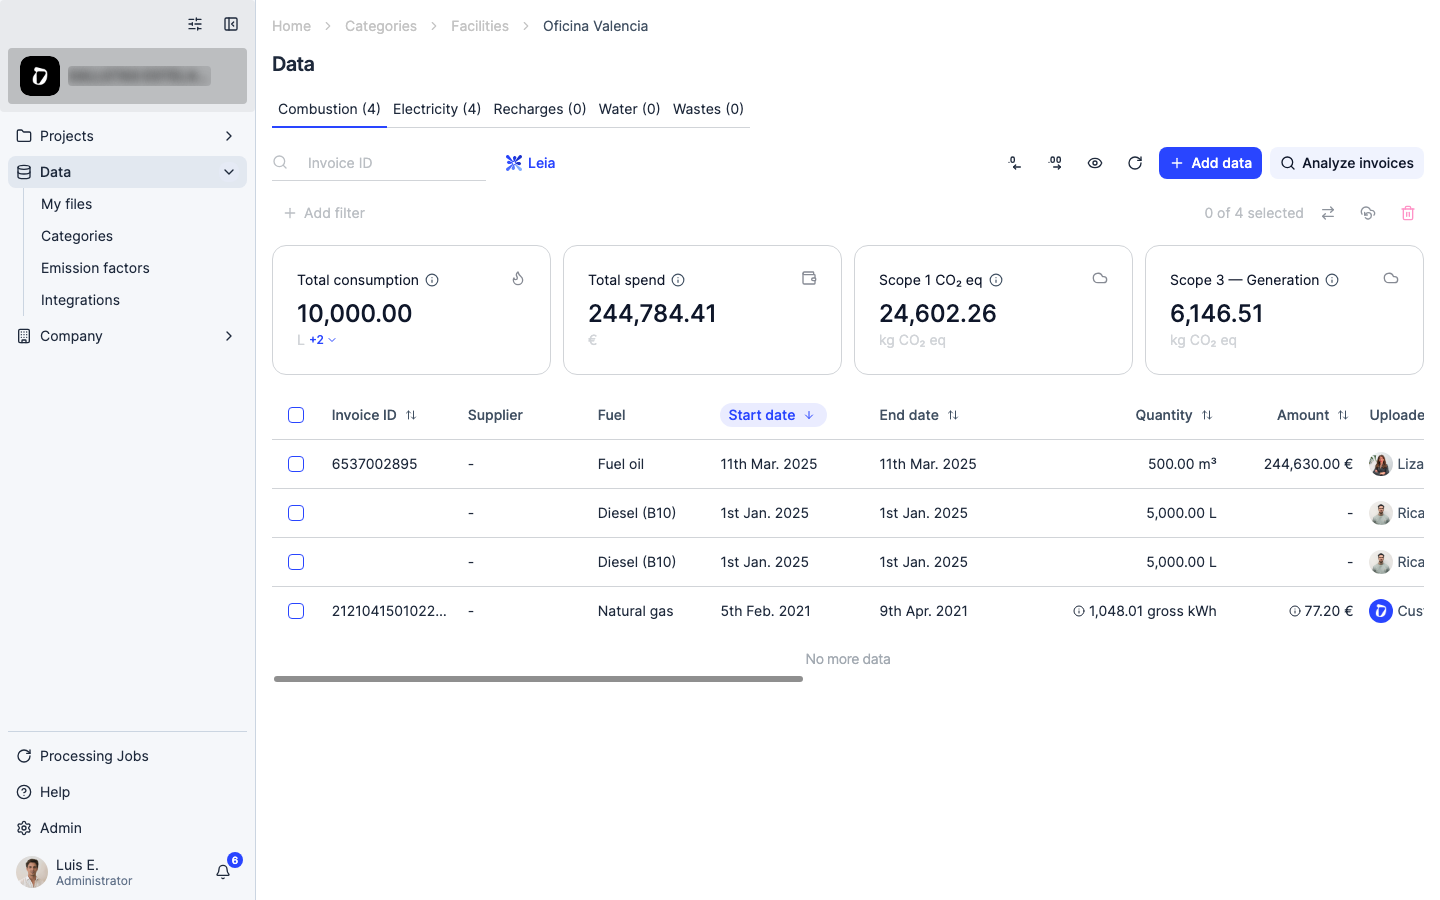
Inside the facility, you’ll see a tab for each utility type — Electricity, Natural gas, Water, Recharges (refrigerants), and more. Click “Electricity”.
Step 6
Open the “Electricity” tab.
Step 7
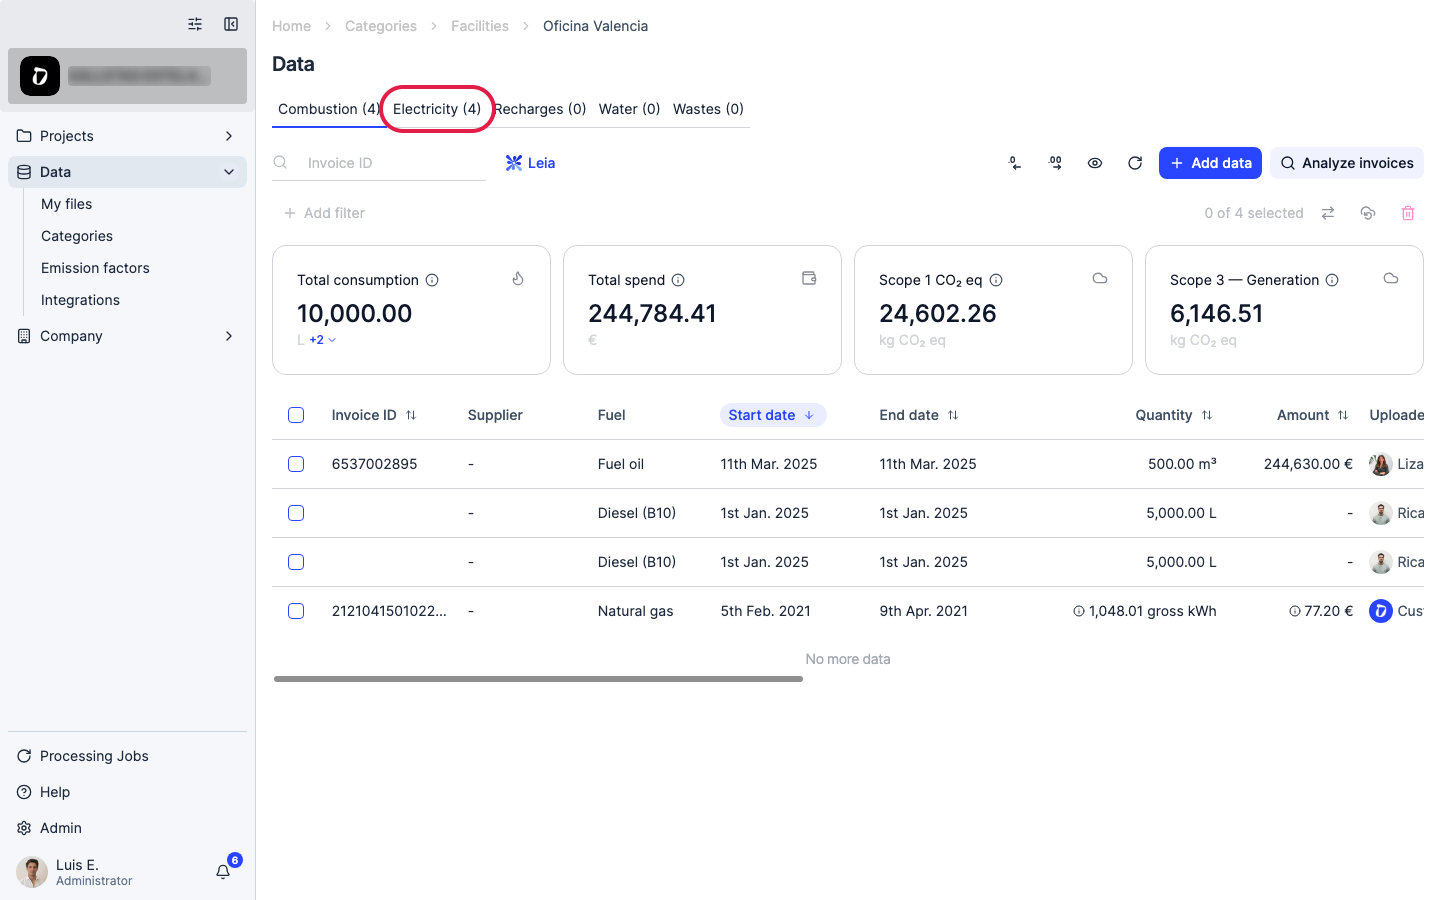
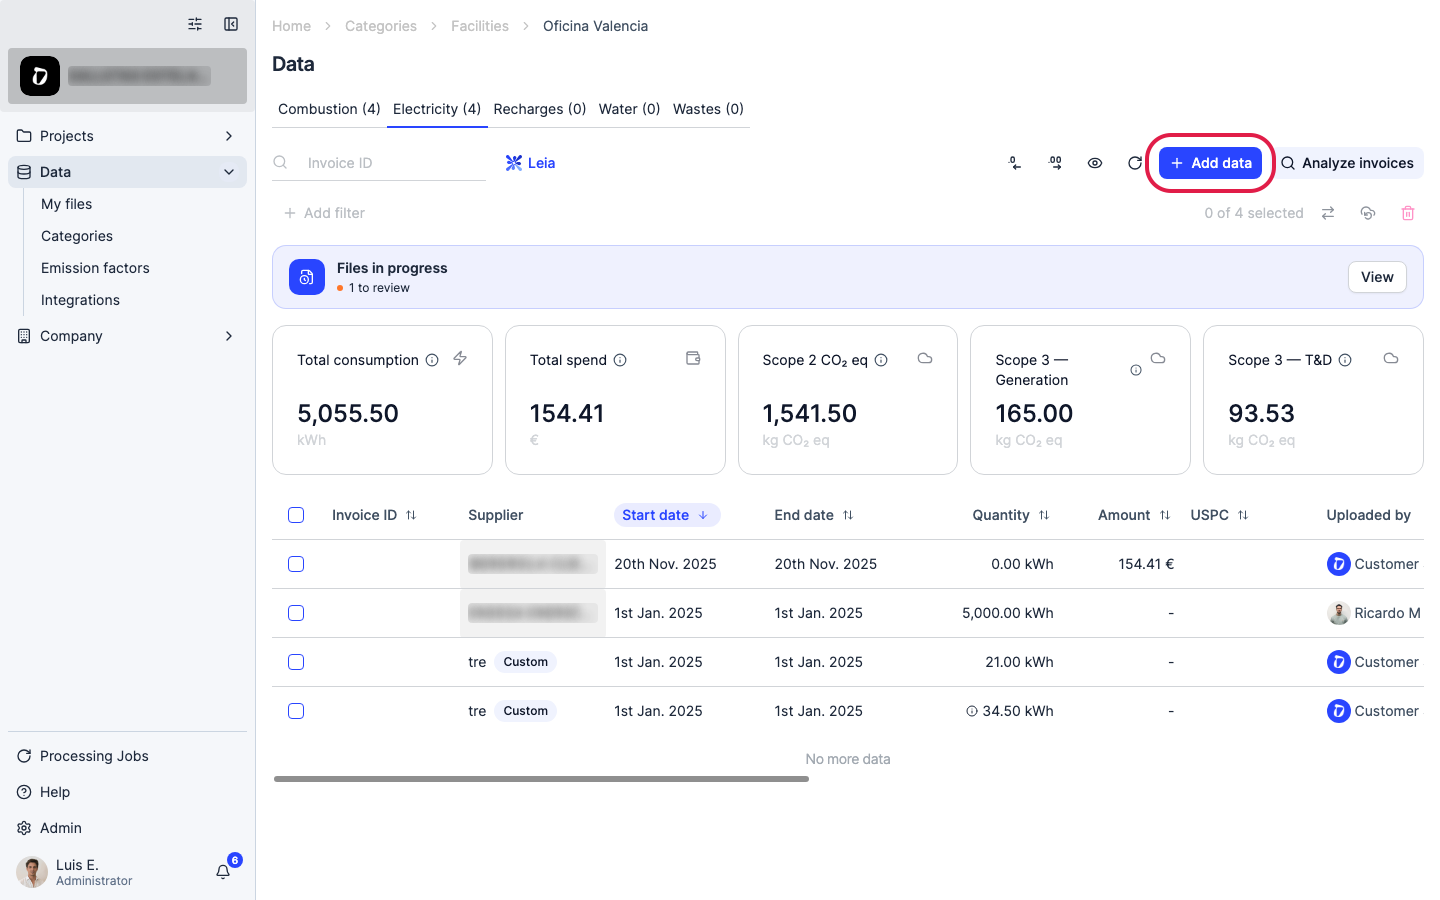
Click “Add data” to open the upload options.
Step 8
You can add a consumption manually, upload an invoice PDF (Dcycle reads the supplier, billing period and kWh via OCR), or bulk-upload a CSV/Excel template for many invoices at once.
Step 9
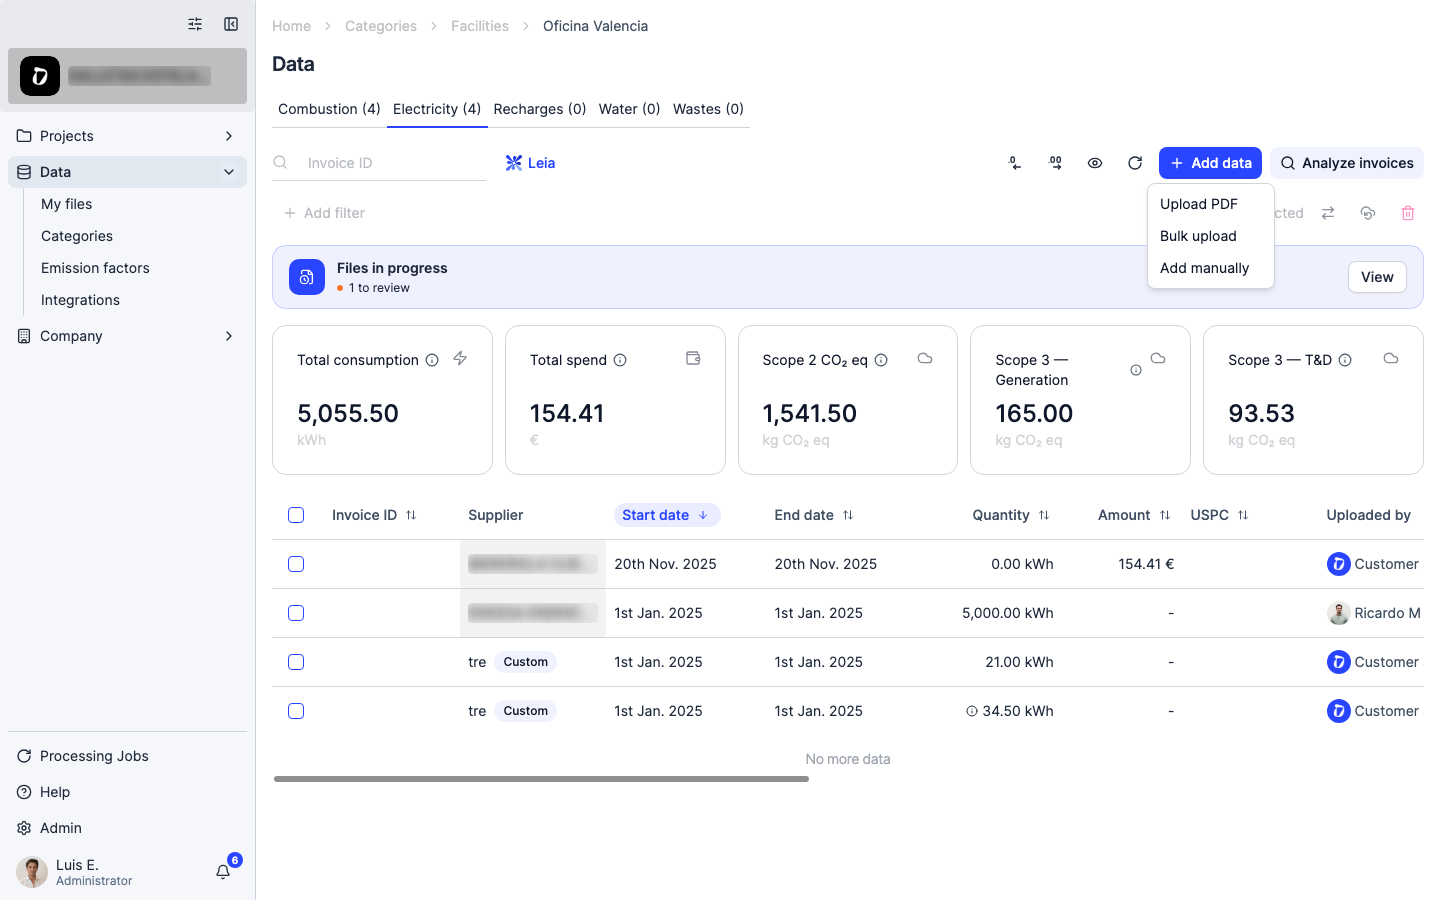
Choose “Upload PDF”.
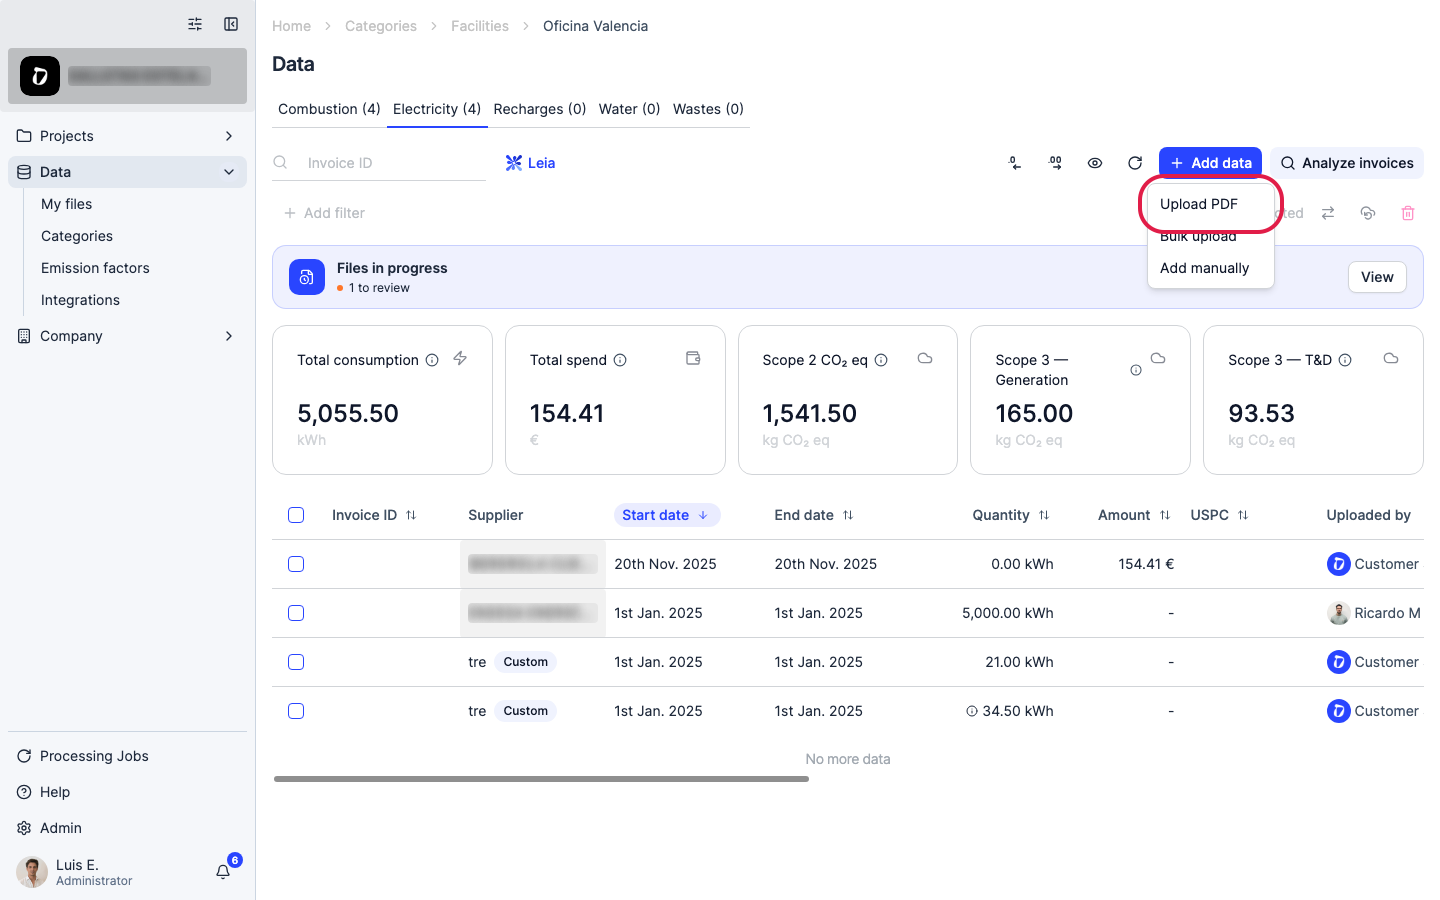
Step 10
Drag your PDF invoice onto the panel or click to browse. Dcycle’s OCR reads the facility’s supplier, the billing period and the kWh consumed.
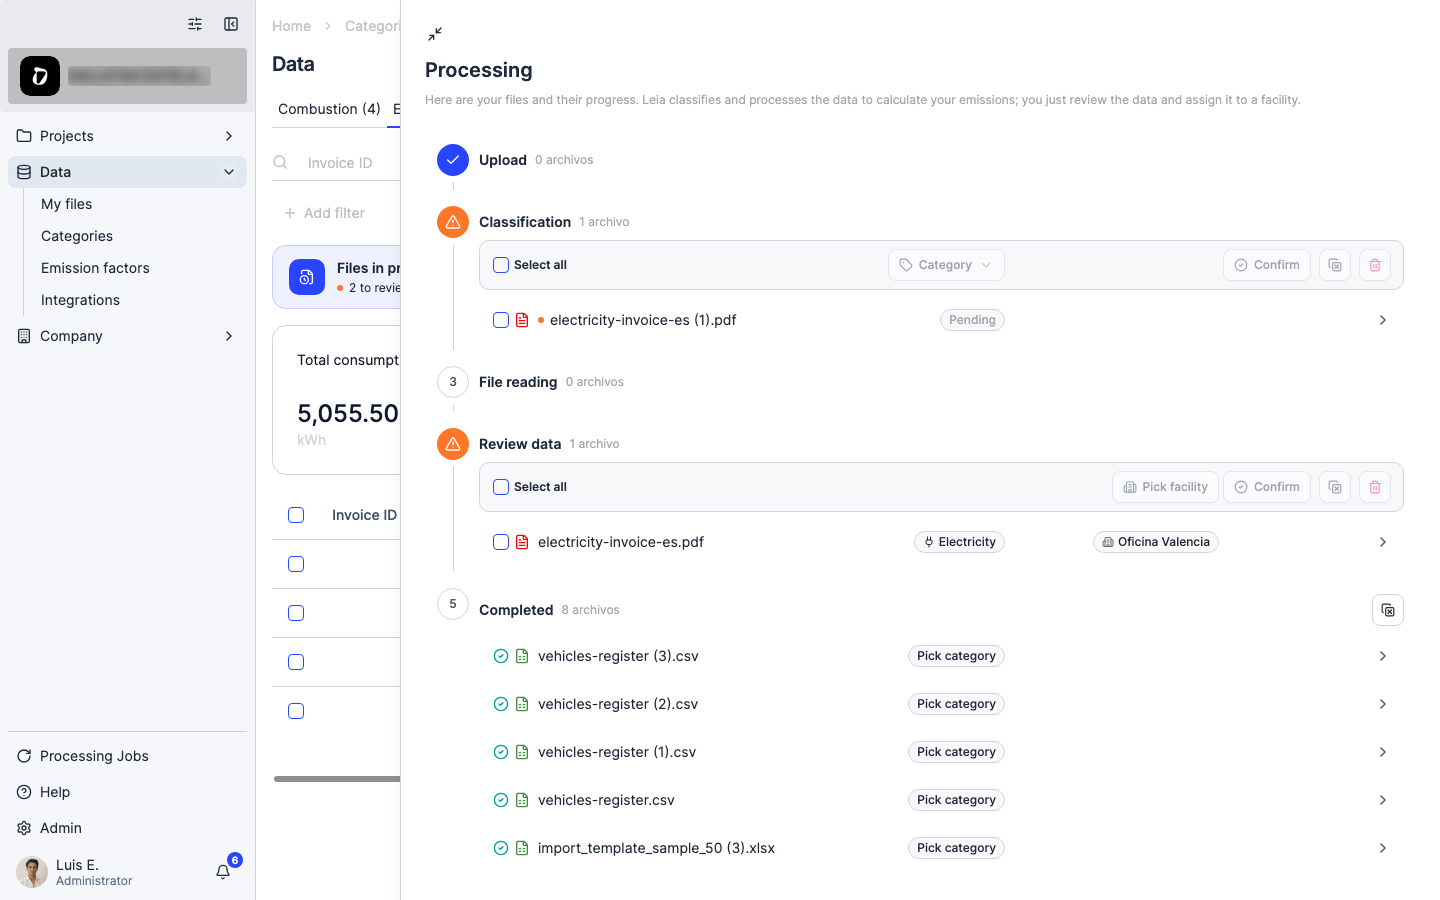
Step 11
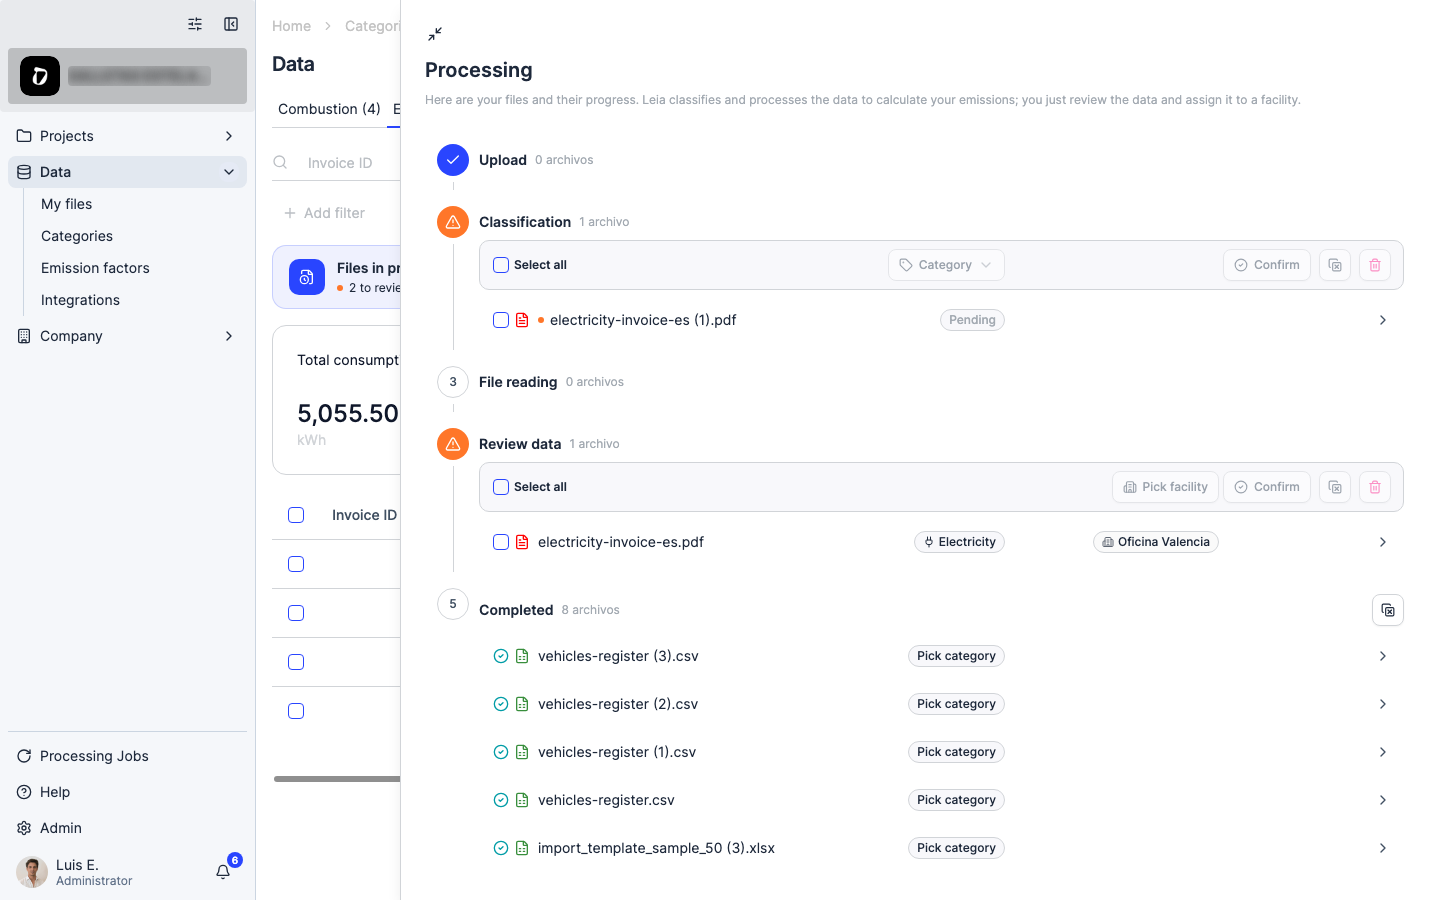
The file goes to a processing queue — Upload, Classification, File reading, Review data, Completed. Leia (Dcycle’s AI) reads the supplier, billing period and kWh from the PDF automatically; once it’s done, assign it to the right facility category and it’s added to your Electricity records.
Step 12
Dcycle applies the appropriate electricity emission factor automatically — location-based by default, market-based if you provide the supplier.
Step 13
For many invoices at once (e.g. 12 monthly bills), use the bulk upload option instead — download the CSV/Excel template, fill one row per invoice (facility, start/end date, kWh, supplier), and drag it back. If your facility has a CUPS code in Spain, you can skip invoice uploads entirely by connecting Datadis — see “Connect Datadis for automatic electricity data”.
Was this helpful?
What was missing or unclear? (optional)
Sent. Thank you for helping us improve.