Product Guides
Upload business travel data in Dcycle
Business travel covers trips using personal vehicles, rented vehicles, train, plane, etc. If employees use company vehicles, those consumptions belong to Scope 1 under company vehicles. This guide walks through the file upload from start to finish.
Before you start
You need an Editor role in your Dcycle organization.
Steps
Step 1
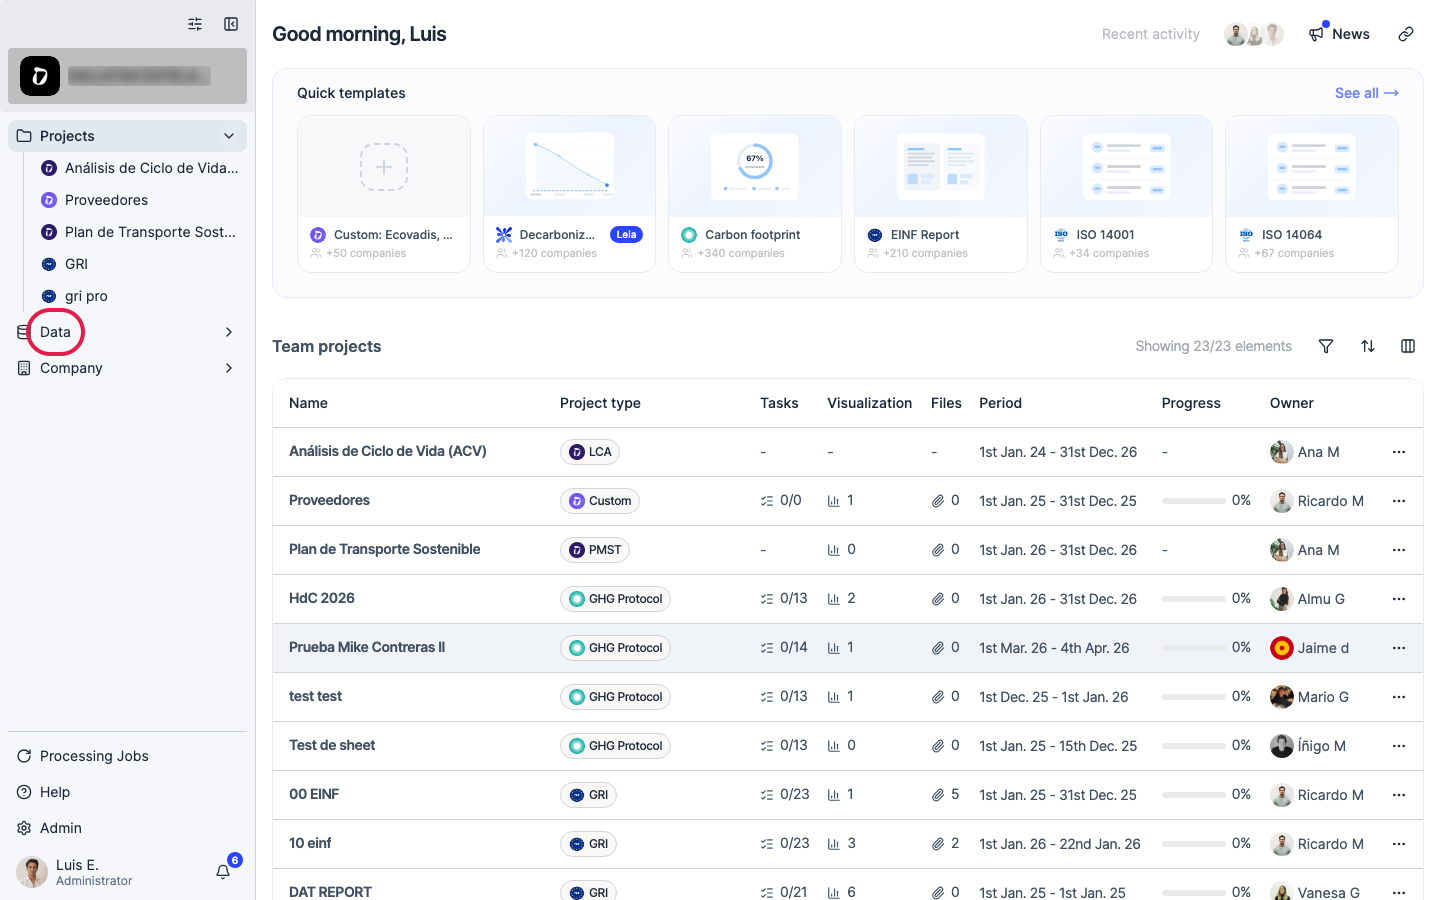
Click “Data” in the left navigation.
Step 2
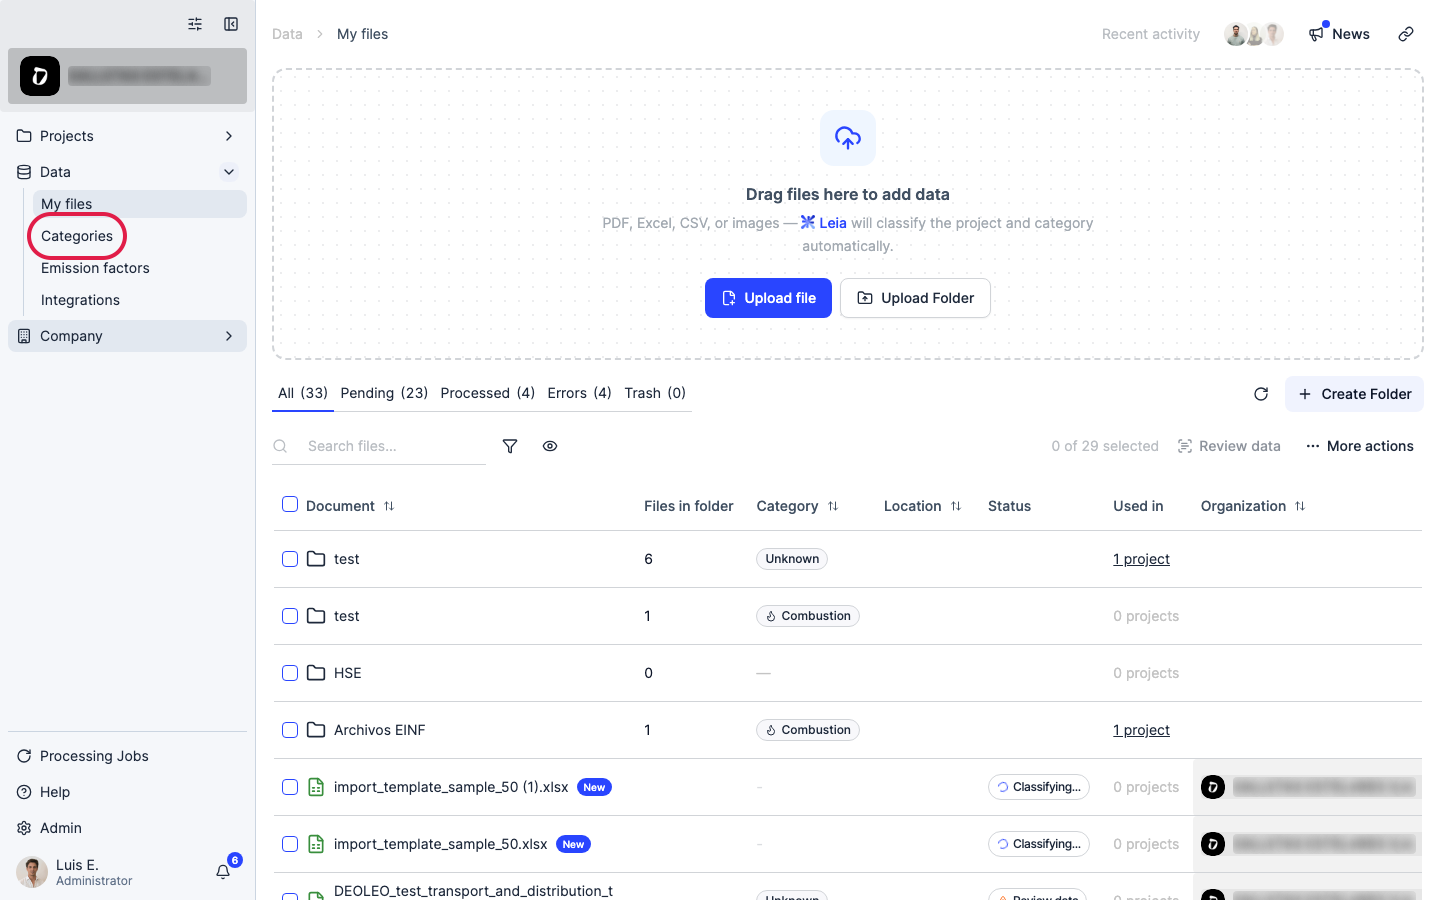
Click “Categories”.
Step 3
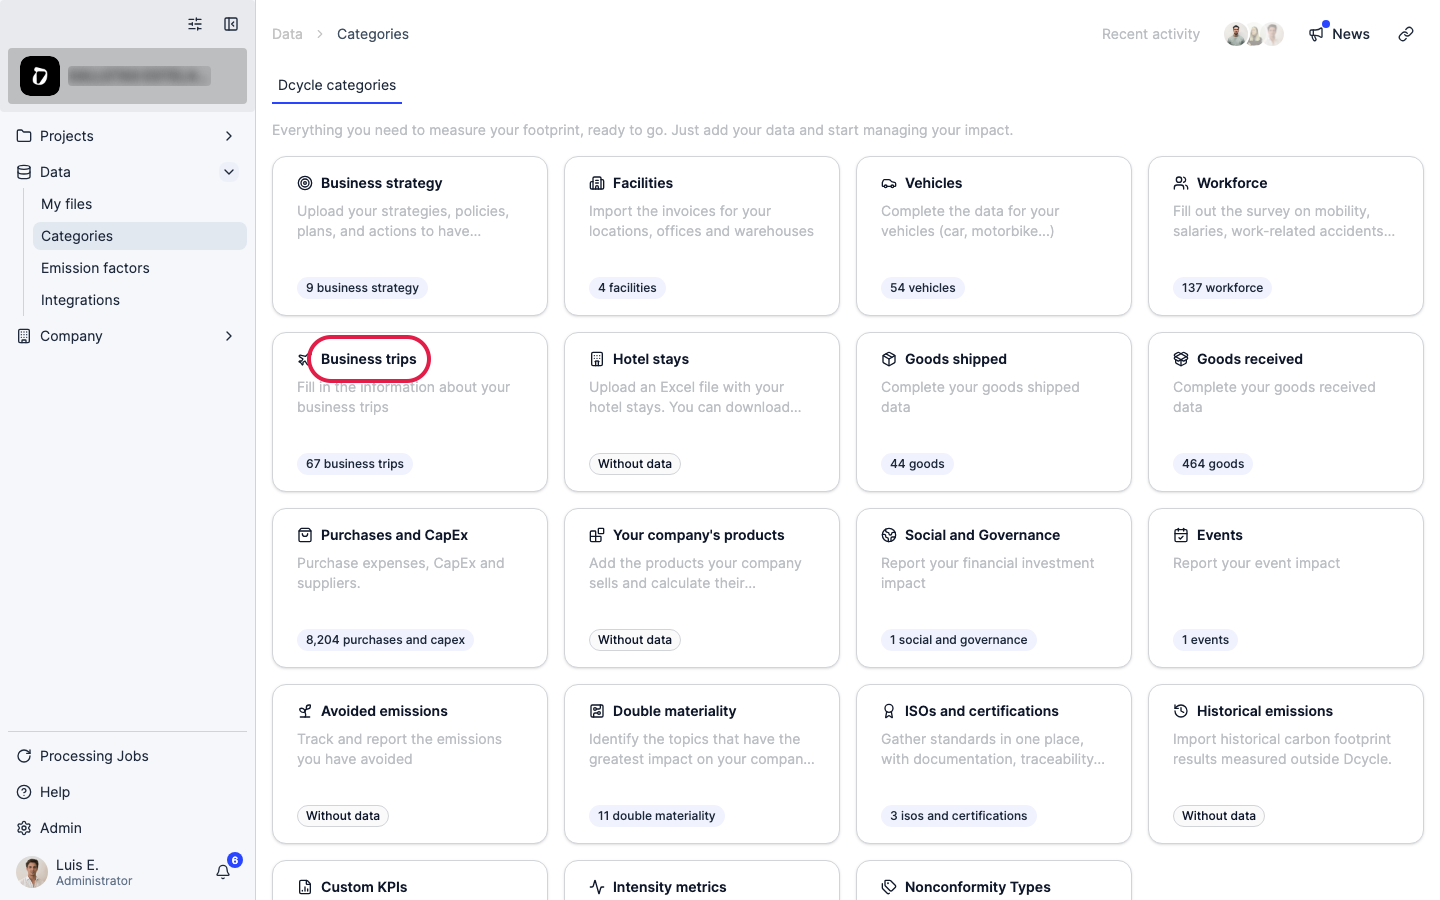
Open the “Business trips” category.
Step 4
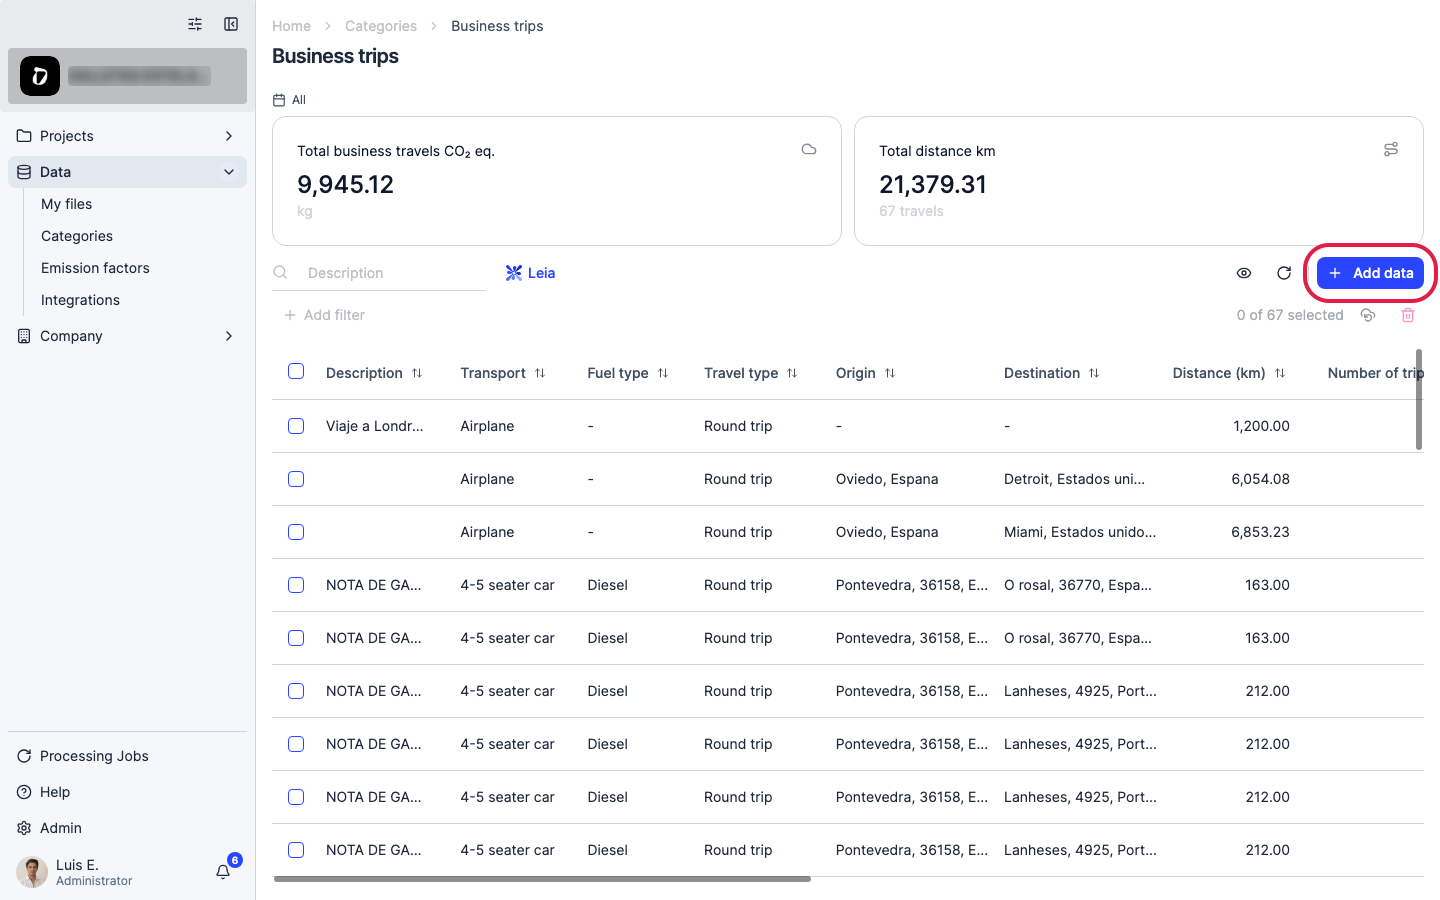
Click “Add data”. Two options appear: “Add trip” to enter trips one by one, and “Upload file” for bulk upload with a template. For more than a handful of trips, the file is much faster.
Step 5
Choose “Upload file”.
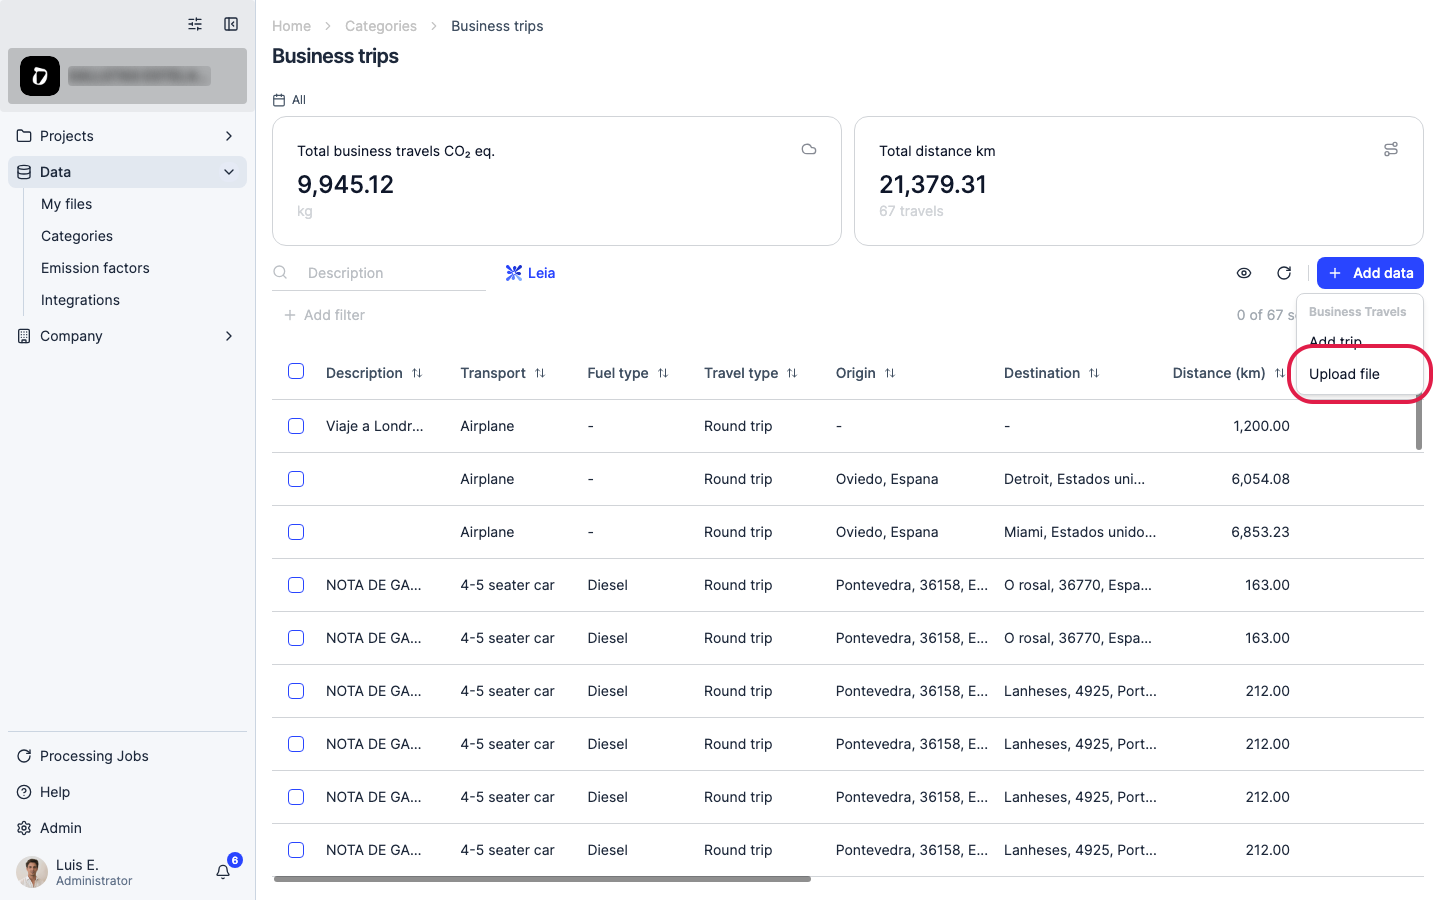
Step 6
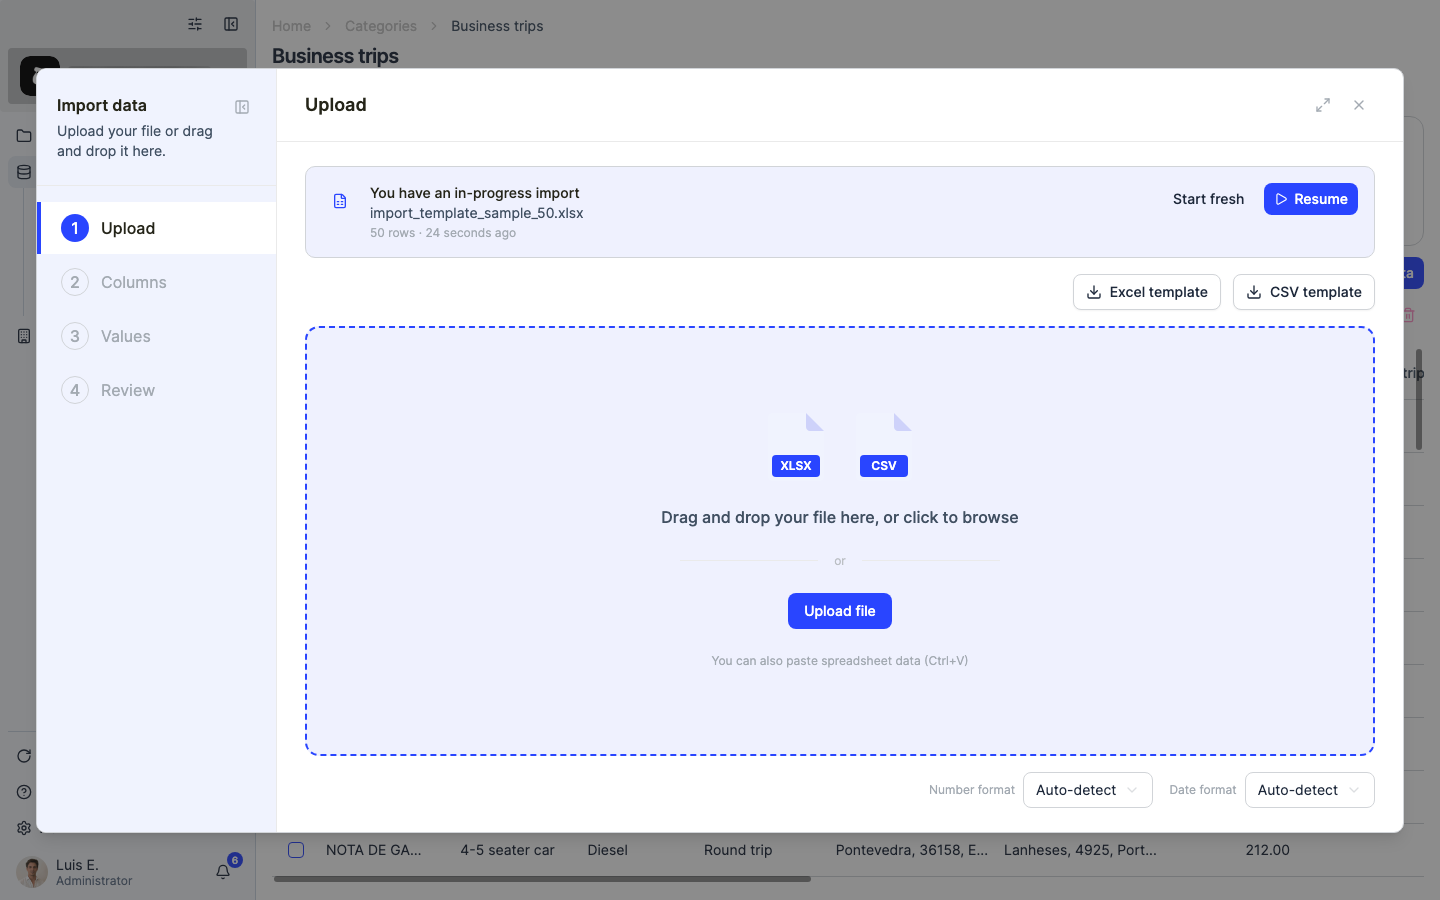
The import wizard opens. If you don’t have a file yet, download a template with the “Excel template” or “CSV template” buttons and fill it in: description, start and end dates, origin and destination (place, postal code, country), distance in km, travel type (one way or round trip), number of trips, transport type, fuel type and number of passengers. Supported formats are CSV, XLSX and XLS.
Step 7
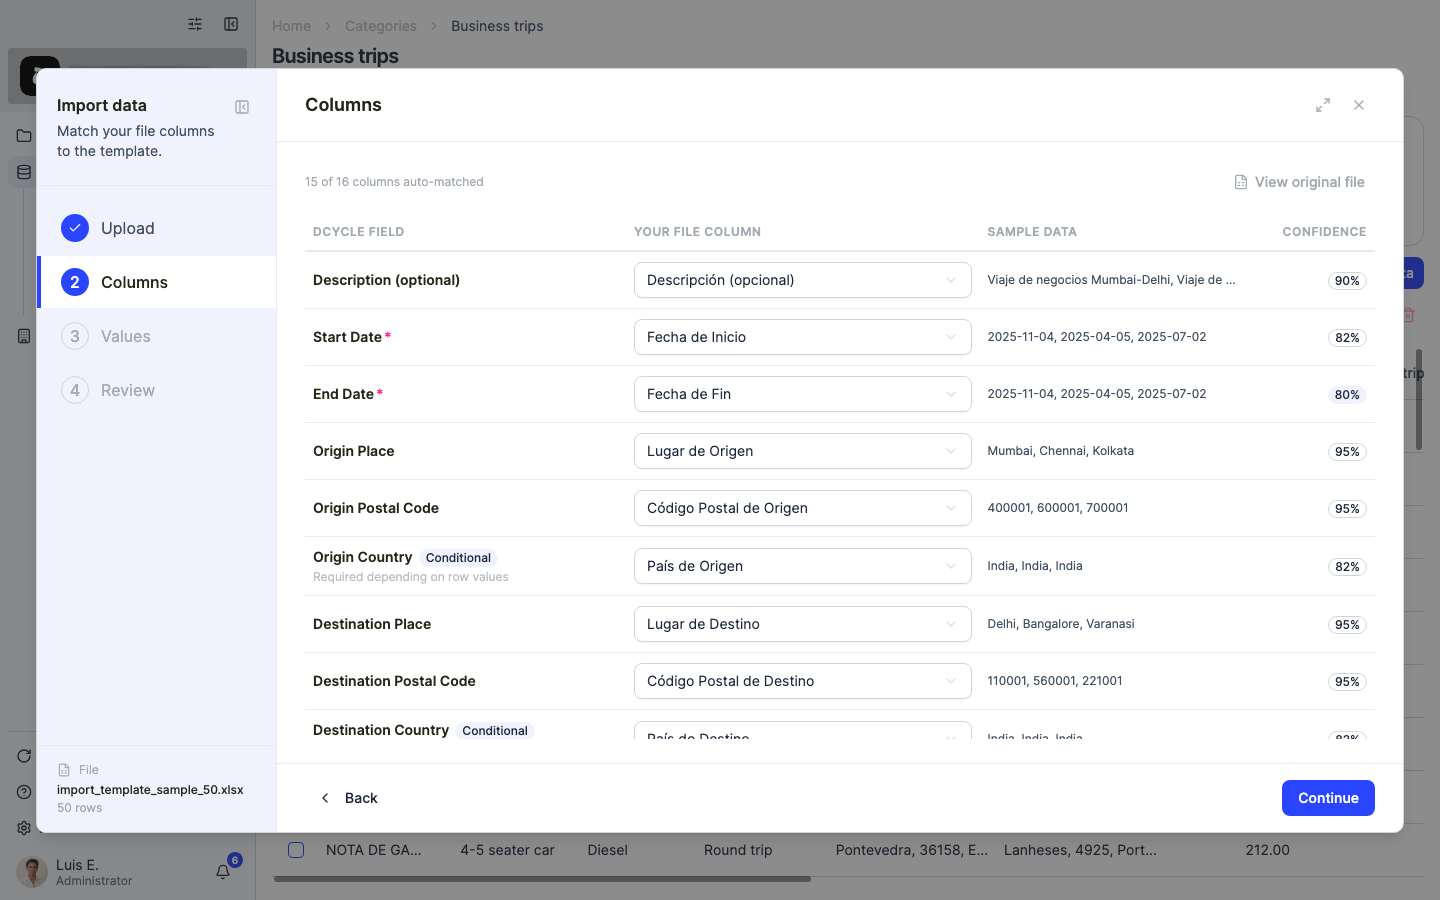
Drag your file onto the panel or click to browse. Dcycle parses it and moves to the “Columns” step, where each column of your file is matched to a Dcycle field.
Step 8
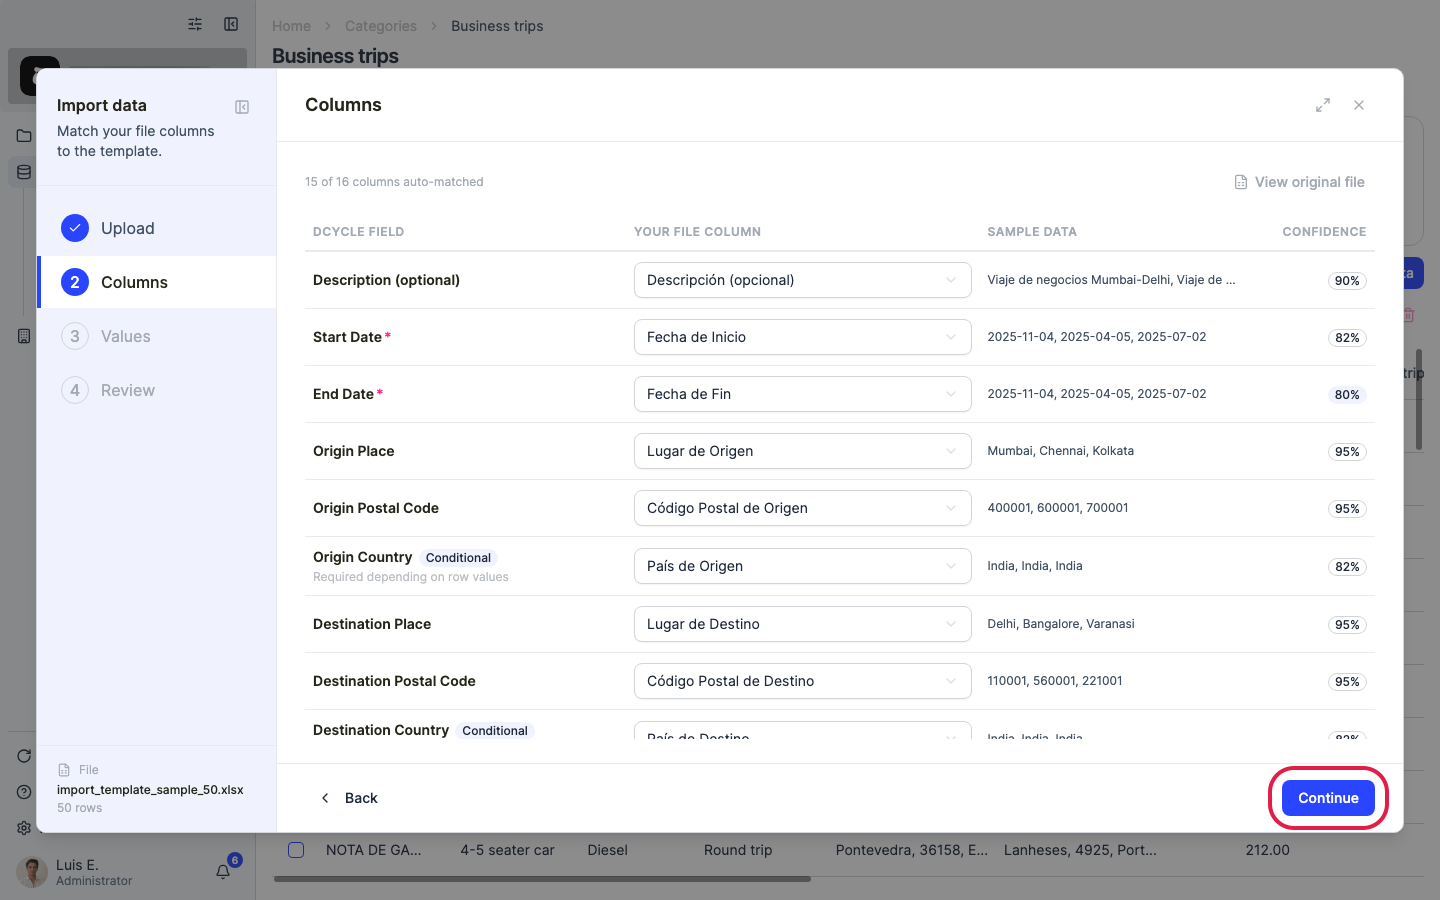
Check that every template column was matched to the right field — fix any mismatch with the dropdowns — and click “Continue”.
Step 9
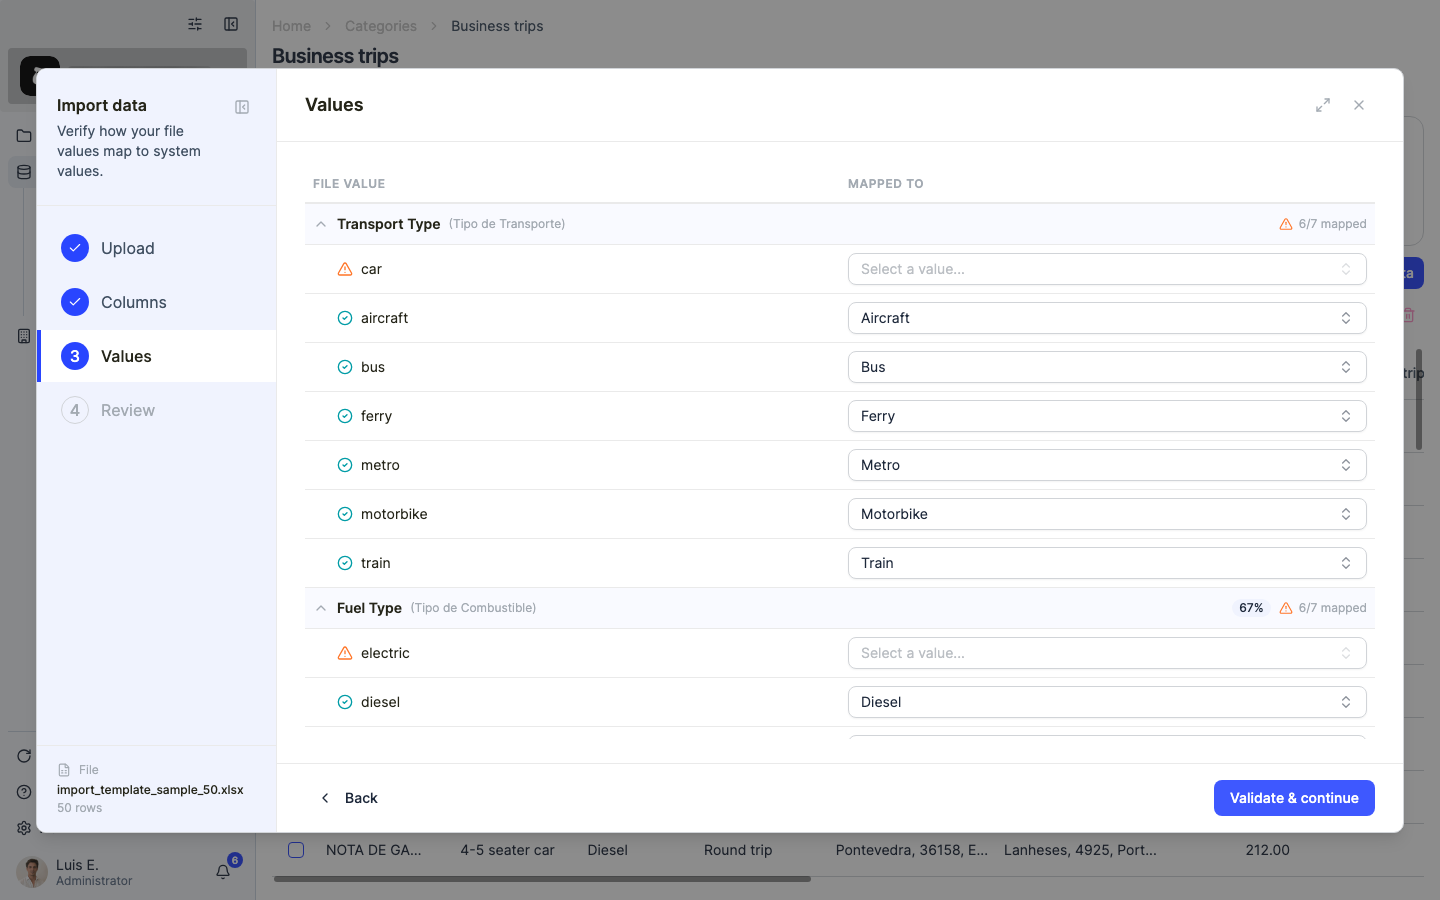
The “Values” step shows how the values in your file (transport types, fuels, travel types…) map to Dcycle’s accepted values. Review the suggestions and adjust any value that wasn’t recognised.
Step 10
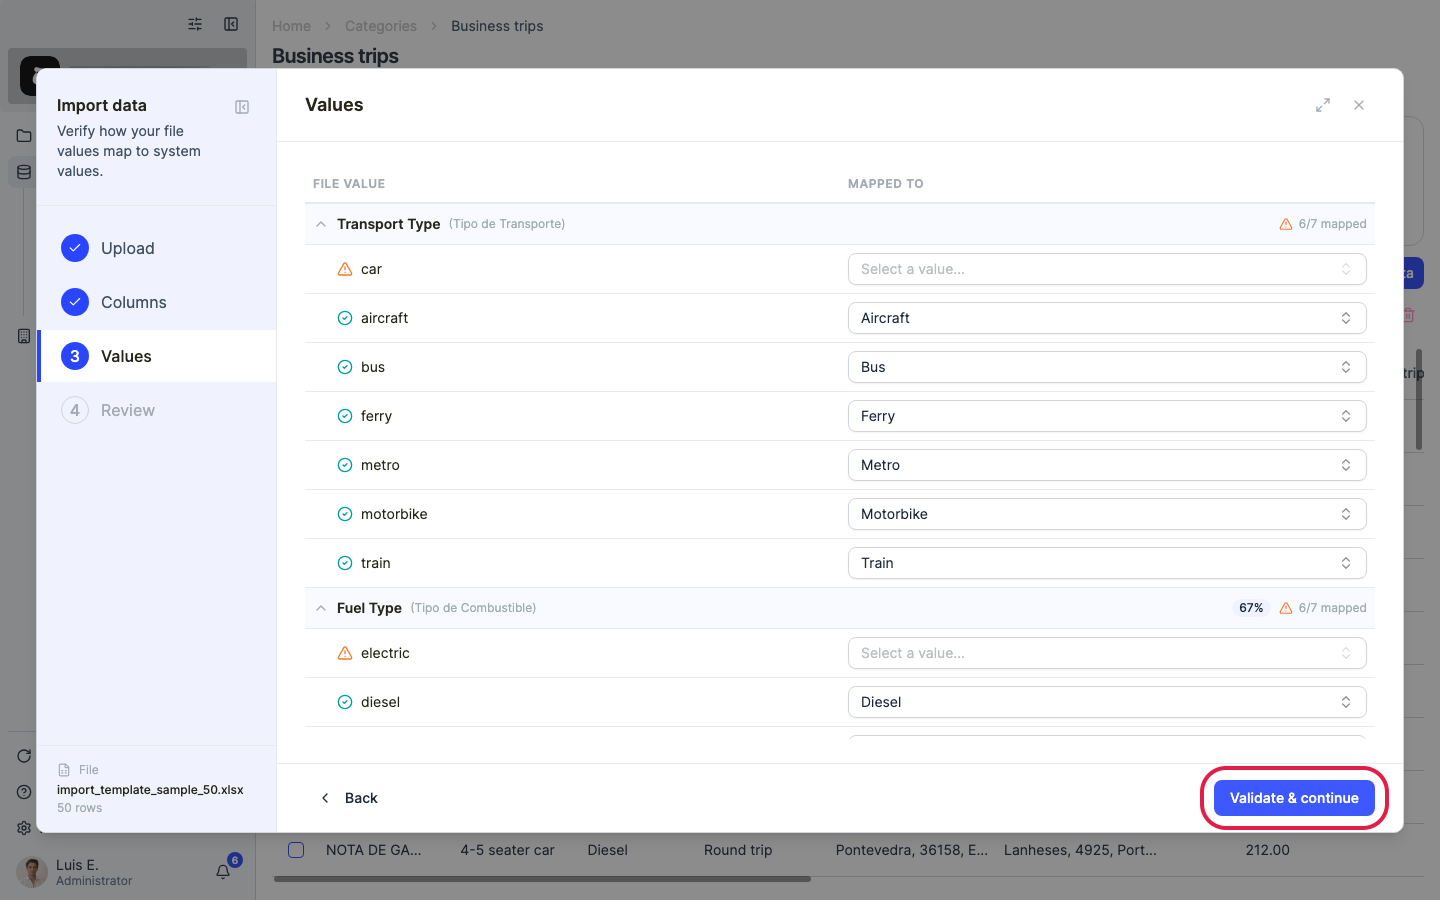
Click “Continue” to validate the rows.
Step 11
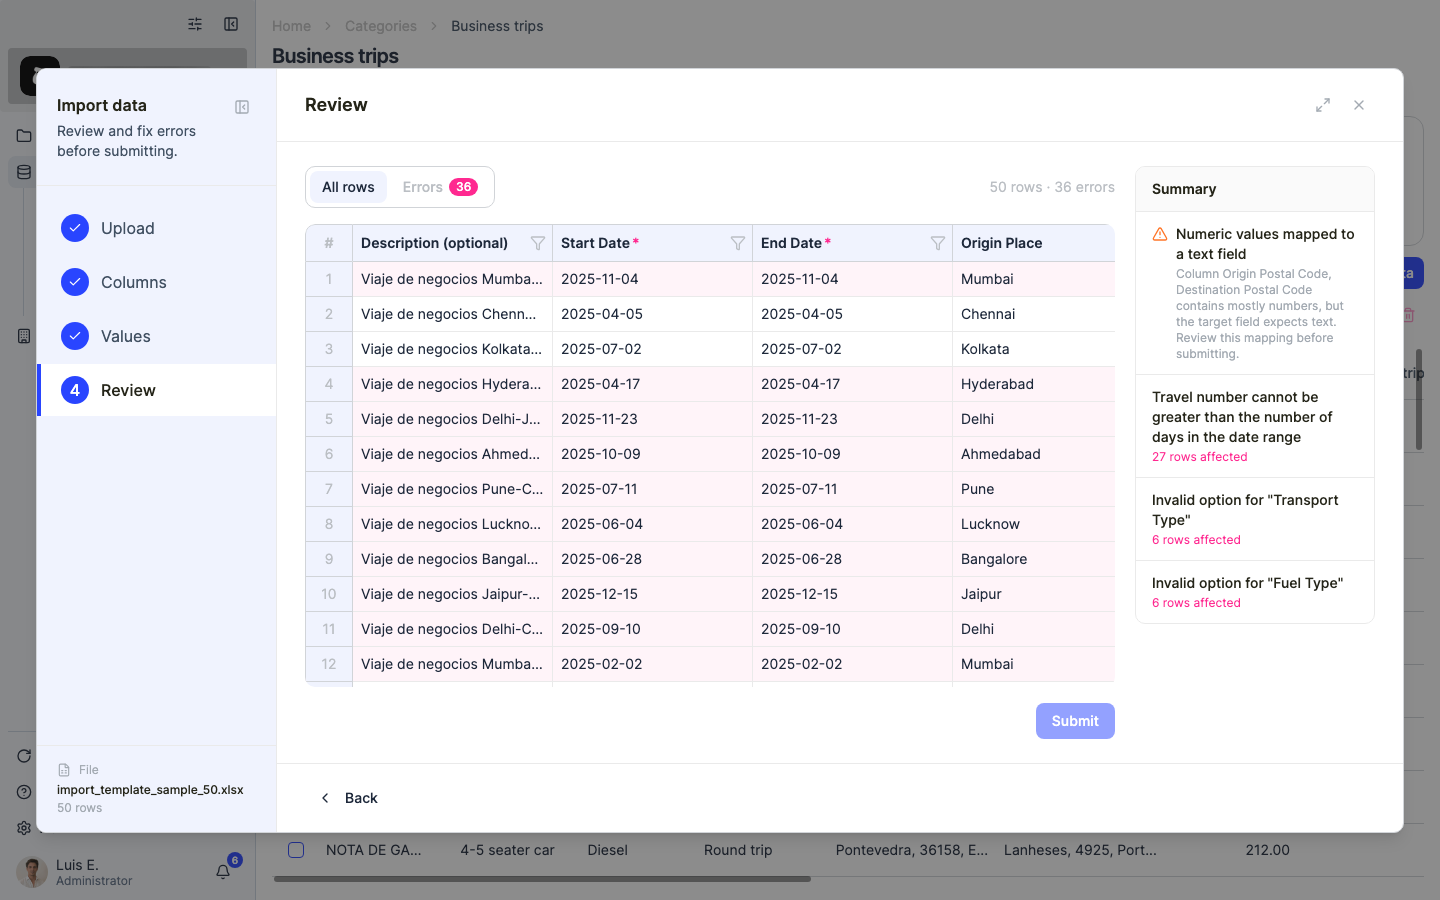
The “Review” step summarises valid rows and errors. Rows with invalid values are flagged — for example, train rows only accept electric fuel options, so a train trip with “diesel” shows an error. You can fix flagged cells right here, or filter with “Show errors only” to work through them.
Step 12
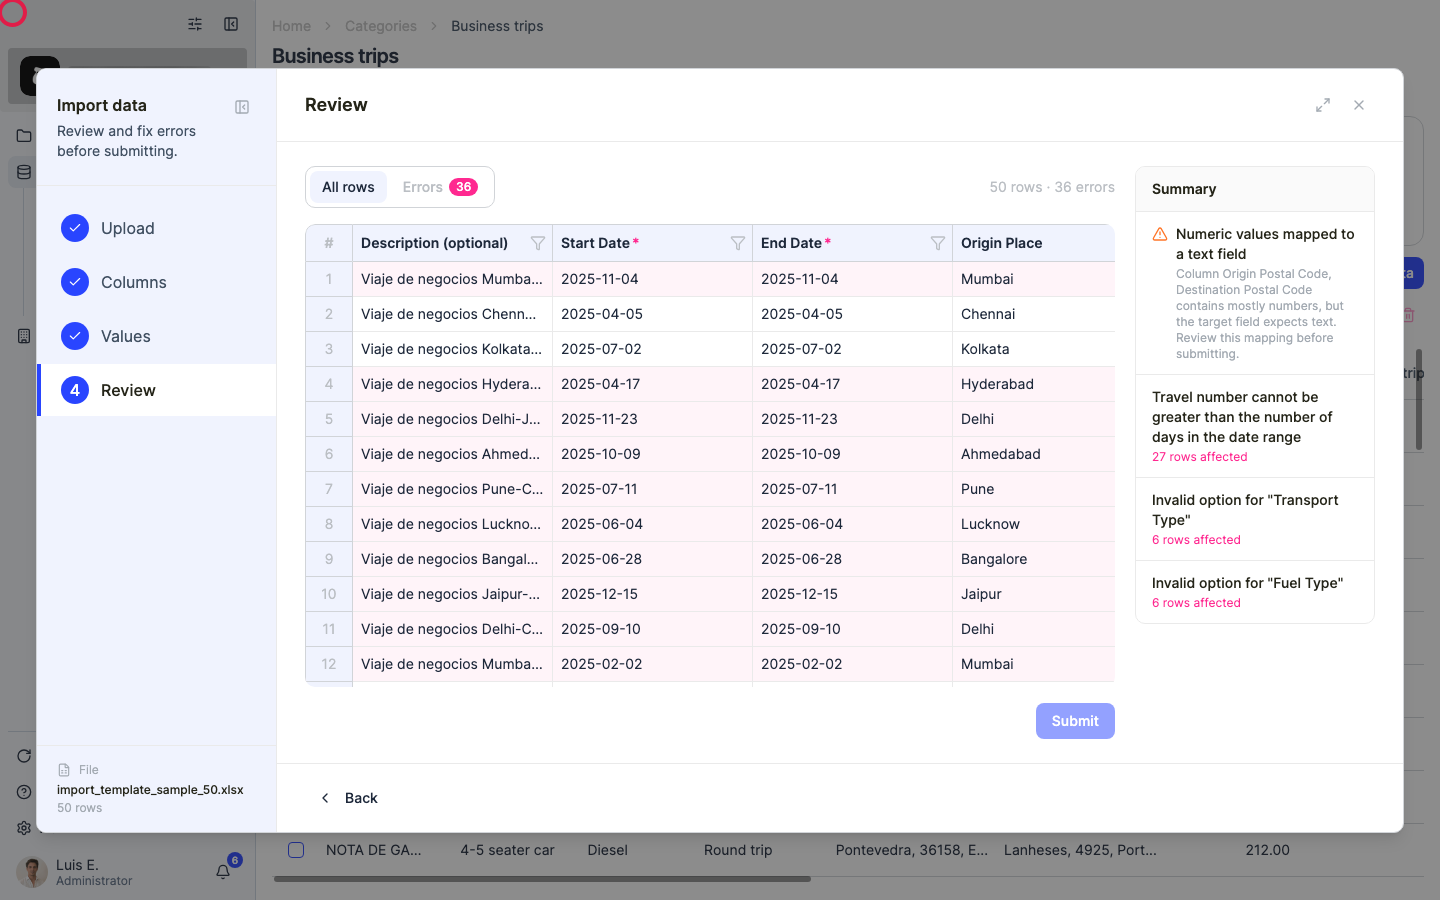
When everything looks right, click “Submit”. The trips are imported and their emissions are calculated automatically — you’ll see them in the Business trips list and in your footprint totals.
Step 13
For occasional one-off trips, use “Add trip” in the “Add data” menu instead: a form opens where you fill in one trip at a time with the same fields as the template.
Was this helpful?
What was missing or unclear? (optional)
Sent. Thank you for helping us improve.