Product Guides
Upload purchases and capital goods (CapEx)
Purchased goods & services (Scope 3, Category 1) and capital goods (Category 2) share one category in Dcycle — calculated spend-based (amount × industry factor) when supplier-specific data isn't available. If your organization manages subsidiaries, the same file can route each row to the correct one.
Before you start
You need an Editor role in your Dcycle organization.
Steps
Step 1
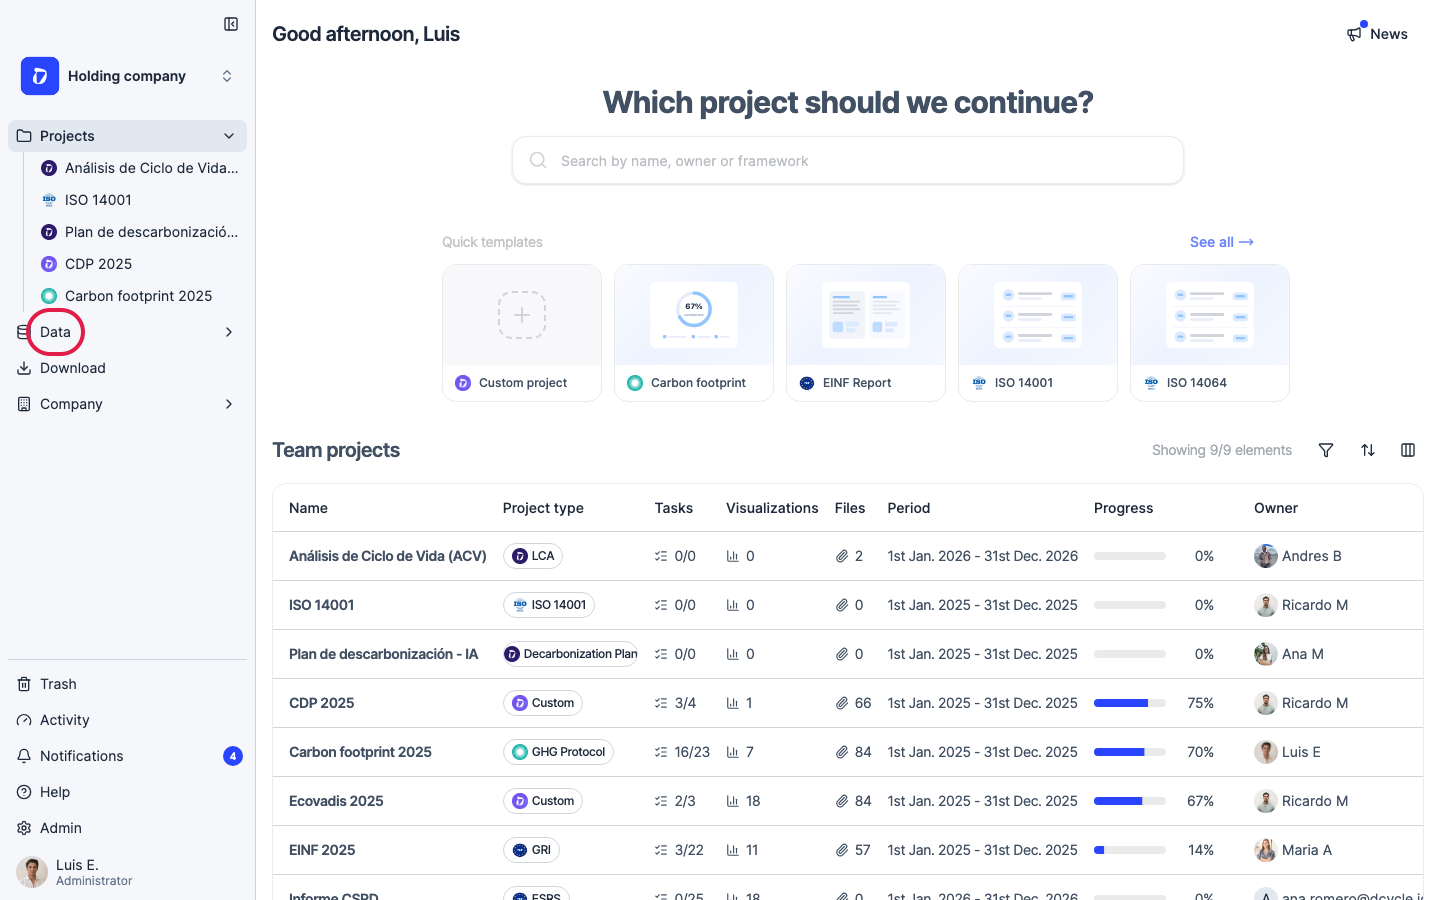
Click “Data” in the left navigation.
Step 2
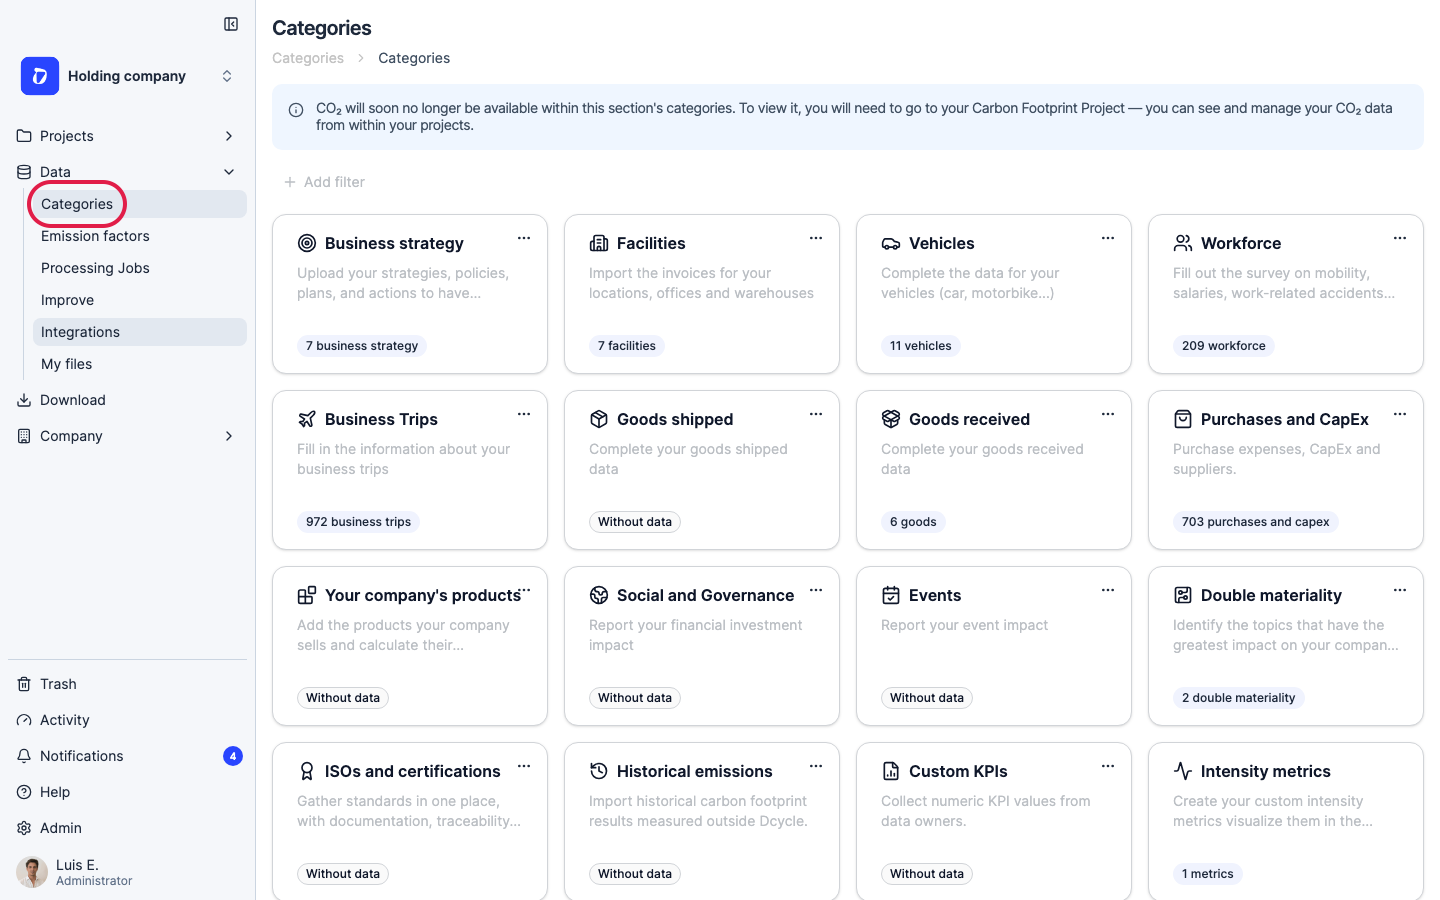
Click “Categories”.
Step 3
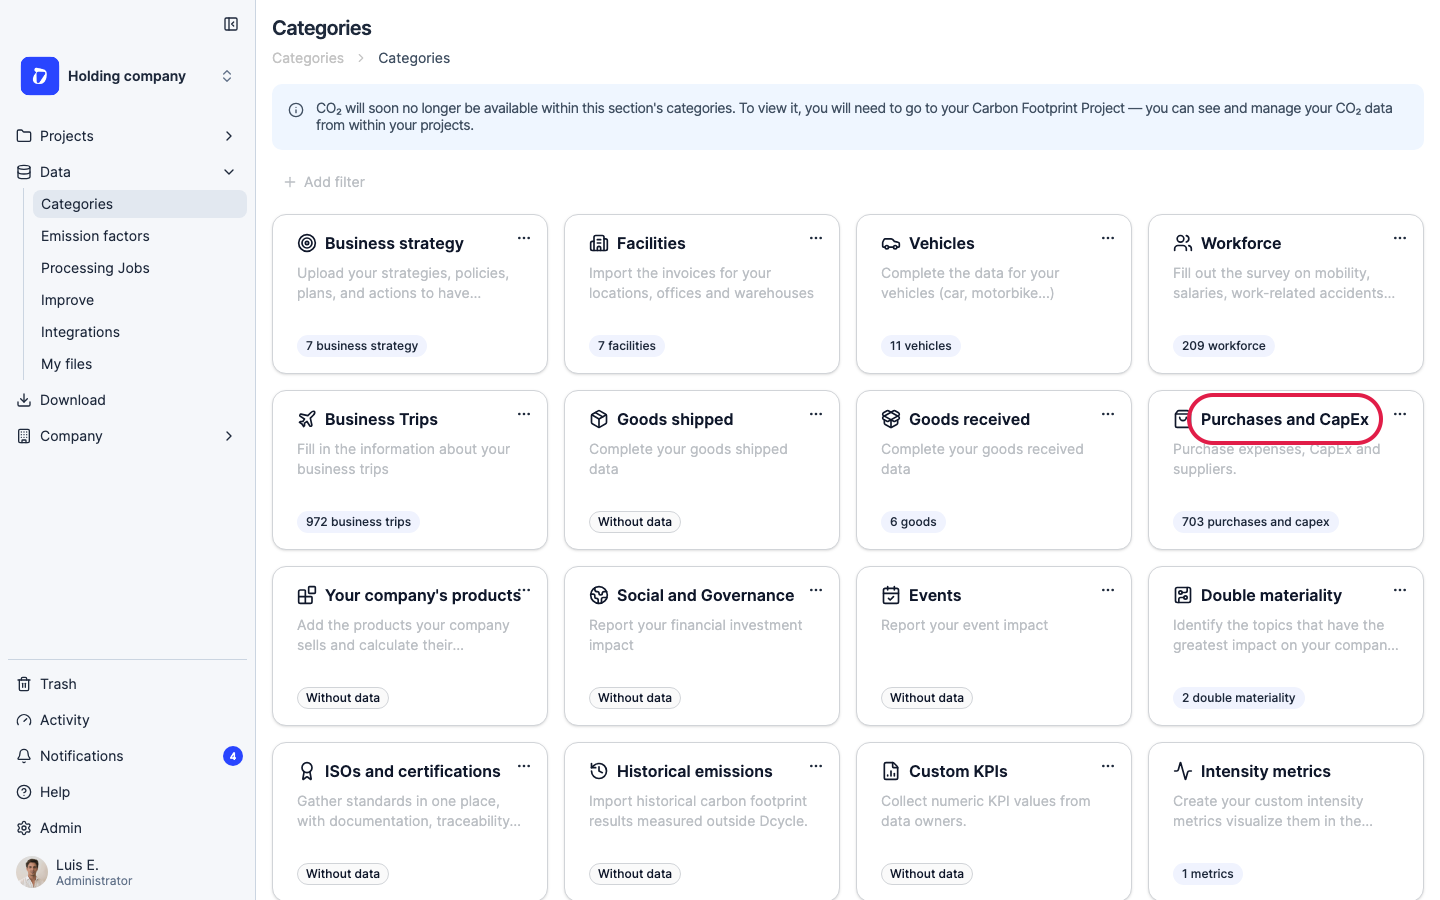
Open the “Purchases and CapEx” category.
Step 4
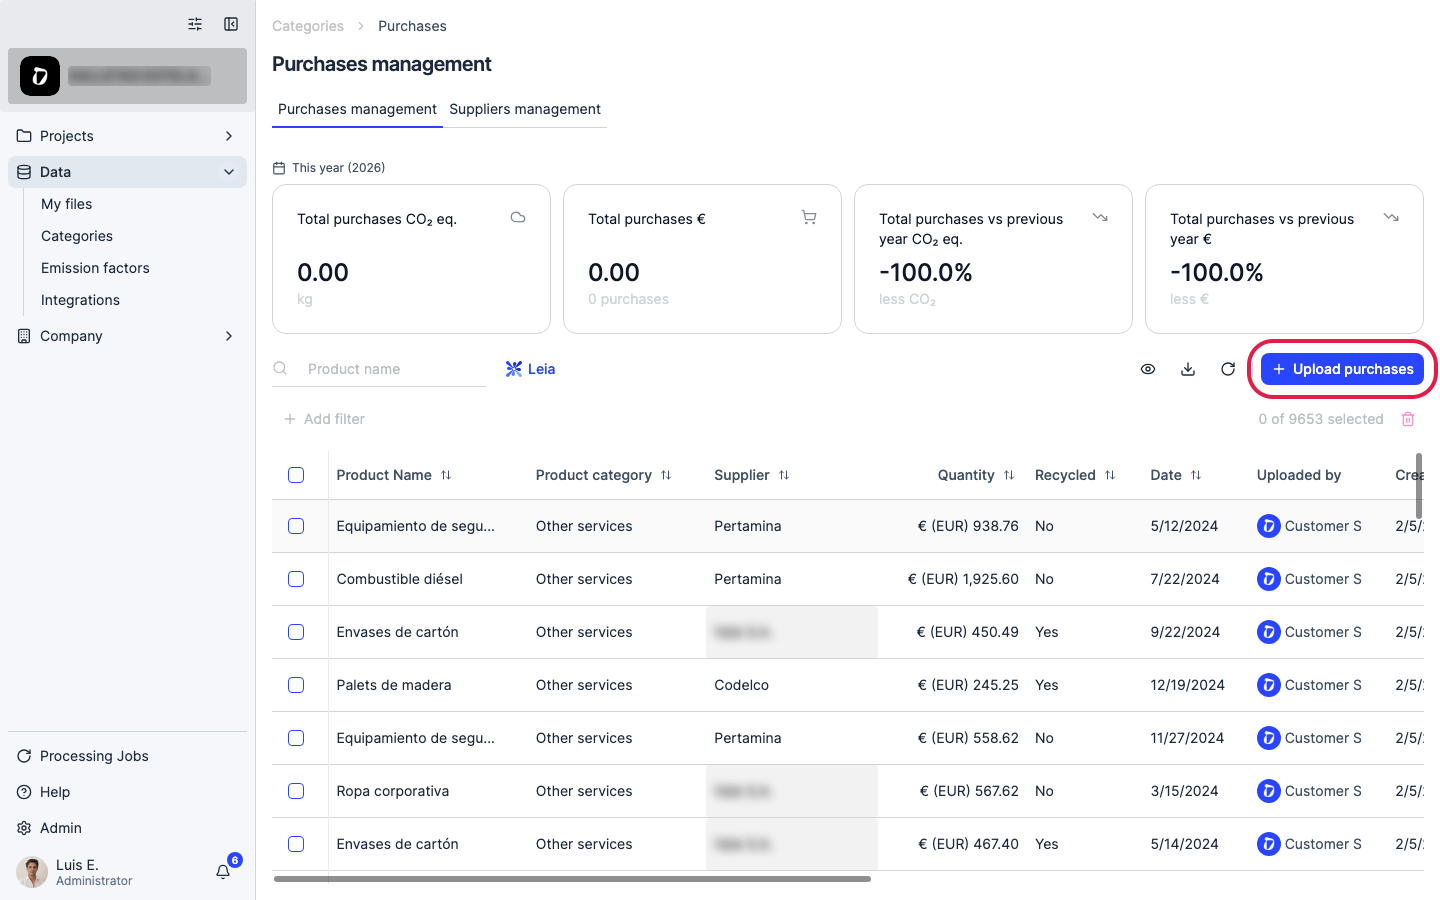
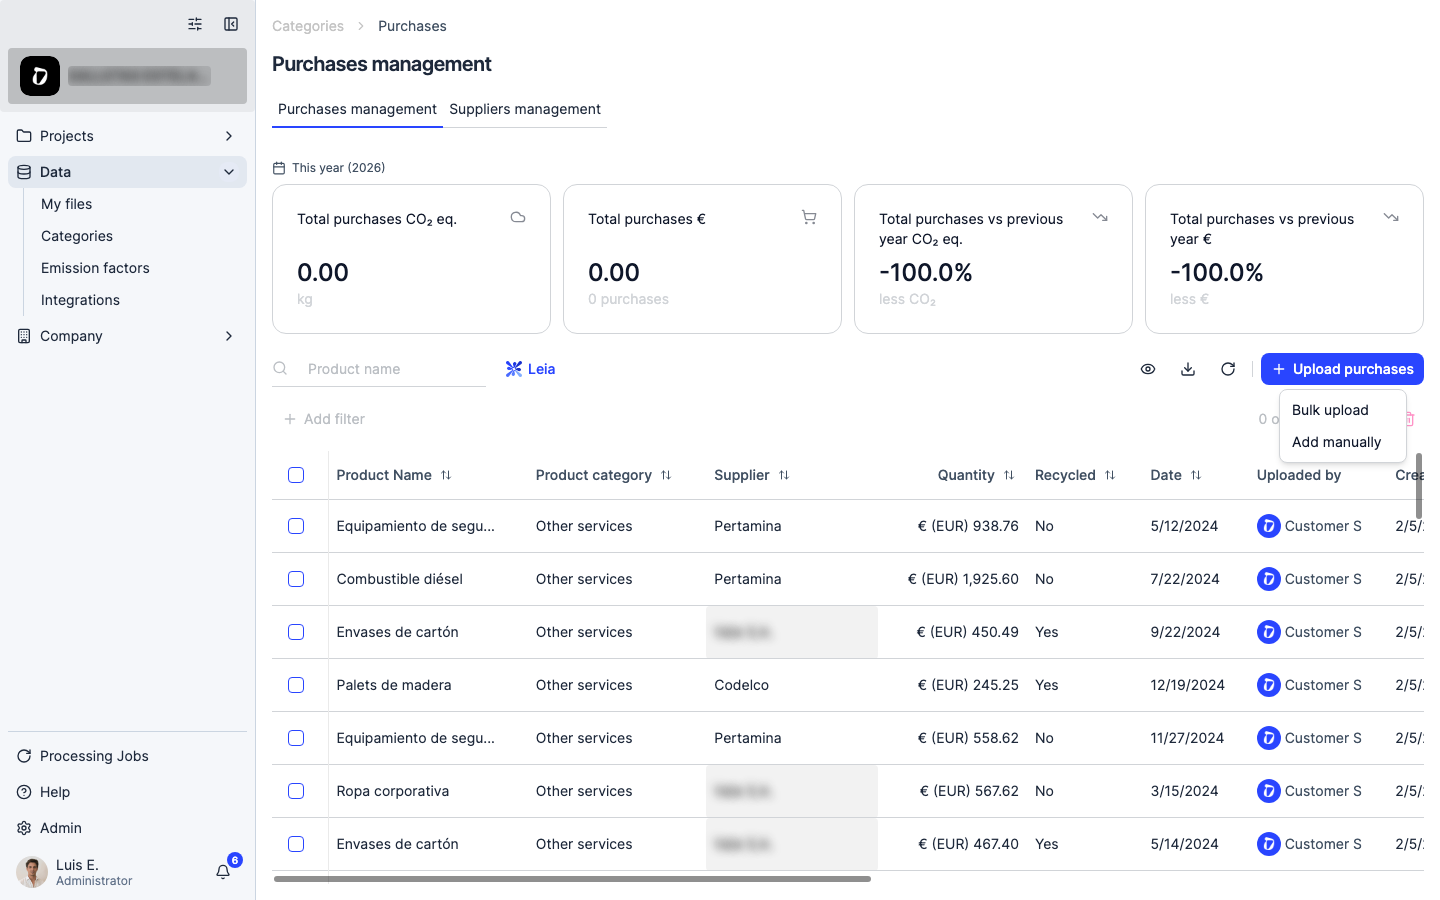
Click “Upload purchases” to open the upload options.
Step 5
You can add a purchase manually, or bulk-upload a CSV/Excel template for many at once.
Step 6
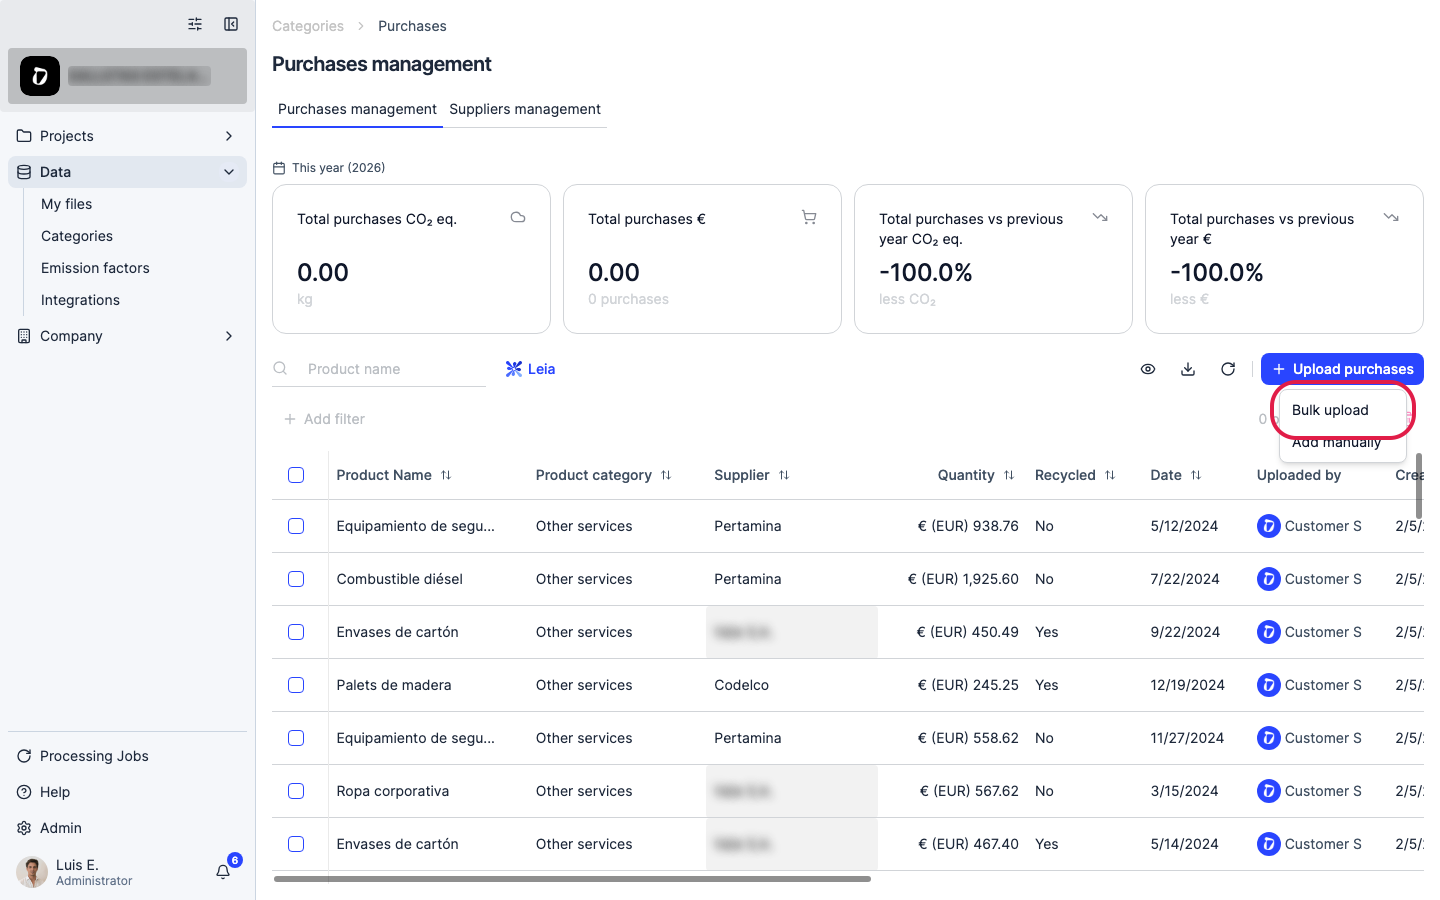
Choose “Bulk upload”.
Step 7
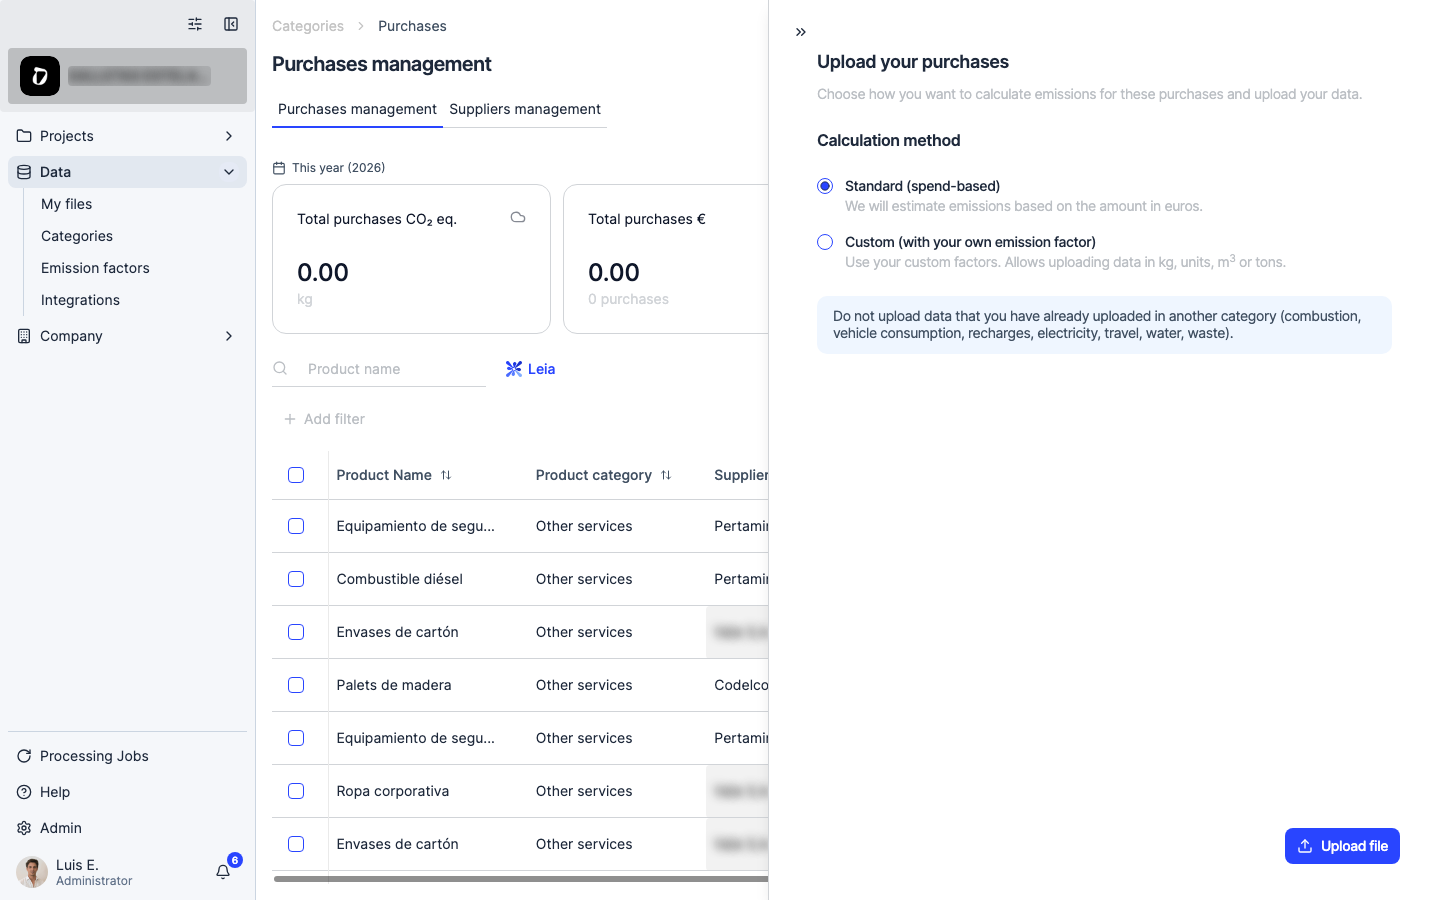
Pick a calculation method — “Standard” estimates emissions from the amount spent (spend-based), “Custom” lets you use your own emission factor and upload quantities in kg, units, m³ or tons instead. Don’t upload data here that already has its own category (combustion, vehicles, recharges, electricity, travel, water, waste).
Step 8
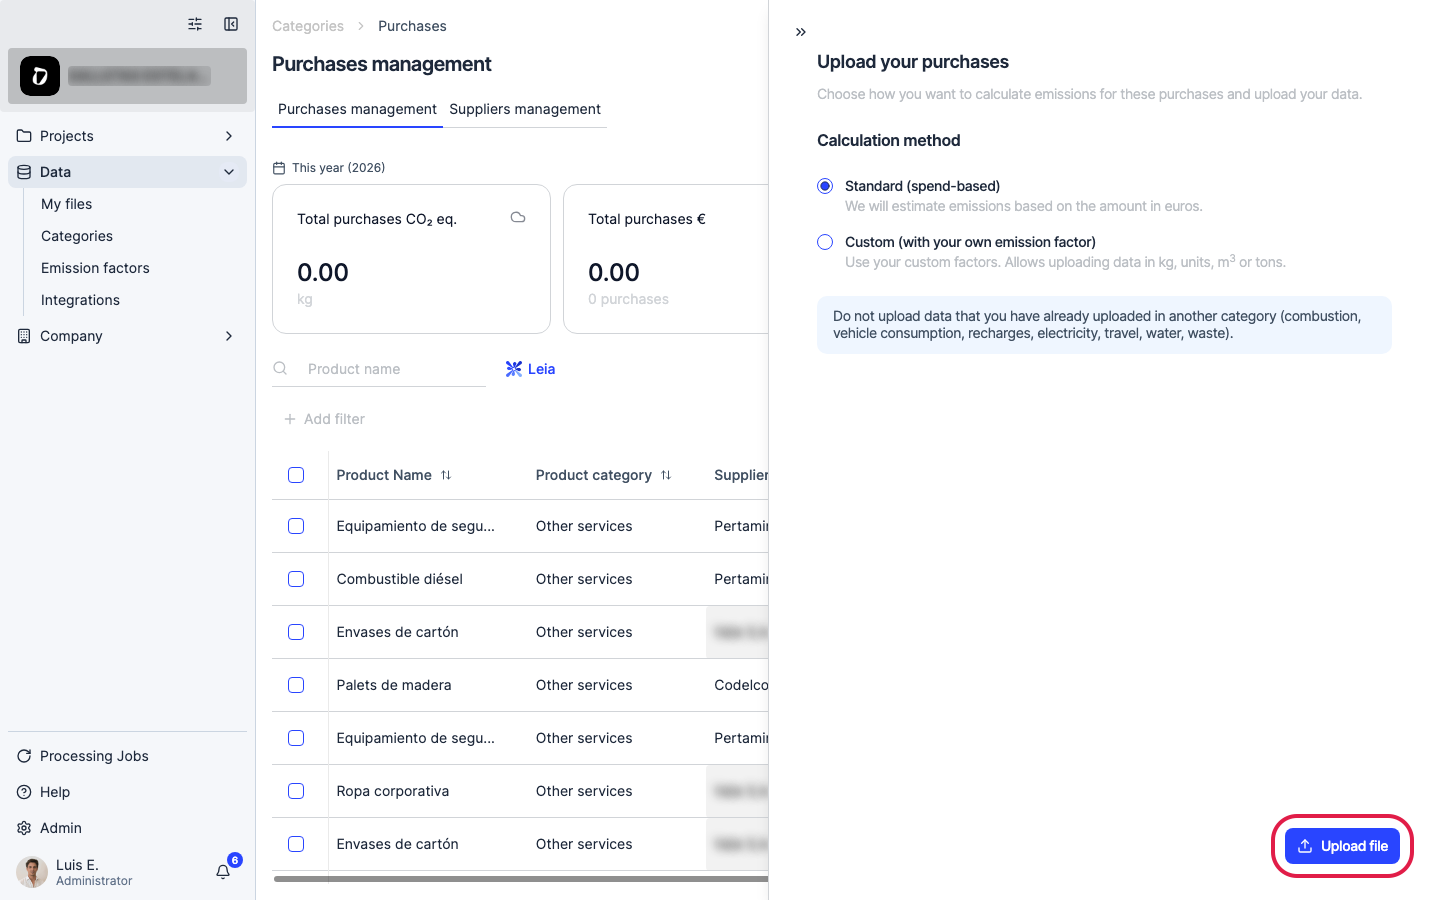
Click “Upload file”.
Step 9
If you don’t have a file yet, download a template and fill it in: purchase date, supplier, country of purchase, product/service description, amount excl. taxes, currency, and optionally an internal category. Most ERPs (SAP, Odoo, NetSuite, A3, Holded) can export a full purchase ledger for a year.
Step 10
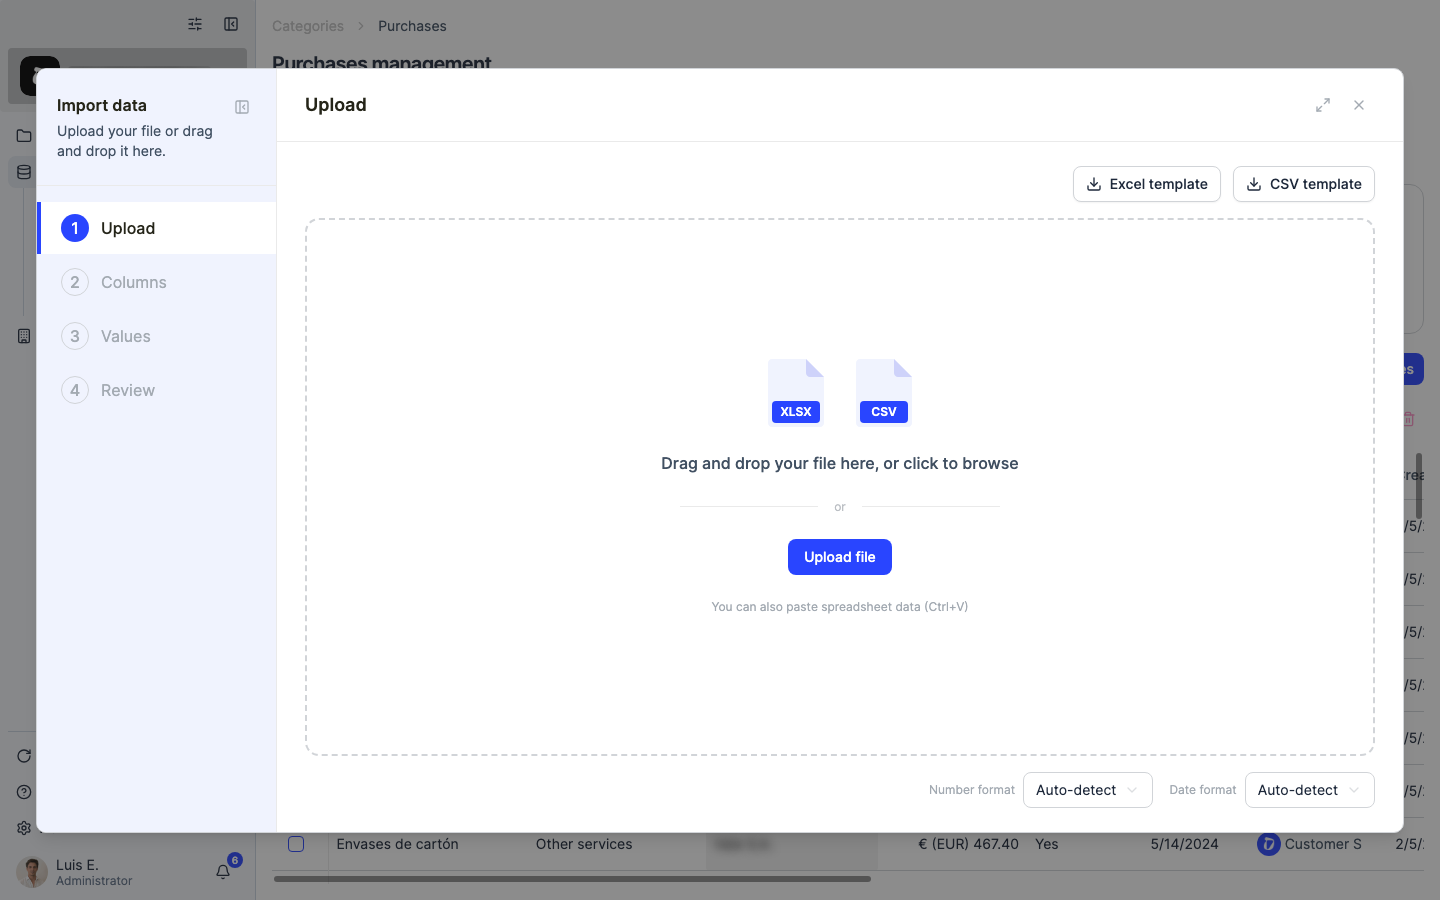
Drag your file onto the panel or click to browse. Dcycle parses it and moves to the “Columns” step, where each column of your file is matched to a Dcycle field.
Step 11
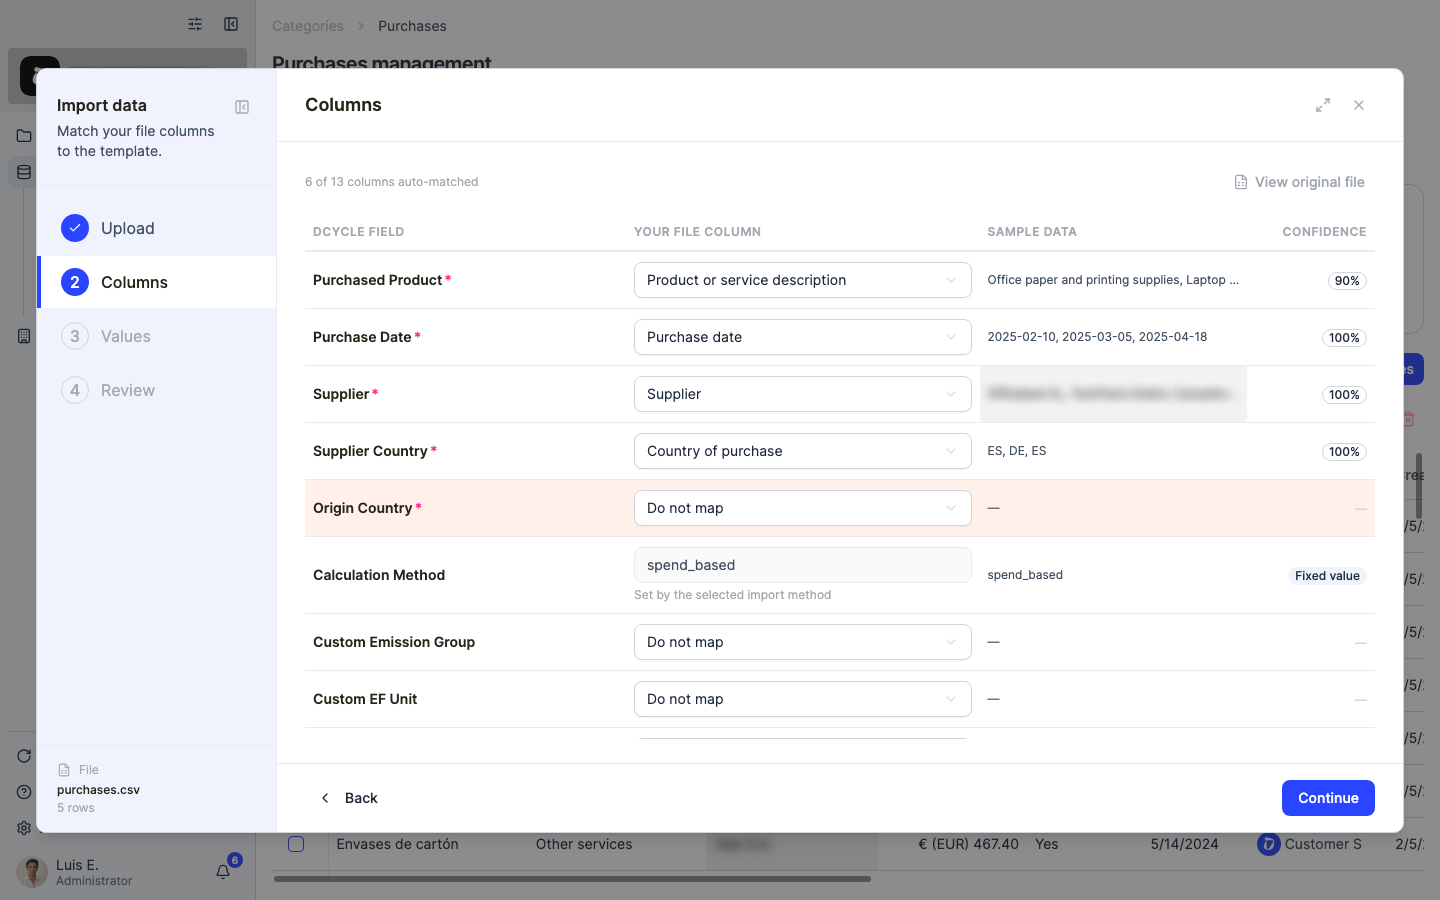
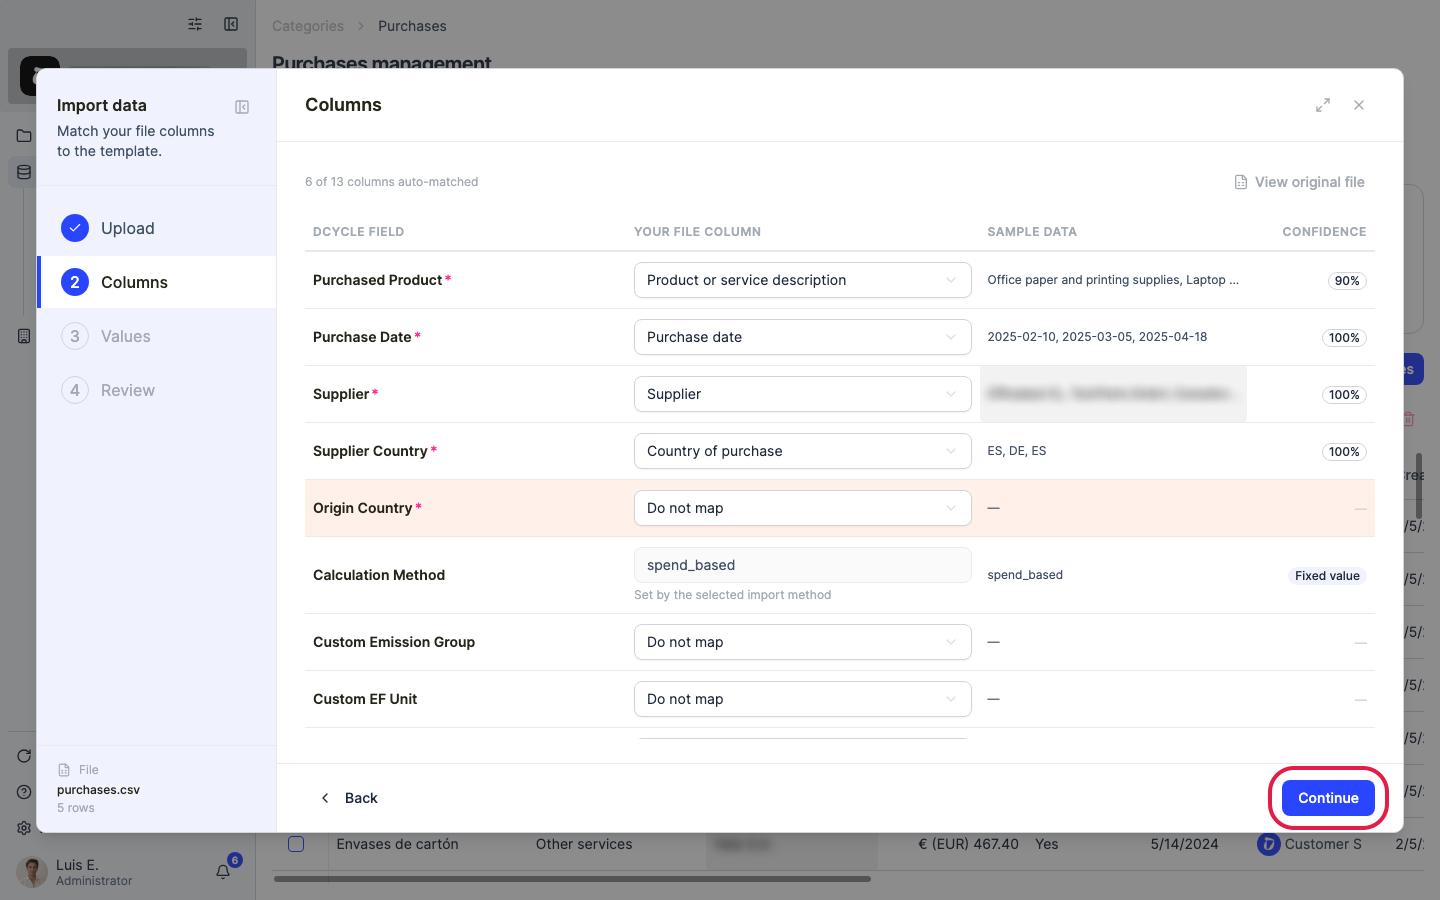
Check that every template column was matched to the right field — fix any mismatch with the dropdowns — and click “Continue”. If your organization manages subsidiaries, you’ll also see an “Organization” column here — map it to route each row to the right one; unmapped rows default to the organization doing the upload.
Step 12
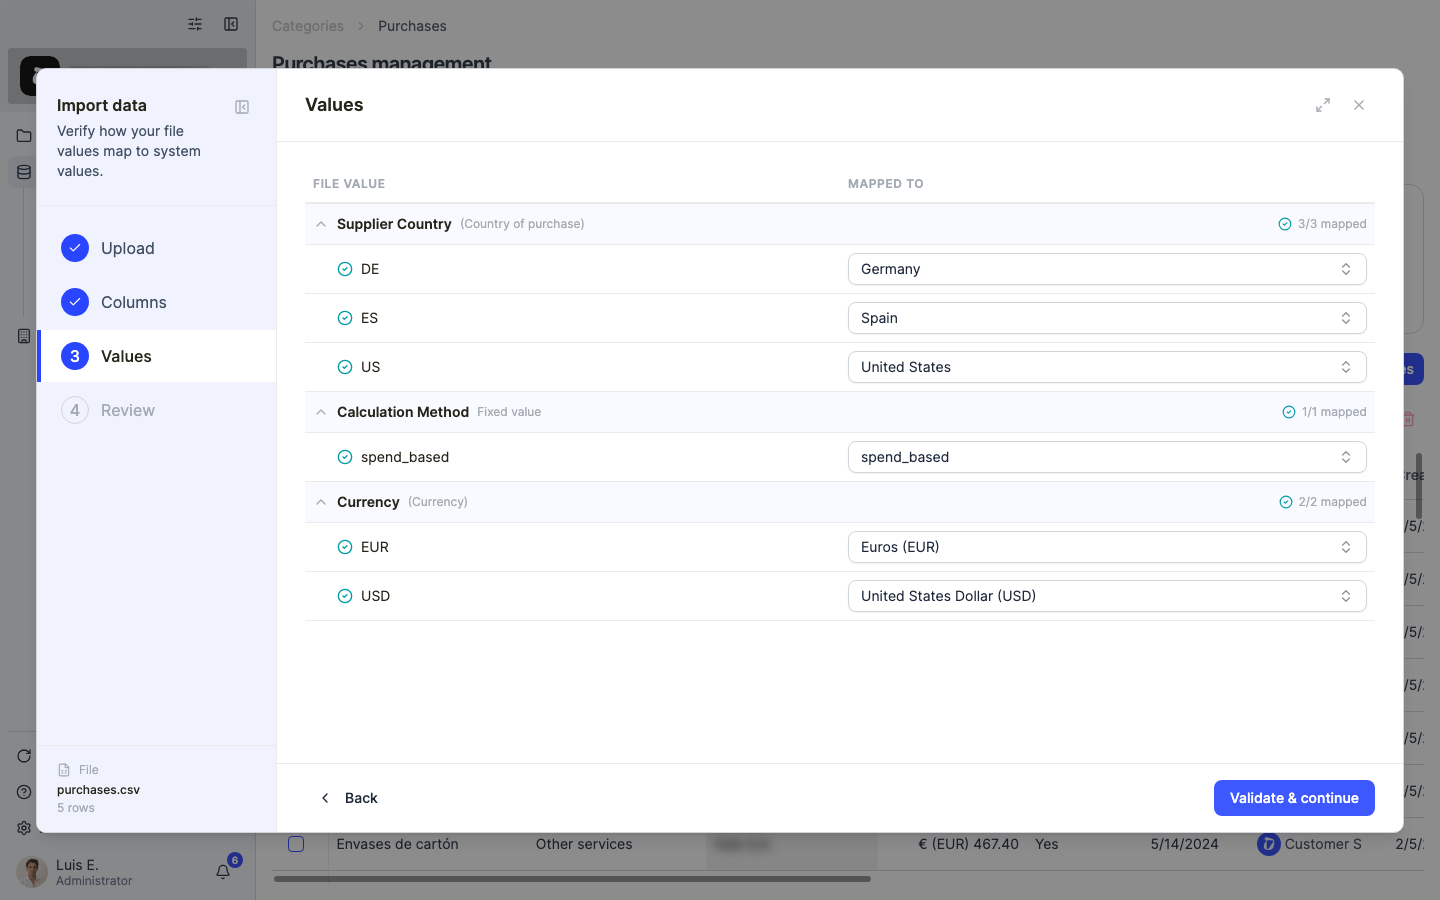
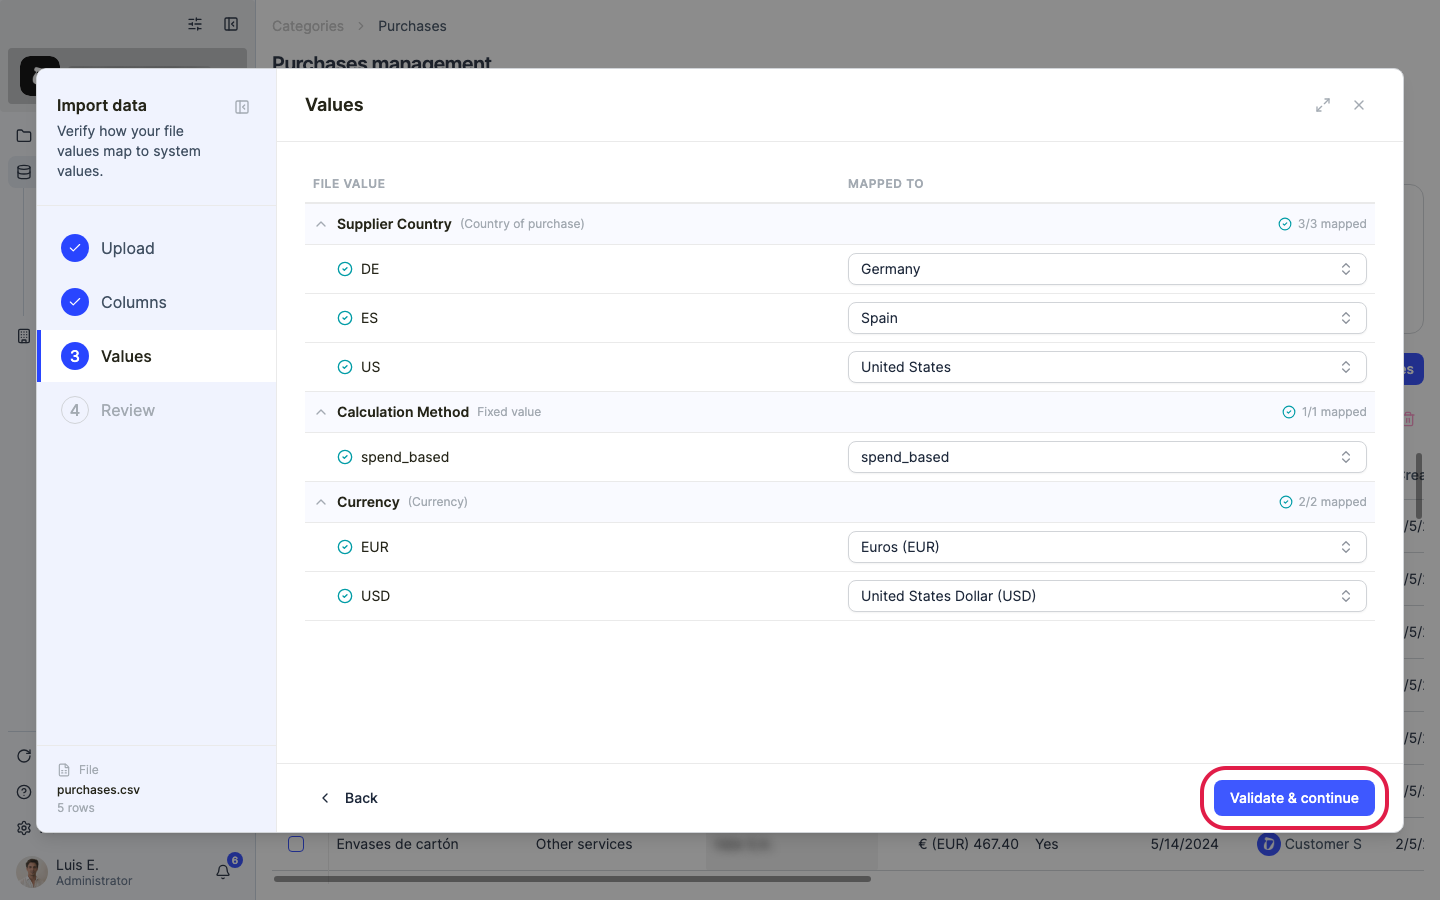
If a “Values” step appears, it shows how the values in your file map to Dcycle’s accepted values. Review the suggestions and adjust anything that wasn’t recognised.
Step 13
Click “Validate & continue” to validate the rows.
Step 14
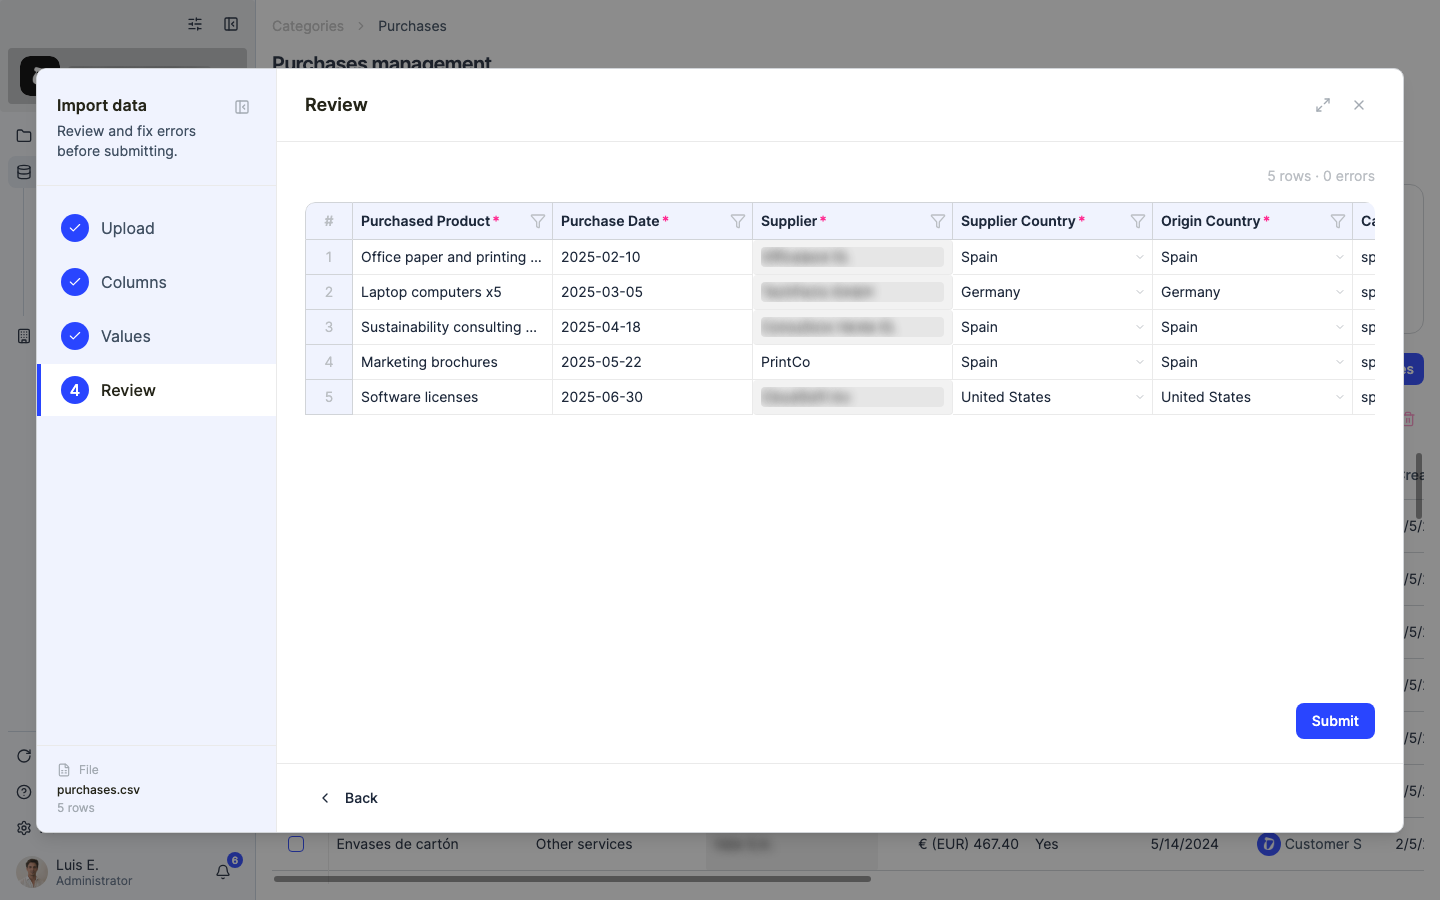
The “Review” step summarises valid rows and errors. Fix any flagged cell right here, or filter with “Show errors only” to work through them.
Step 15
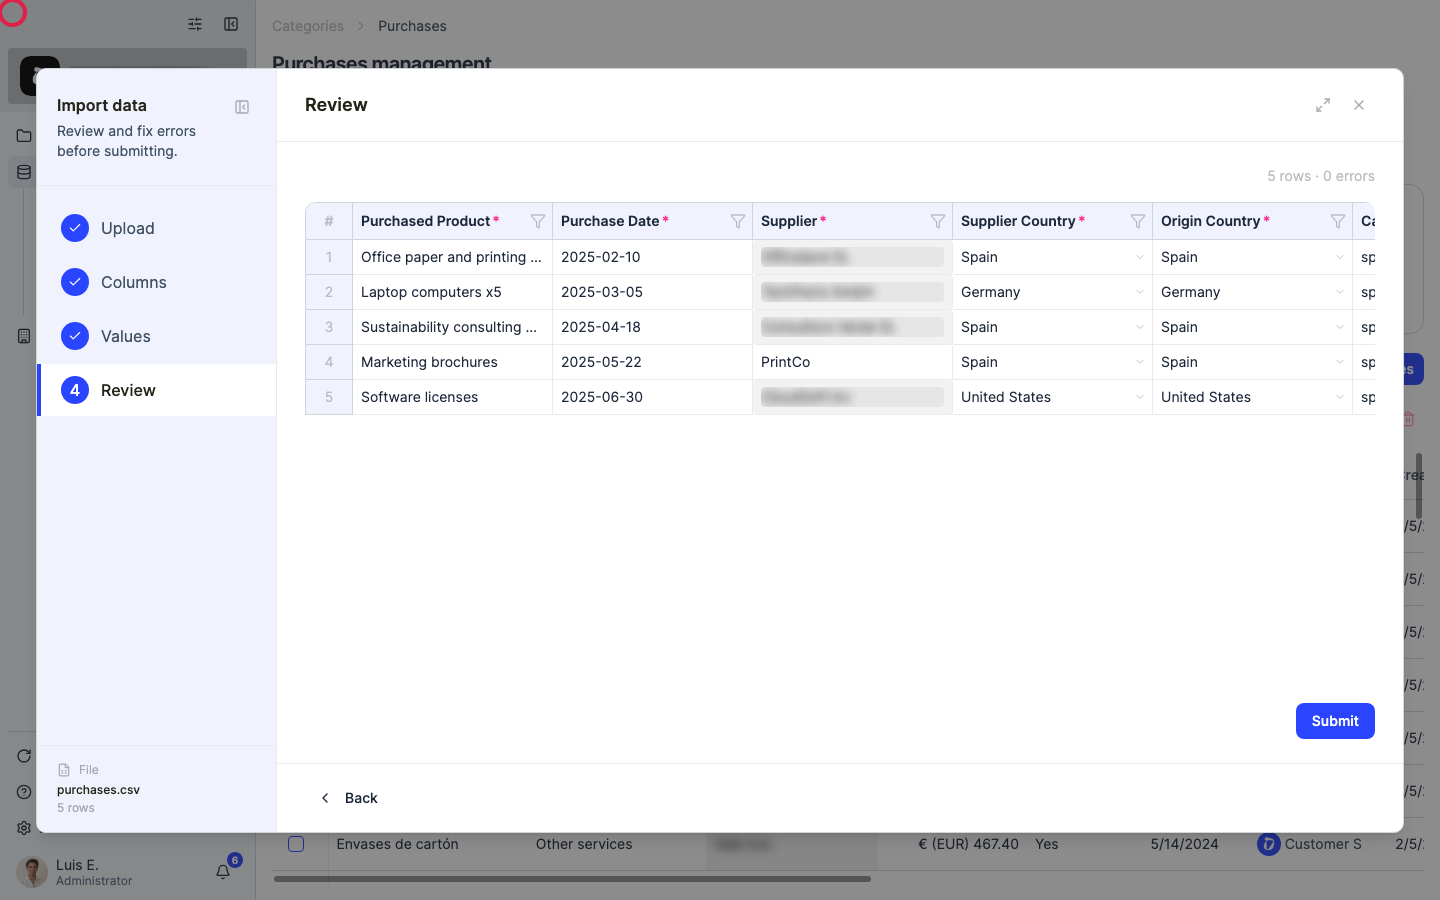
When everything looks right, click “Submit”. Dcycle processes the file in a distributed way — each row lands in the correct organization’s data space without you needing to split the file or run multiple uploads.
Step 16
To record capital goods (machinery, IT hardware, owned buildings) instead of recurring purchases, use the same flow with the acquisition date and full acquisition value — Dcycle tracks it as Category 2 rather than recurring Category 1 spend.
Was this helpful?
What was missing or unclear? (optional)
Sent. Thank you for helping us improve.